
Paint Your Metal Fence: How I painted my metal fence for $350
Being stuck in your home during the dark days of quarantine will make you do crazy things.
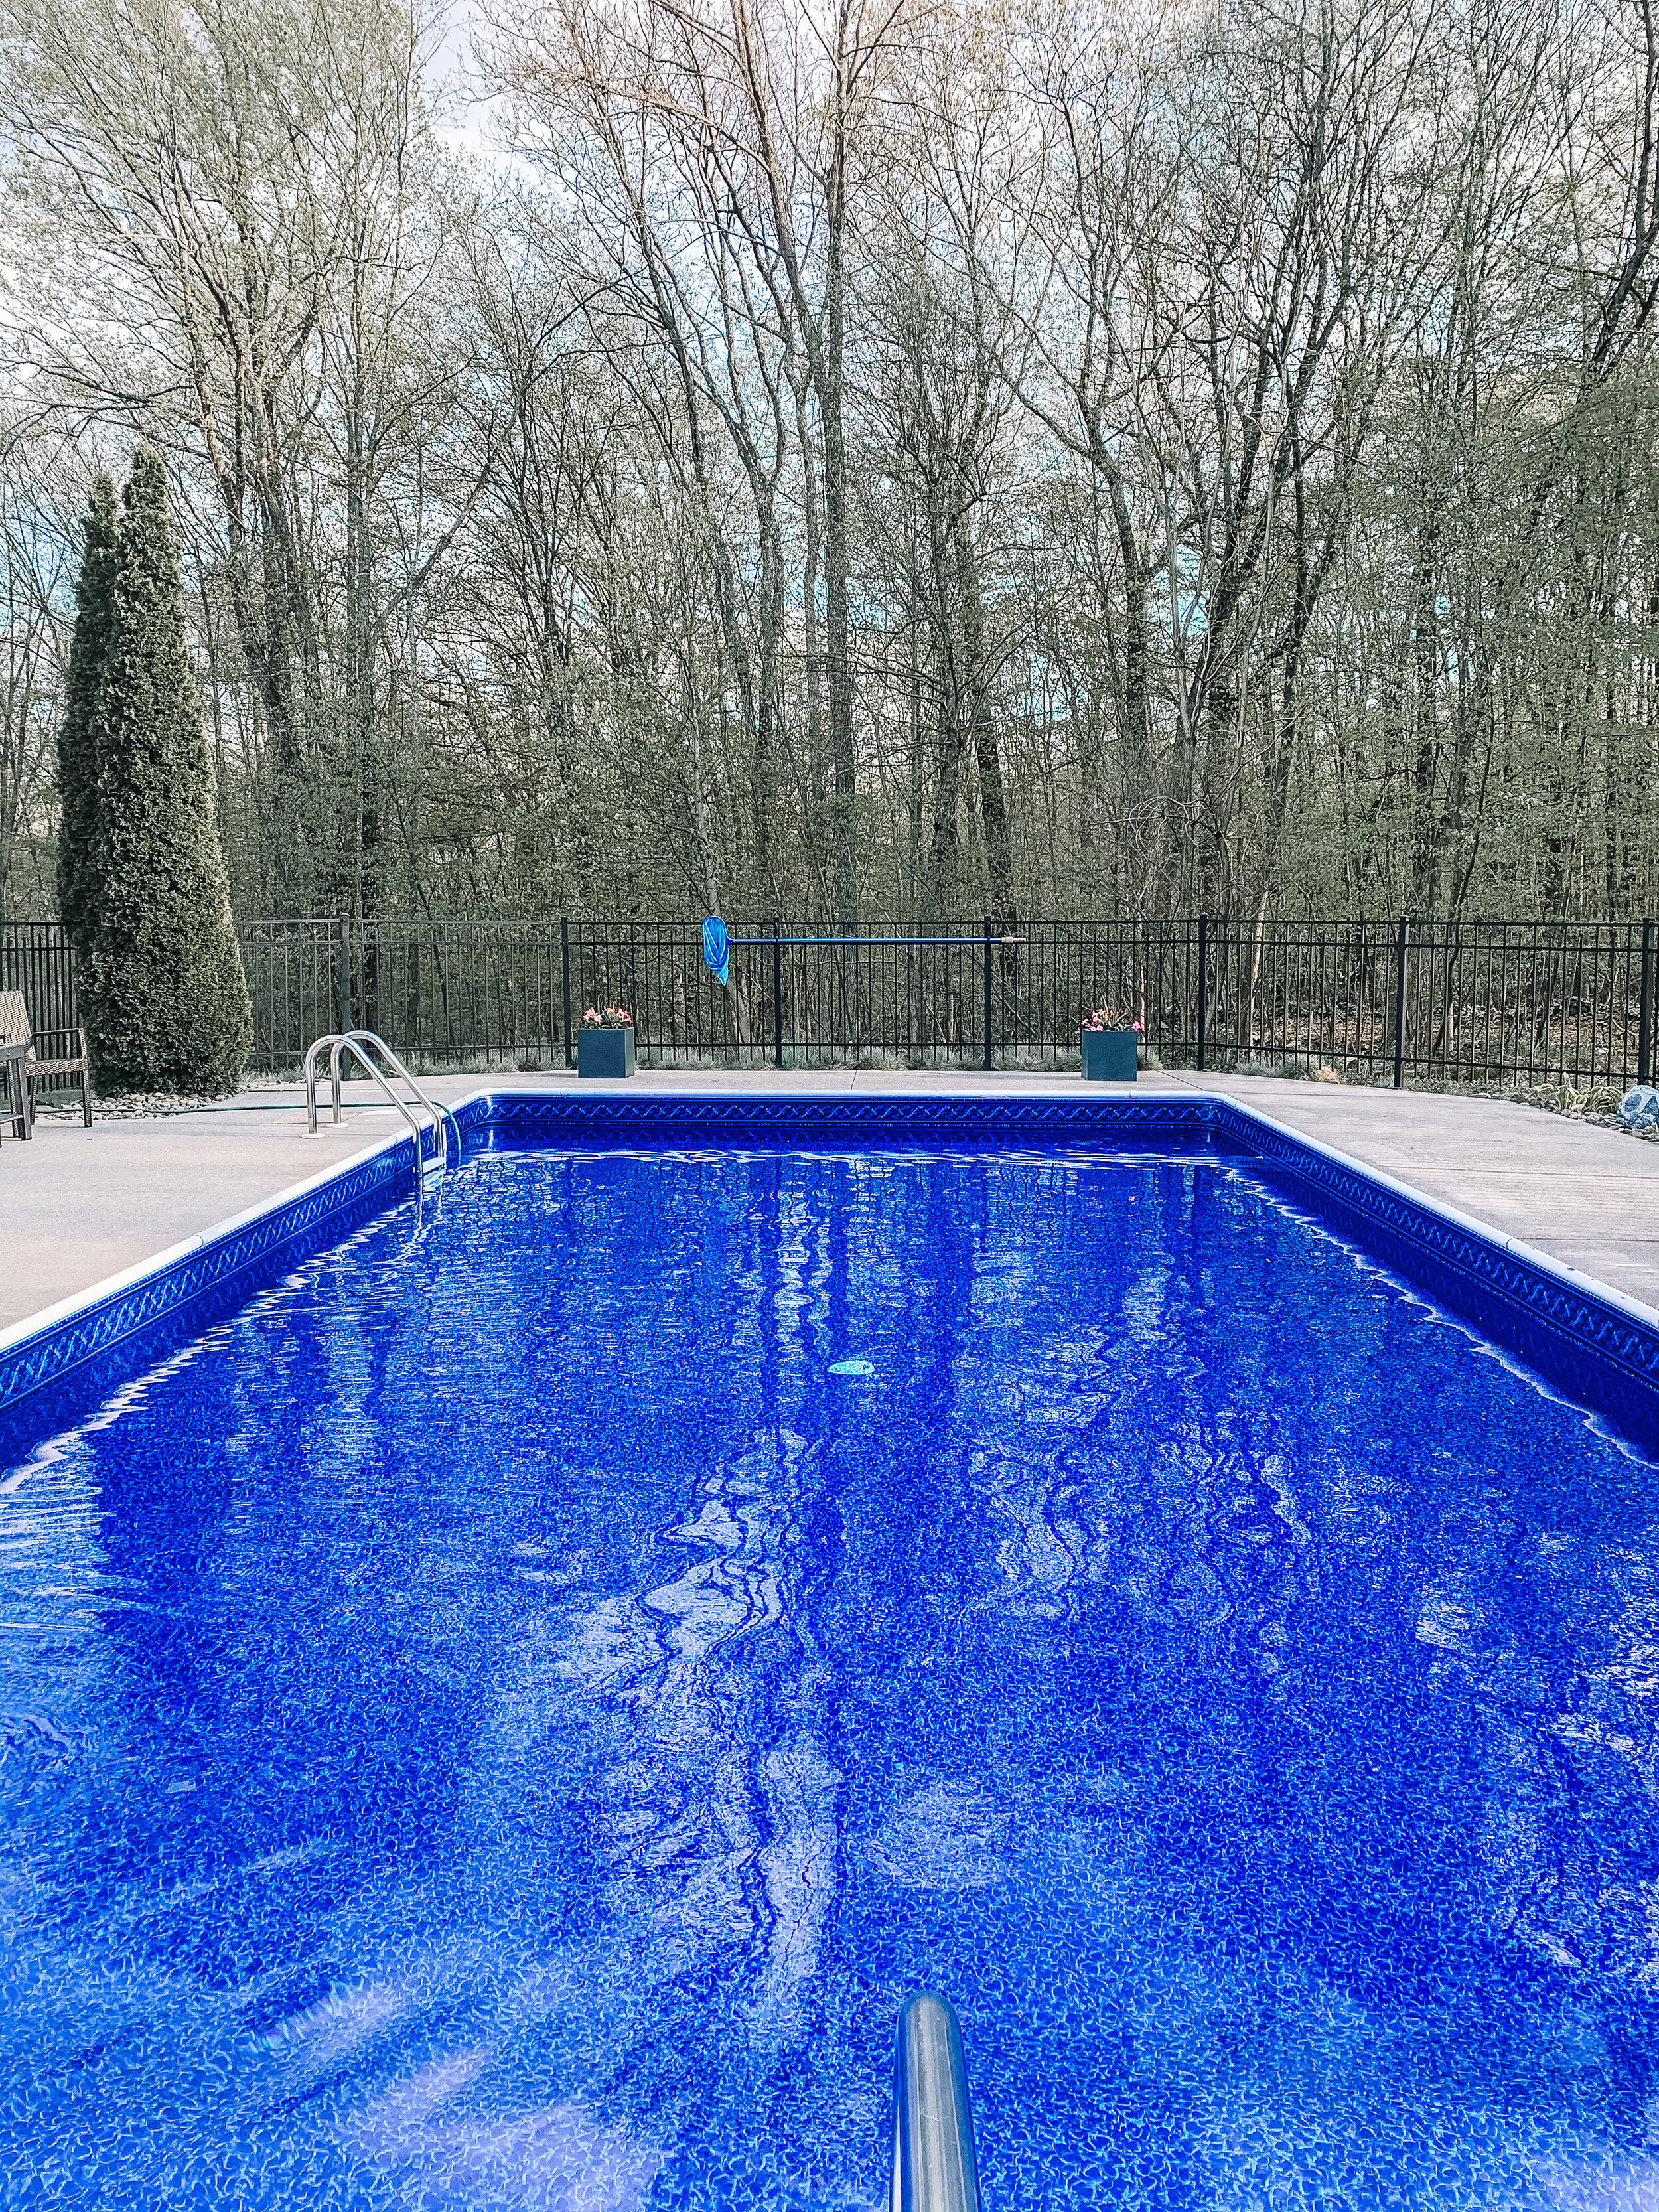
From the moment we viewed our home with the realtor 7 years ago, our pool area was beautiful to have, but I always wished our pool fence was black instead of white. Why? The white looked dated to me and a black fence in my mind would enter more into the background of our backyard.
I got a quote that year for a new fence, and at a whopping $8k… I thought to myself, alright we’re keeping the white.
And I always said to myself “If I only had the time I’d paint the fence”. Then came 2020, and being stuck home and working from home for months on end, and anyone who knows me knows I can’t sit still for 5 seconds- so I pulled the plug and tackled this massive project.
I hate painting. I wanted to quit a million times over. I questioned why I even decided to do it (especially after I spilled a 1/2 gallon of oil paint all over my body… more on that later). But in the end, I’m so happy I did. So be forewarned this project isn’t for quitters. Check out my before + afters.
(BTW we did also replace our pool liner as well since it got bleached out a few years back from a harsh pool chemical).


Details
Cost: Just under $350 after paint and the purchase of a paint sprayer
How long did it take? Two solid days plus a 1/2 day for touch ups
What material is my fence? Aluminum metal
Weather: Make sure you have a solid 3-4 days of no rain, sun helps, the wind certainly doesnt. I completed this in late April on a nice stretch of sunny days.
How has it held up? Its been a year of rough weather- rain and a bad winter in NY, the paint has not chipped at all and still looks perfect. I can’t speak for if you try to use this product on anything other than a metal fence. However, I did use this paint on the metal light poles going up my driveway 7 years ago and it has still held up perfectly today. I would not recommend this product on a vinyl or composite fence often found as railings- it’s meant for metal or aluminum only.
Supplies:
Rustoleum Oil-Based Flat Black Paint in Gallon form (I purchased 3 to complete this project)
Wagner 3000 Paint Sprayer
Drop Cloths or old blankets
Rustoleum Flat Black Spray Paint (2 cans) for easy touch ups.
Plastic bag liners sold for paint sprayer- if you’re buying a brand new one, it comes with a package of them that will get you through the whole project.


Linked here:
How did I go about it?


First my husband power washed the entire fence. This is an important step because it’ll help get the dirt and grime off of it. I waited for it to dry for an entire day.
I read the instructions on the paint sprayer, filled it up with the bag liner in it, and tested it out. I put it on a higher setting since the paint is very thick and I switched between the horizontal and vertical spray options depending on the direction I was spraying in.
I put holes in the corner of my drop clothes to hook around the fence posts. I strung up three at a time, as shown above. I made sure to have the drop cloths come under the fence towards me, so no paint would get on the pavement. I also overlapped the drop cloths so that no paint would spray through the spaces. Keep in mind I was spraying around a pool area and didn’t want the paint to get on the cement around the pool.
Working in sections going across the fence and down the posts and fence rails, I sprayed the fence on one side. Allowed it to somewhat dry, and then I went around the other side of the fence and flipped the drop cloth over in the opposite direction to get the back side of the fence.
It took me about an hour a section at first when I first started going. However, eventually I got in a groove and I was doing about 3 sections an hour with a few coats in some areas.
For touch ups in certain small spots that still showed the white, I used the same brand Rustoleum spray paint in flat black, and it saved me so much time and energy. Be sure to do touch ups in the sun light, but then wait until it’s the evening to get another look at the fence. You’ll find more touch up spots when there’s not as much sunlight on it as well.
Tip:
WEAR CLOTHES THAT COVER YOUR ENTIRE BODY or a paint suit. It was a really nice sunny day when I began this project, so I made sure to cover my hair and face, but I quote on quote “wanted a tan” and decided to wear shorts and a sports bra. My husband kept warning me that I should really cover my entire body, but considering it wasn’t a windy day, I didn’t listen to him. On my last run of the paint sprayer of the night (it’s always the last), I didn’t screw the bottom of the paint sprayer in completely by accident, and the entire bottom of the paint sprayer dropped out, hit the floor, and splashed the entire front of my body. I had it in my teeth, my stomach, my legs, everywhere. Oil paint is near impossible to wash off without a harsh chemical or as I learned the hard way: baby oil. Everything was closed when this happened and I called my neighbor in a panic- who recommended that I try olive oil, which did the trick after nearly an hour of scrubbing my body.
So don’t be like me: wear clothes to cover your entire body and check that paint sprayer to make sure it’s properly screwed on. (I found black paint in my belly button almost 3 weeks later… lol)


The total cost of the project was $350 and since my fence was in perfect shape I was able to save myself over $7500 from an entirely new fence. As always, thanks for stopping by, reading, sharing, and supporting me! Good Luck on all your outdoor projects. :) Barbra
If you enjoyed this post, you might also enjoy:
Hey Friends, I spend a lot of time putting together these posts, and I would love it if you’d show some love back and followed me on Instagram. **** 10/2020: Recently my instagram was erased and I lost all of my following, so I would SO appreciate it if you followed me by clicking on any of the pictures below from my current feed. Thank you so much!! <3