

Garage Makeover: The Details of Our Awesome Garage Flooring
It’s September 23rd… for anyone who’s been lost in time thanks to covid, quarantine, and the all the wonderfulness that’s been brought on in the year 2020. As I’m sure you’re aware by now if you’ve been reading my blog, I’m a teacher by day, and hustler at night. We’re back at work teaching students in-person and on the computer simultaneously and it certainly doesn’t feel like we’ve only had them back for 13 days. I’m using all this to try to explain why I’ve been MIA on my blog and instagram. I’m finally catching my breath and I have a free minute… and I’m going to use it to show our beautiful garage makeover.
I’ve posted pictures from inside my garage on my instagram numerous times over the years and I’ve always gotten questions regarding our garage floor.
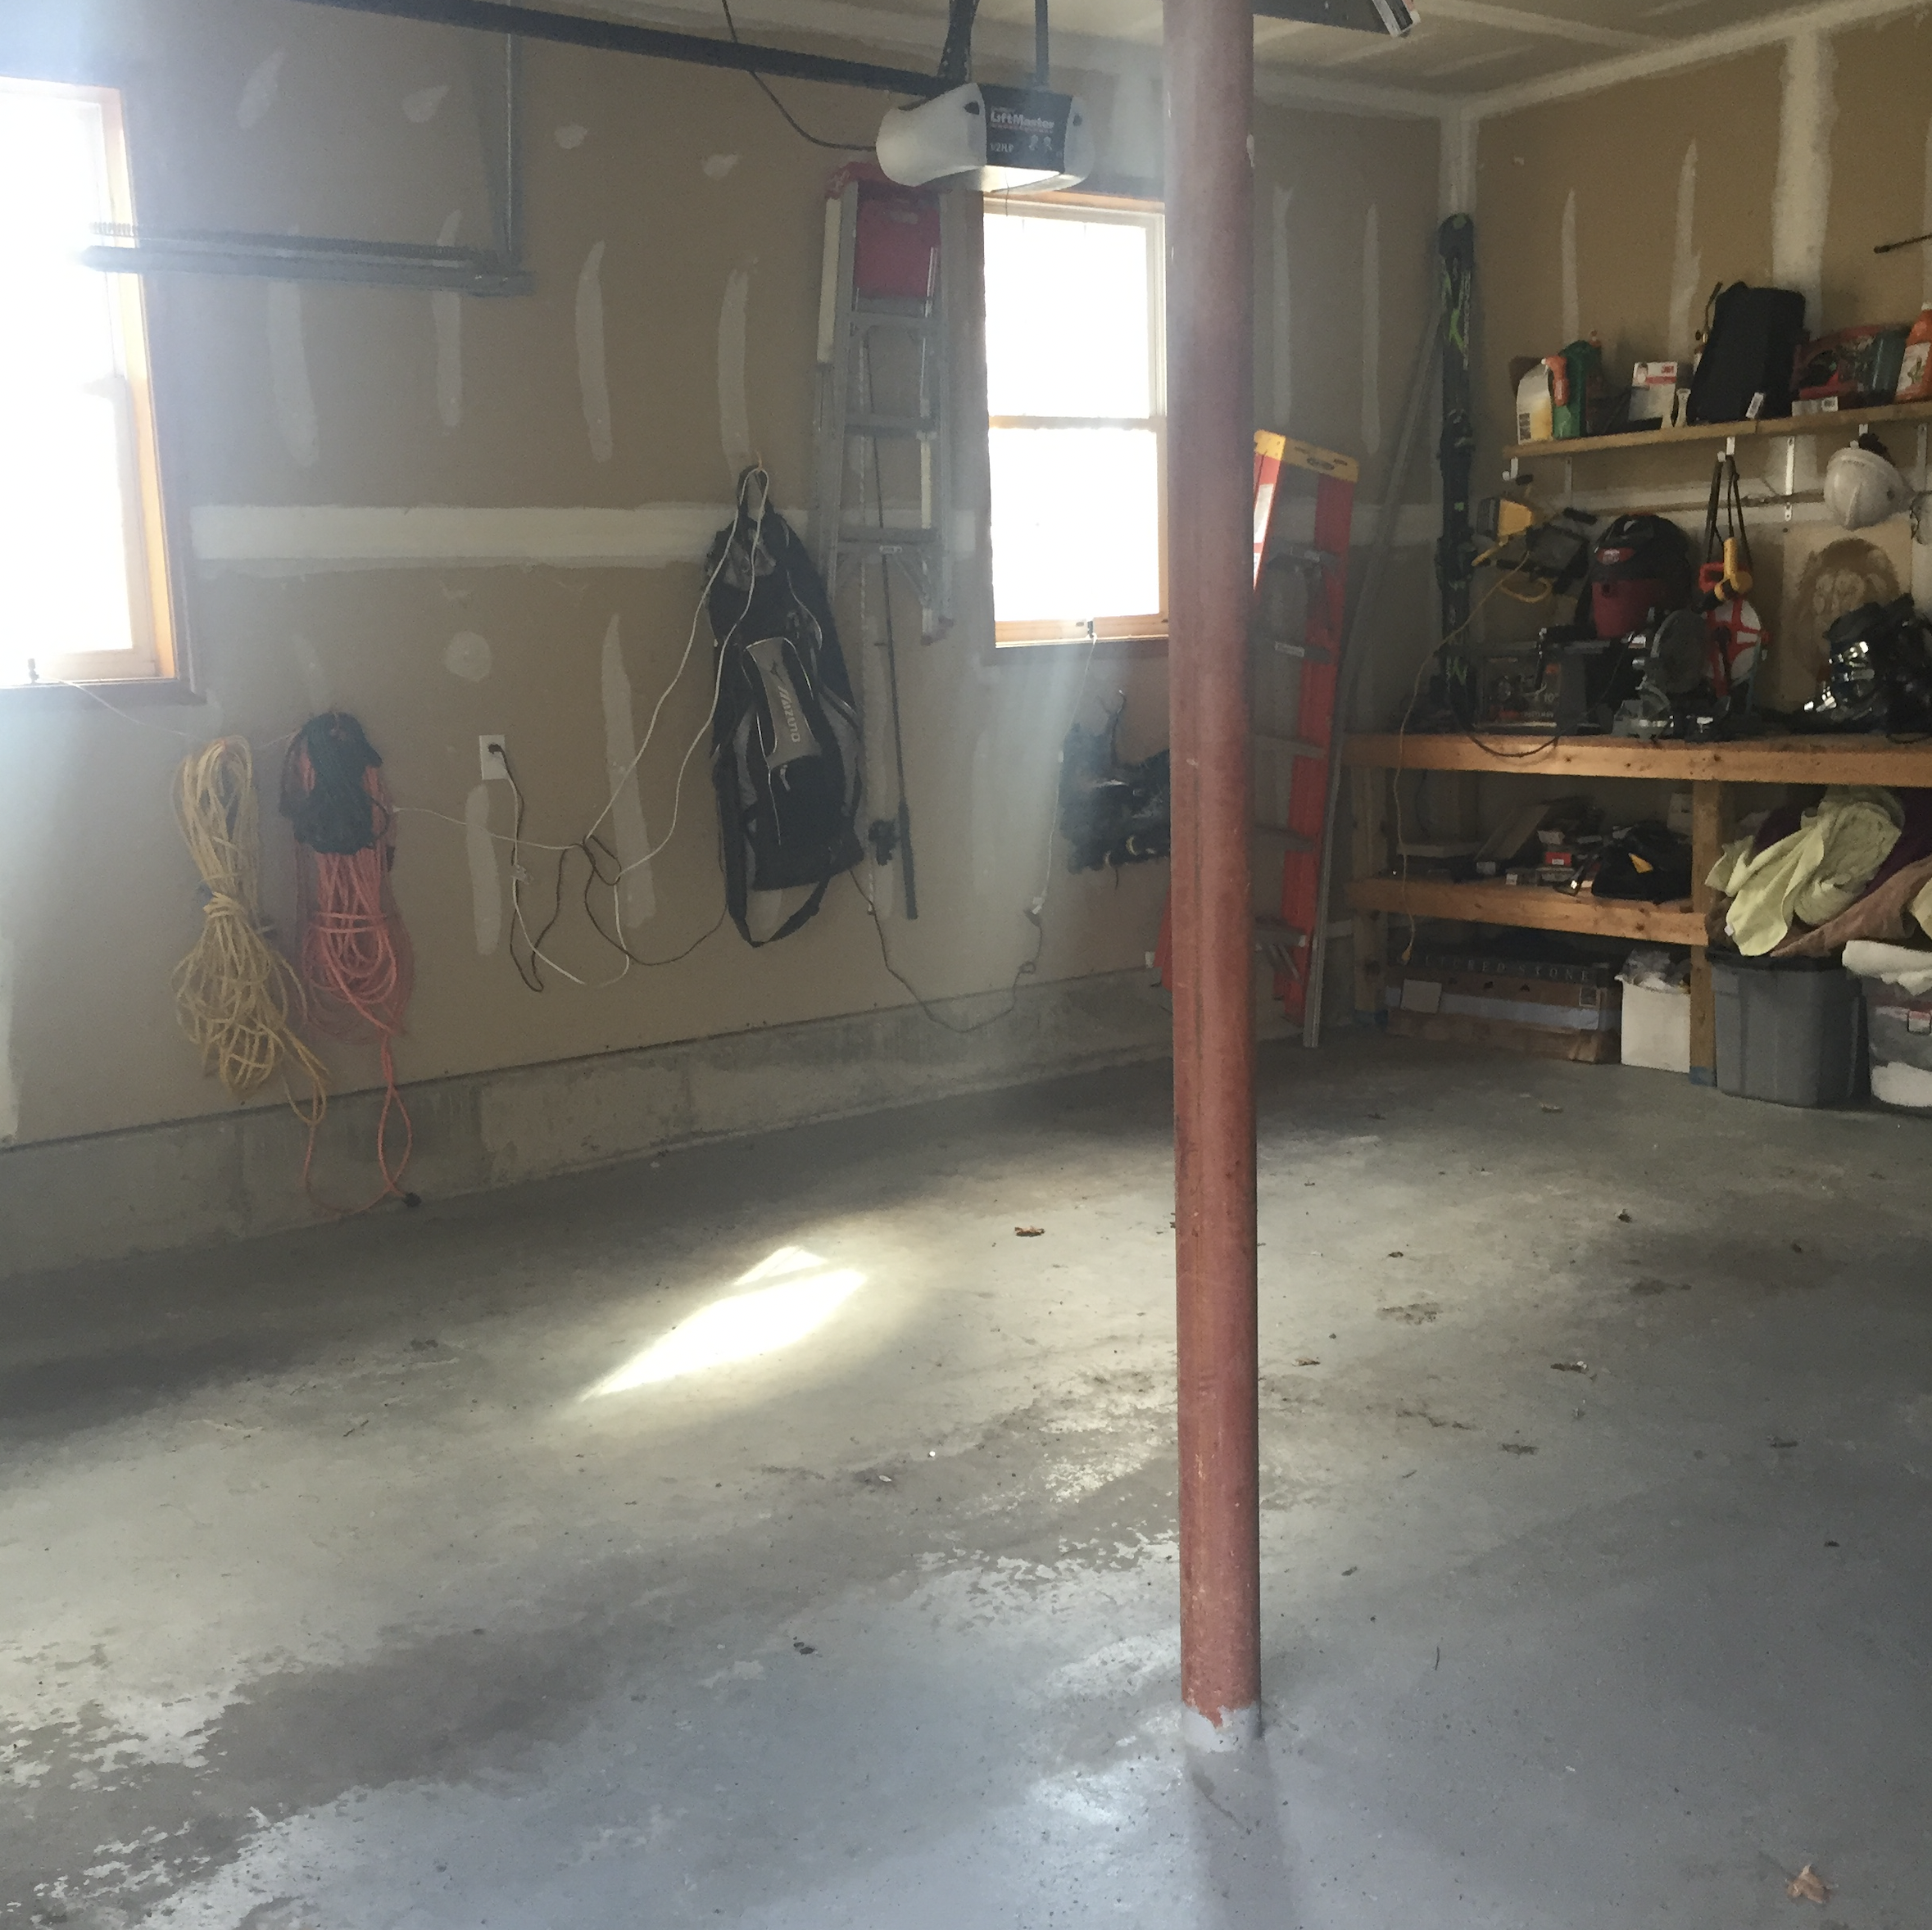
Here are the befores of the space:


Where did we get our inspiration from?
We moved in to our house in 2013 and while the garage floor had been epoxied (is that a word? expoxy-ed) by the previous owner, over time it was coming up from the heat from our tires. Our garage makeover was inspired by my best friend Eric’s parents garage. His father raced Porsches at one point and their garage was beautifully done as if it was a race car driver’s show piece. We not only wanted to use this space as an added place to hang at our house, but I thought it would be great to put up screen curtains and have parties in here instead of renting the traditional tent.
See epoxy coming up in the area of where Shad’s tires sat:
So on my “house goals” list we put project garage makeover for when we came across the time and money. Normally for us, that’s tax return season which often coincides with our spring break. Our original plan was to take up the original peeling epoxy and apply a new epoxy floor ourselves.
Why did I choose these plastic floor tiles over traditional epoxy?
I researched the process, which was pretty time consuming- a few days of removing the old, scrubbing the floor down and letting it completely dry, followed by the application of the new epoxy, top coat, and drying time. The cost which was going to be nearly $700 in supplies for us when all was said and done, the fact that all of our garage s*** was going to have to be out in the driveway for about a week’s time during the spring (which is always shotty with inclement weather anyway), and the worry that the new epoxy would come up again from our tires years down the road: led me to look in to laying these plastic floor tiles instead. To my surprise the cost didn’t seem unreasonable considering we’d have a new floor down in a half day’s time and we wouldn’t have to do any of the prep work involved in removing the old epoxy floor. Add in that my all our s*** wouldn’t have to sit out in the driveway for a week’s time in the rain, and it was well worth the extra expense to us.
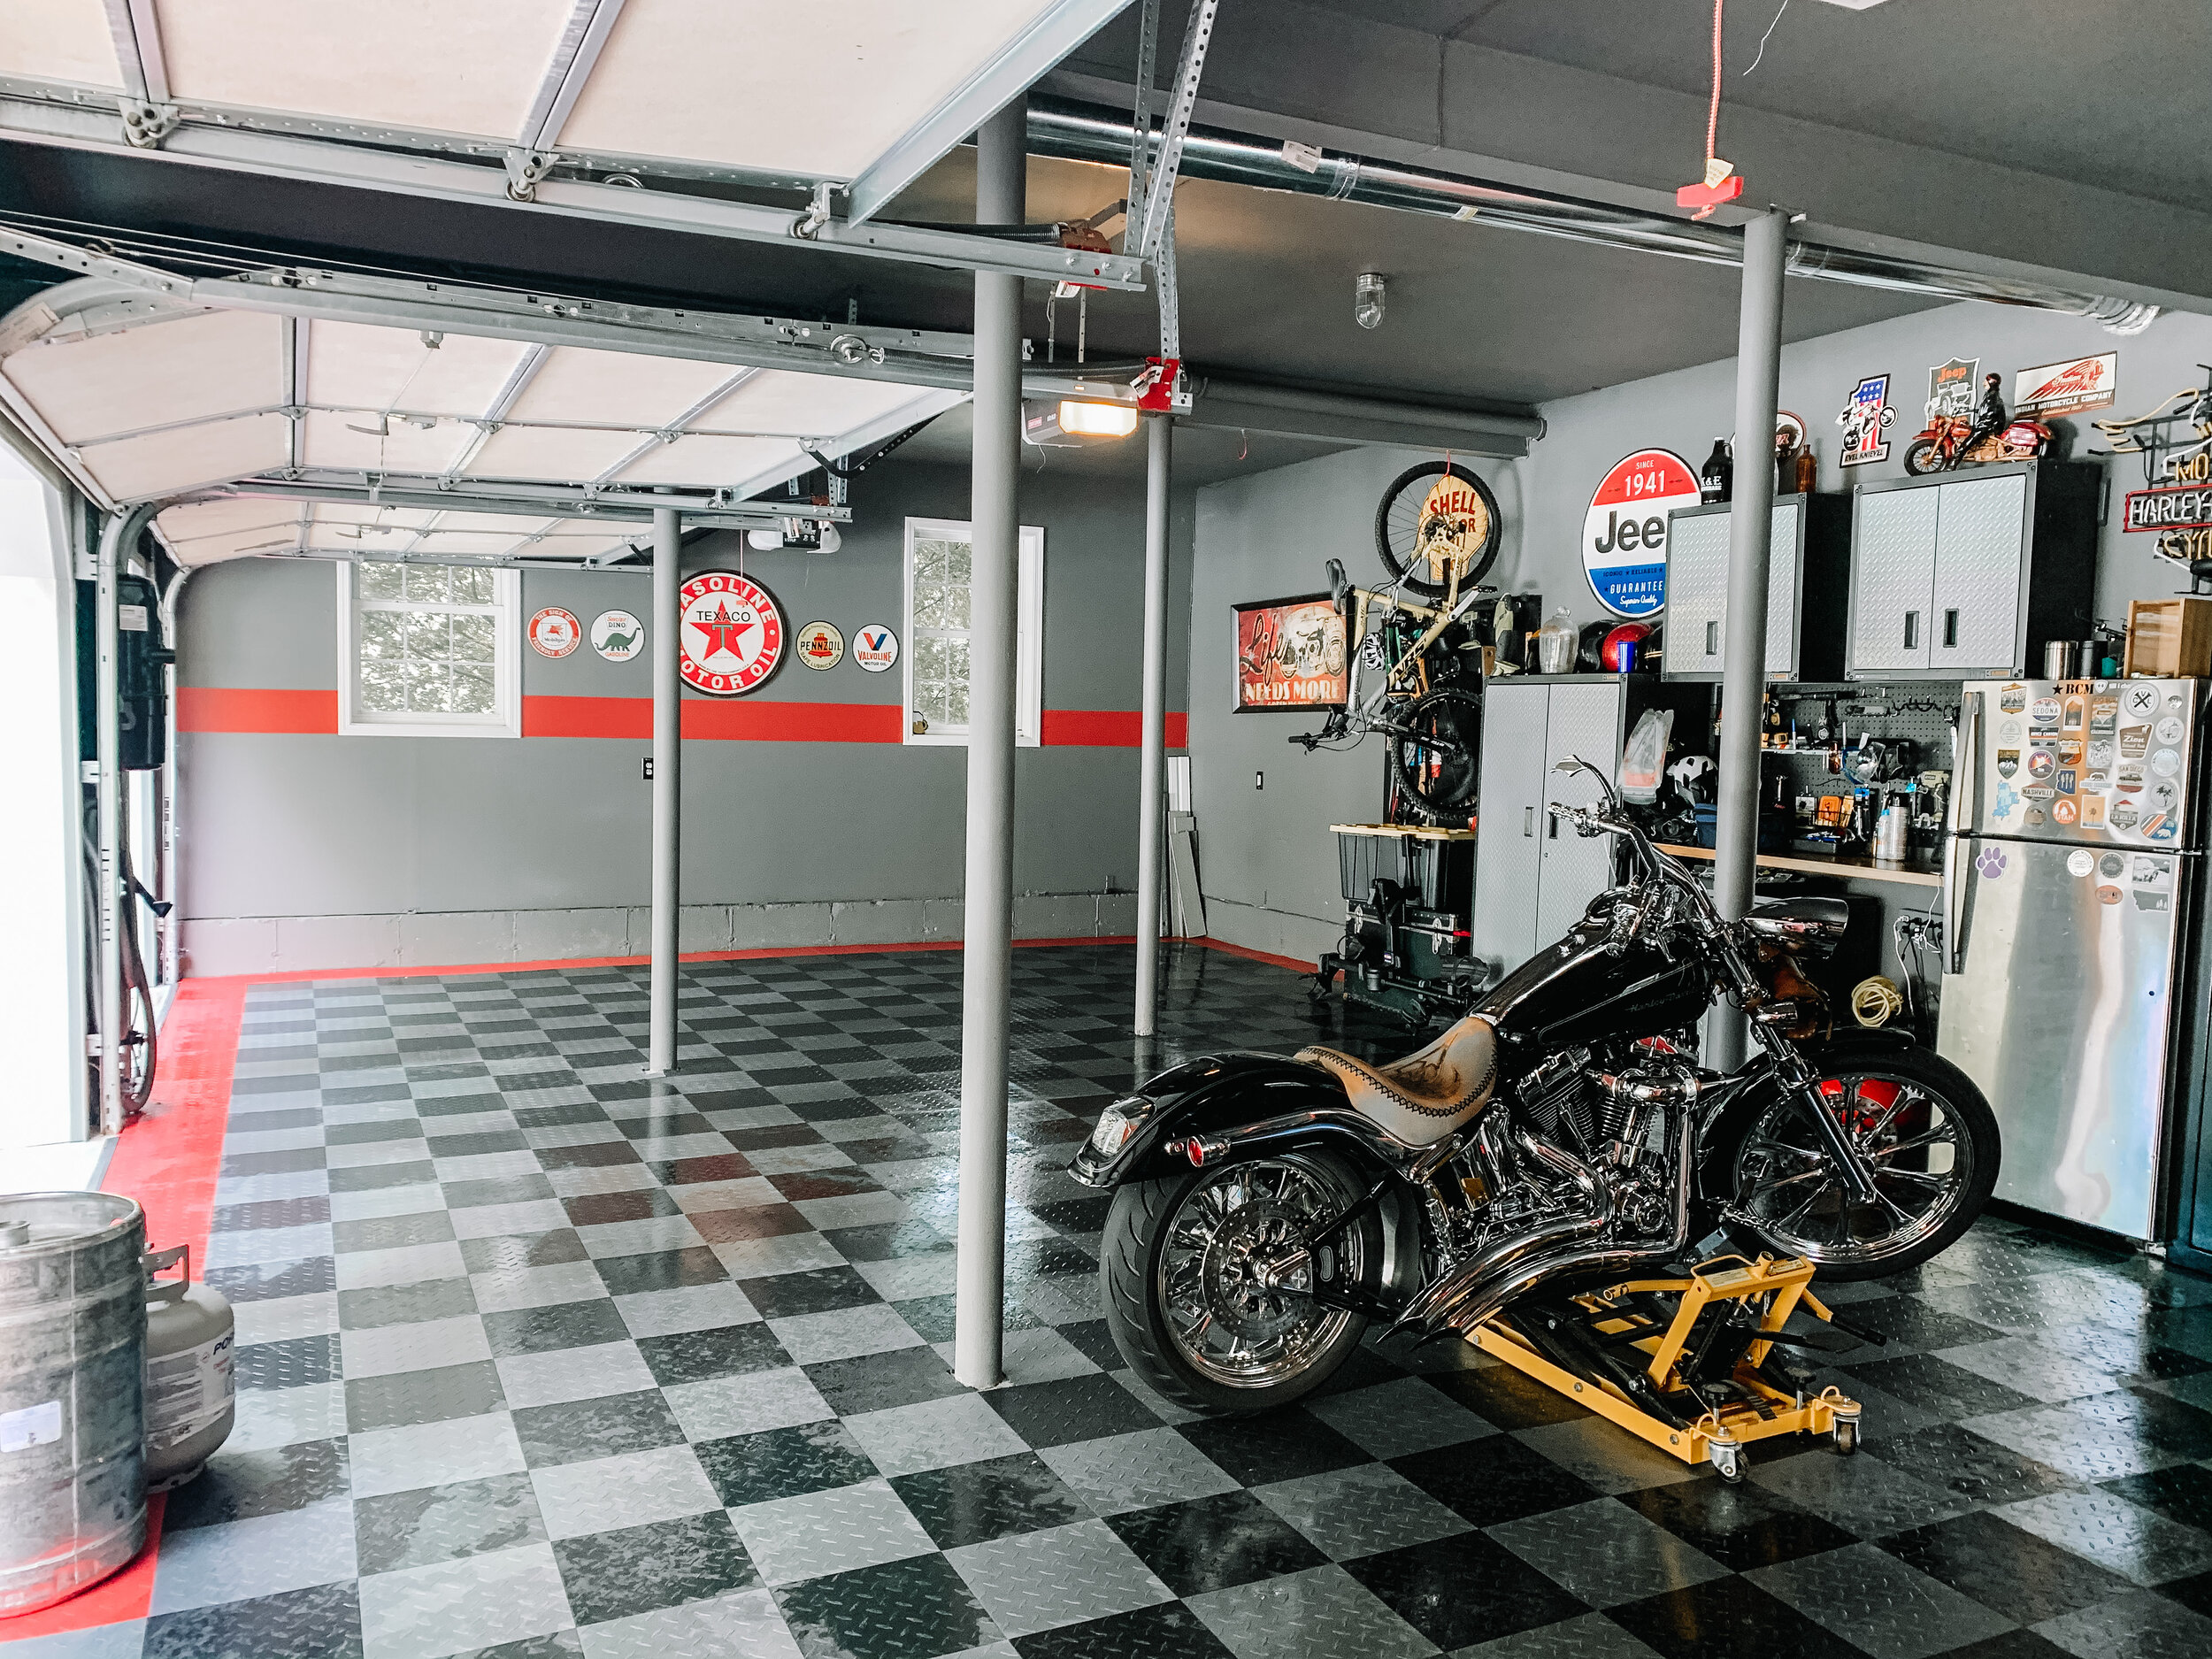
I think the result speaks for itself:
Details:
The total cost for the floating floor of our three-car garage? $1350
Add in the paint for which we painted the ceiling, walls, lally columns, and about a foot around the edge of the floor in the entire garage, and our project came in at about $1500.
Where did we get the floor from? A website called garageflooringinc.com (Linked below… and no unfortunately I don’t get commission for giving them a shoutout). The best part about their website? You give them the size of your garage and they create a grid for your garage on the website- you plug in the colors or patterns you want and they determine how many tiles you need to purchase. We liked the idea of the red stripe around the perimeter, and I included a screenshot below of exactly what I ordered. Garage Flooring Inc. Offers many different types of flooring for garage, home gyms and basements.
Which specific tiles did we order? We ordered the Nitro tiles which have male loops and female pegs which click and lock into one another. Matte finish, Diamond pattern in the following colors: Diamond Black, Diamond Graphite, and Victory Red. They’re an extremely hard plastic and they’ve held up extremely well. None have ever cracked from the weight of our vehicles or anything. We got them on a major sale, which is reflected in my emailed receipt below. One thing I forgot to order when I first placed the order was the edges that act as a ramp or reducer strip at the garage door openings for when the car comes into the garage. They took about 2 weeks to come in and the shipping was free. Prepare yourself for the amount of boxes that will be delivered to your home if you have a big garage like us.


How did you know how many tiles to order? Click on “flooring designer” underneath your desired tile on the website and the website itself will help you design and order the correct number of tiles. See an example below:

Installation & Maintenance
How did you install it? Note: we did nothing to prepare the epoxy floor prior to laying this floor over top of it with the exception of sweeping, vacuuming, and painting about a foot in on the perimeter around the garage with the wall color, which was part of the reason we went this route to begin with. You kind of have to get into your own groove and method when putting these down. We started at the left side of the garage and left about 6 inches of space between the wall and where our first tile started all around the perimeter. Since it’s a floating floor we did this to allow for expansion and contraction between seasons. We completed it in rows and found that the best method (after about three rows) was to pile our pattern of black and grey(after our red perimeter row): I kneeled on the floor and locked the tile into the next and Shad pressed down where the tiles met with his boots to lock them in place. We got a system going where we were laying down each complete row in about 5 minutes time and then stopping to cut around lally columns. When we got to lally columns we cut the tiles to make a square to allow a little space around the columns for expansion as well. We used the male edges at the garage door openings to act as the reducer strip.
Time it took to put it down: 2 people 3.5 hours (I’ll explain the system we got down in just a little bit)
How did it hold up? We completed this project in 2016 and the floor is still in perfect shape. We’ve had parties in here, park our cars in here, etc. The picture above is showing it right after my husband mopped it. Zero tiles have had to be replaced for any reason. I included pictures on what the floor looked like when we first installed it below. (When I took these pictures I had a much older phone and I didn’t realize I’d be writing a blog post on it one day, it was also before I painted the red stripe and inside of the doors red).


Now:


Maintenance: Do you have to clean it? Yes, occasionally. We sweep and mop the garage occasionally throughout the year using a traditional mop and bucket and Mr. Clean floor cleaner. We usually do this before parties or holidays when we know guests will be in and out of the garage. However, we usually keep our garage pretty clean anyway and do big construction projects out in the driveway to cut down on dust and dirt. In the winter months we do have to mop the floor once every few weeks depending upon if we got snow, because the snow and ice do come in to the garage when we park our cars after being out in it.
Is it slippery? when wet yes it can be slippery, especially in the summer months if you’re running in from the pool to go to the fridge.
Other details of our garage:
Garage Wall Color: Behr Iron Mountain (took 4 gallons of paint for the entire garage… Home Depot estimated 10… they were wrong). I can’t remember the red paint color for the stripe all the way around.
Signage above stripe: Hobby Lobby
Links to the storage system pictured and lights (click on the pictures to be brought directly to the product):


Did I miss anything? If so… please ask below. As always, thanks for stopping by, reading, supporting, and sharing. You’ve helped me to be just shy of 100k reads for this year alone :)
<3 Barbra
If you enjoyed this post you might also enjoy:
Hey Friends, I spend a lot of time putting together these posts, and I would love it if you’d show some love back and followed me on Instagram. **** 10/2020: Recently my instagram was erased and I lost all of my following, so I would SO appreciate it if you followed me by clicking on any of the pictures below from my current feed. Thank you so much!! <3