
Dining Room Decor: Get the Look February
I’m reaching the point in my home where after 8 years I’m itching to change things. I use to get my fix decorating for others, but I don’t seem to have the time these days. With some mdf boards and a change of paint color, rug, chandelier, and chairs, I was able to give my dining room a completely different look.


This post will break down my focal wall project as well as the finishing details of the room including where I purchased items.
The Focal Wall Project:
I wanted the look of board + batten, but because of the many pipes in this room’s walls, I decided to go for one wall instead.

Items I purchased:
1 x 2 x 8 primed mdf at $2.60 a board from Home Depot (linked below) for which I used a combination of liquid nails and my 16 gauge porter cable nail gun and compressor to adhere it to the wall.
1 x 6 x 8 primed mdf at $8.63 a board from Home Depot (linked below). I bought 6 of these, 2 that made the top and bottom border pieces joined together. I cut them on 45 degree angles and joined them together, caulked over the seam so no one would know it wasn’t one continuous board. I also liquid nailed and regular nailed these boards, while using my stud finder to make sure I was nailing into studs within the wall.
Caulk the seams of where your boards meet the wall to ensure that when you paint there are no seams. I used DAP Alex flex caulk for this project and used a wet rack to wipe excess off. Spackel paste + sand paper for the nail holes.
How do you determine how many boxes to do or evenly space your boxes? For this project, my ends of the wall aren’t spaced the same as all the other boxes, and that’s because I was terrified of hitting the many pipes within this wall. Therefore I evenly spaced the majority of mine based upon where the studs were. However, normally you would take the space that is inside the left and right wall border, and then divide it by how many boxes you want to achieve. That’s how you’ll get all your boxes evenly spaced.
Paint Colors: Details in the image above. I went with the pearl sheen on the focal wall, and matte sheen on the surrounding walls.


The Decor
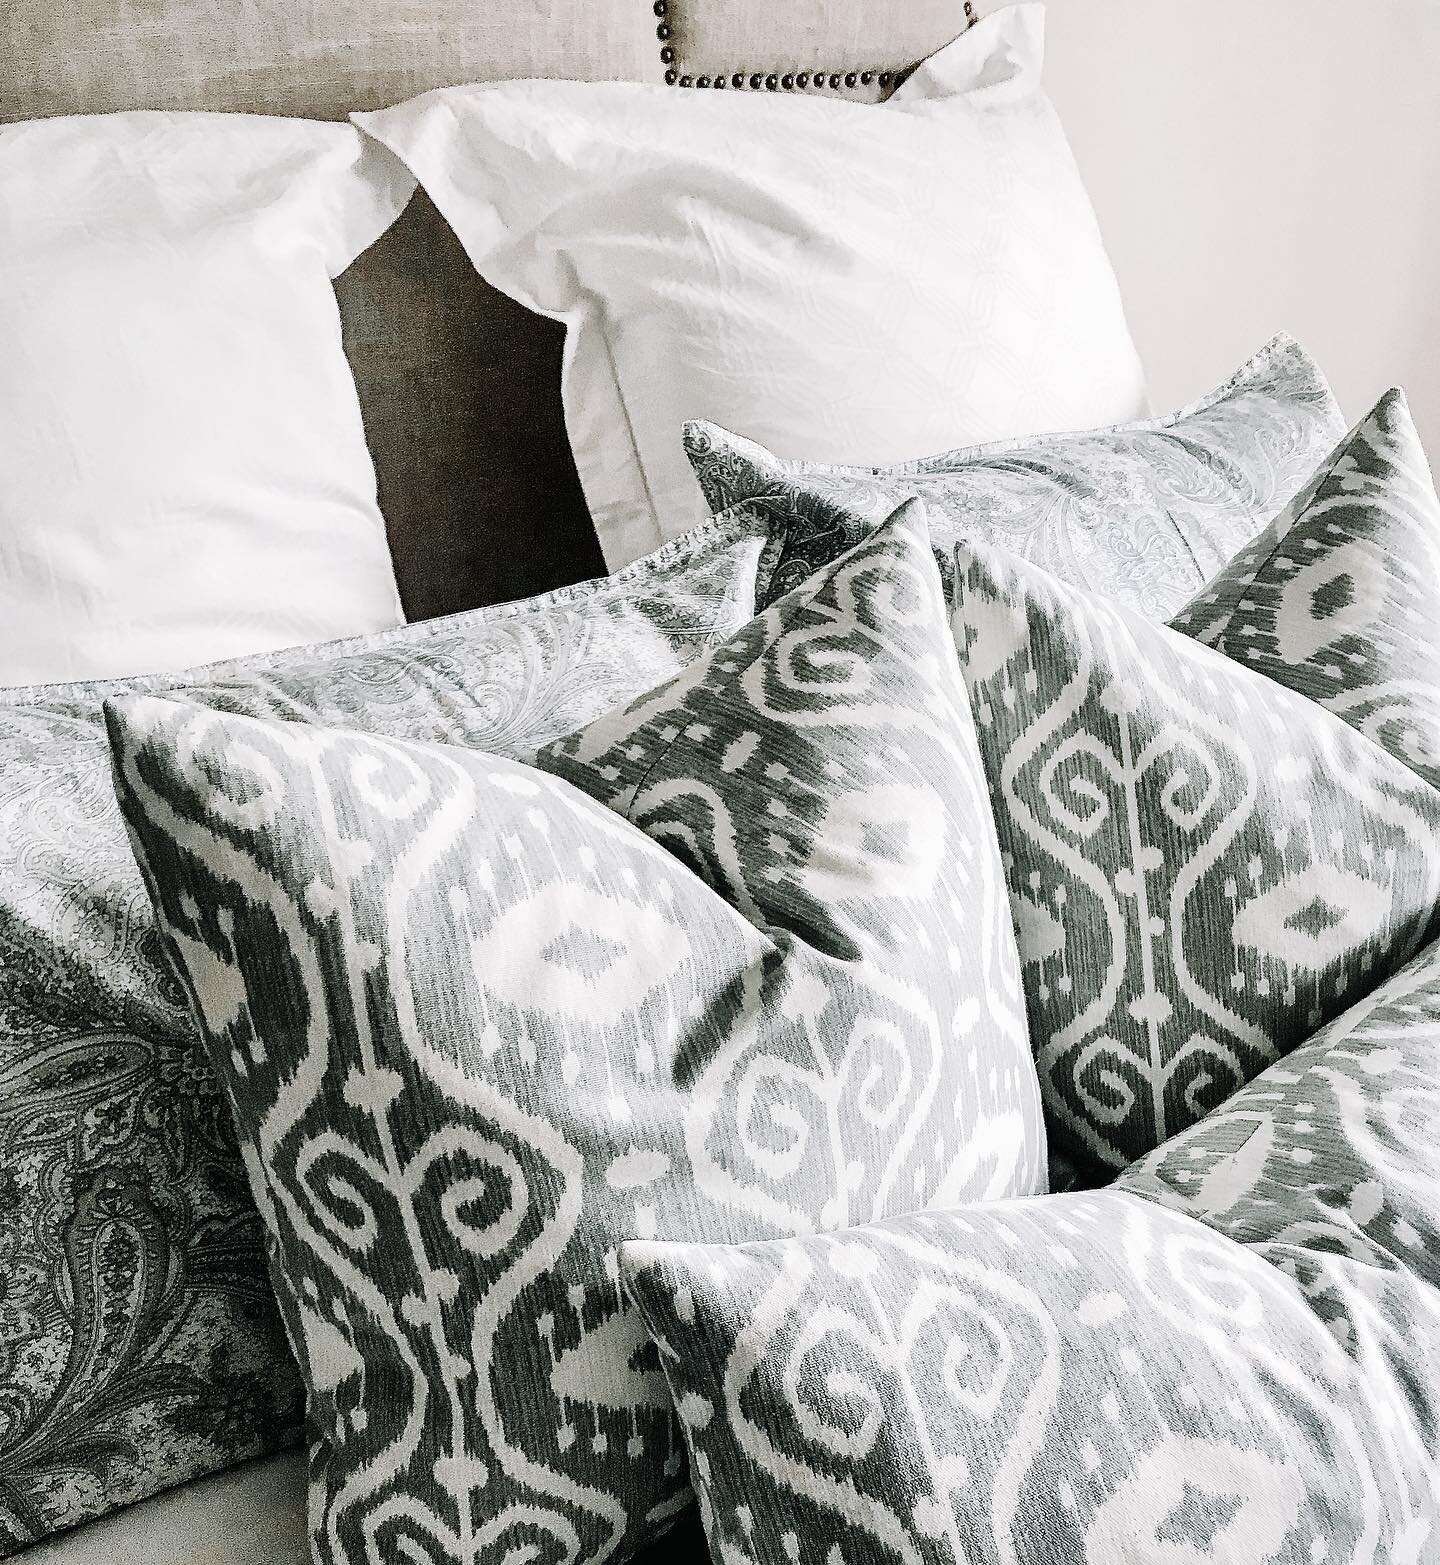
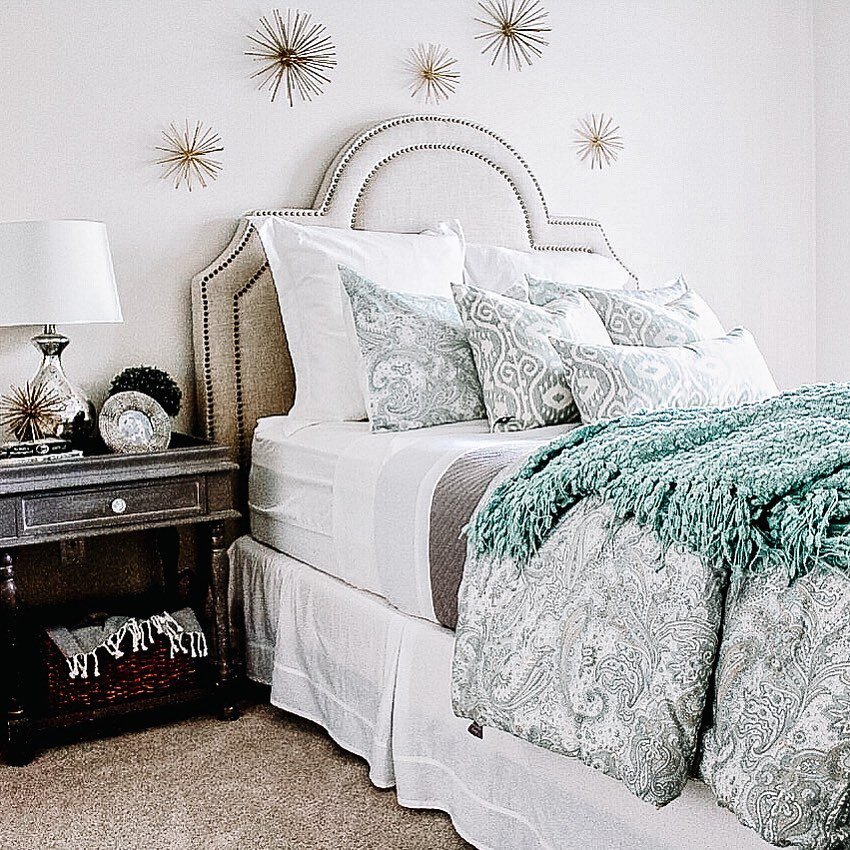
To keep costs down, I kept a majority of the decor I already had. Unfortunately, alot of these items are not sold anymore since I bought them 8 years ago- or I purchased them at Homegoods and so it’s not something you can order online. Therefore I provided details on some of the items and then like items. I also mentioned items I was considering over what I chose at the beginning of designing this project.
The Design:

Not pictured, my new bar cart: (click the pic to be brought to the item)

Click here.
Other items I originally considered in the design:

Rugs:
Lights:
Note: I wanted light #4 so bad, but my husband wasn’t completely on board. So I ended up with the light I did by literally ordering it as well as #4. I said which ever one ships to my house first is the light it’s meant to be… and that’s how I came to my decision, lol.
Other like items:
Other details:
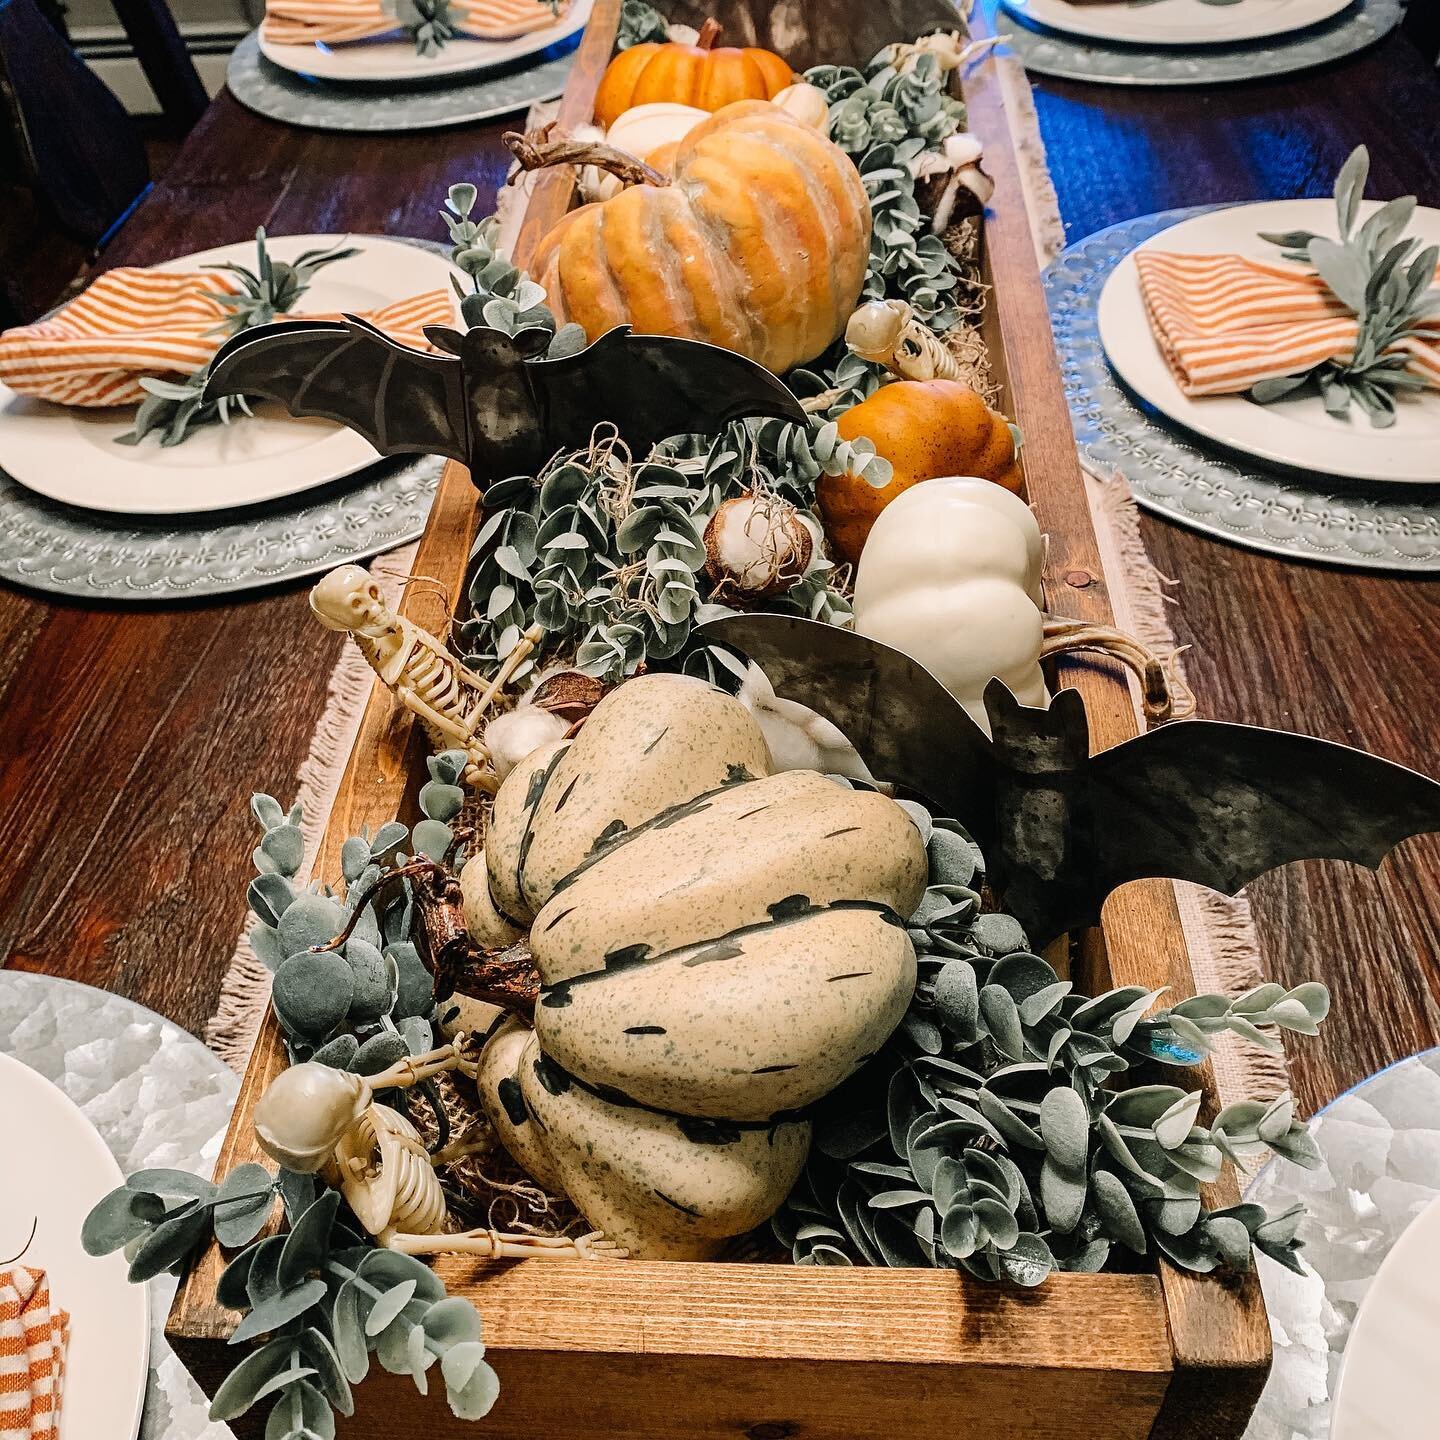
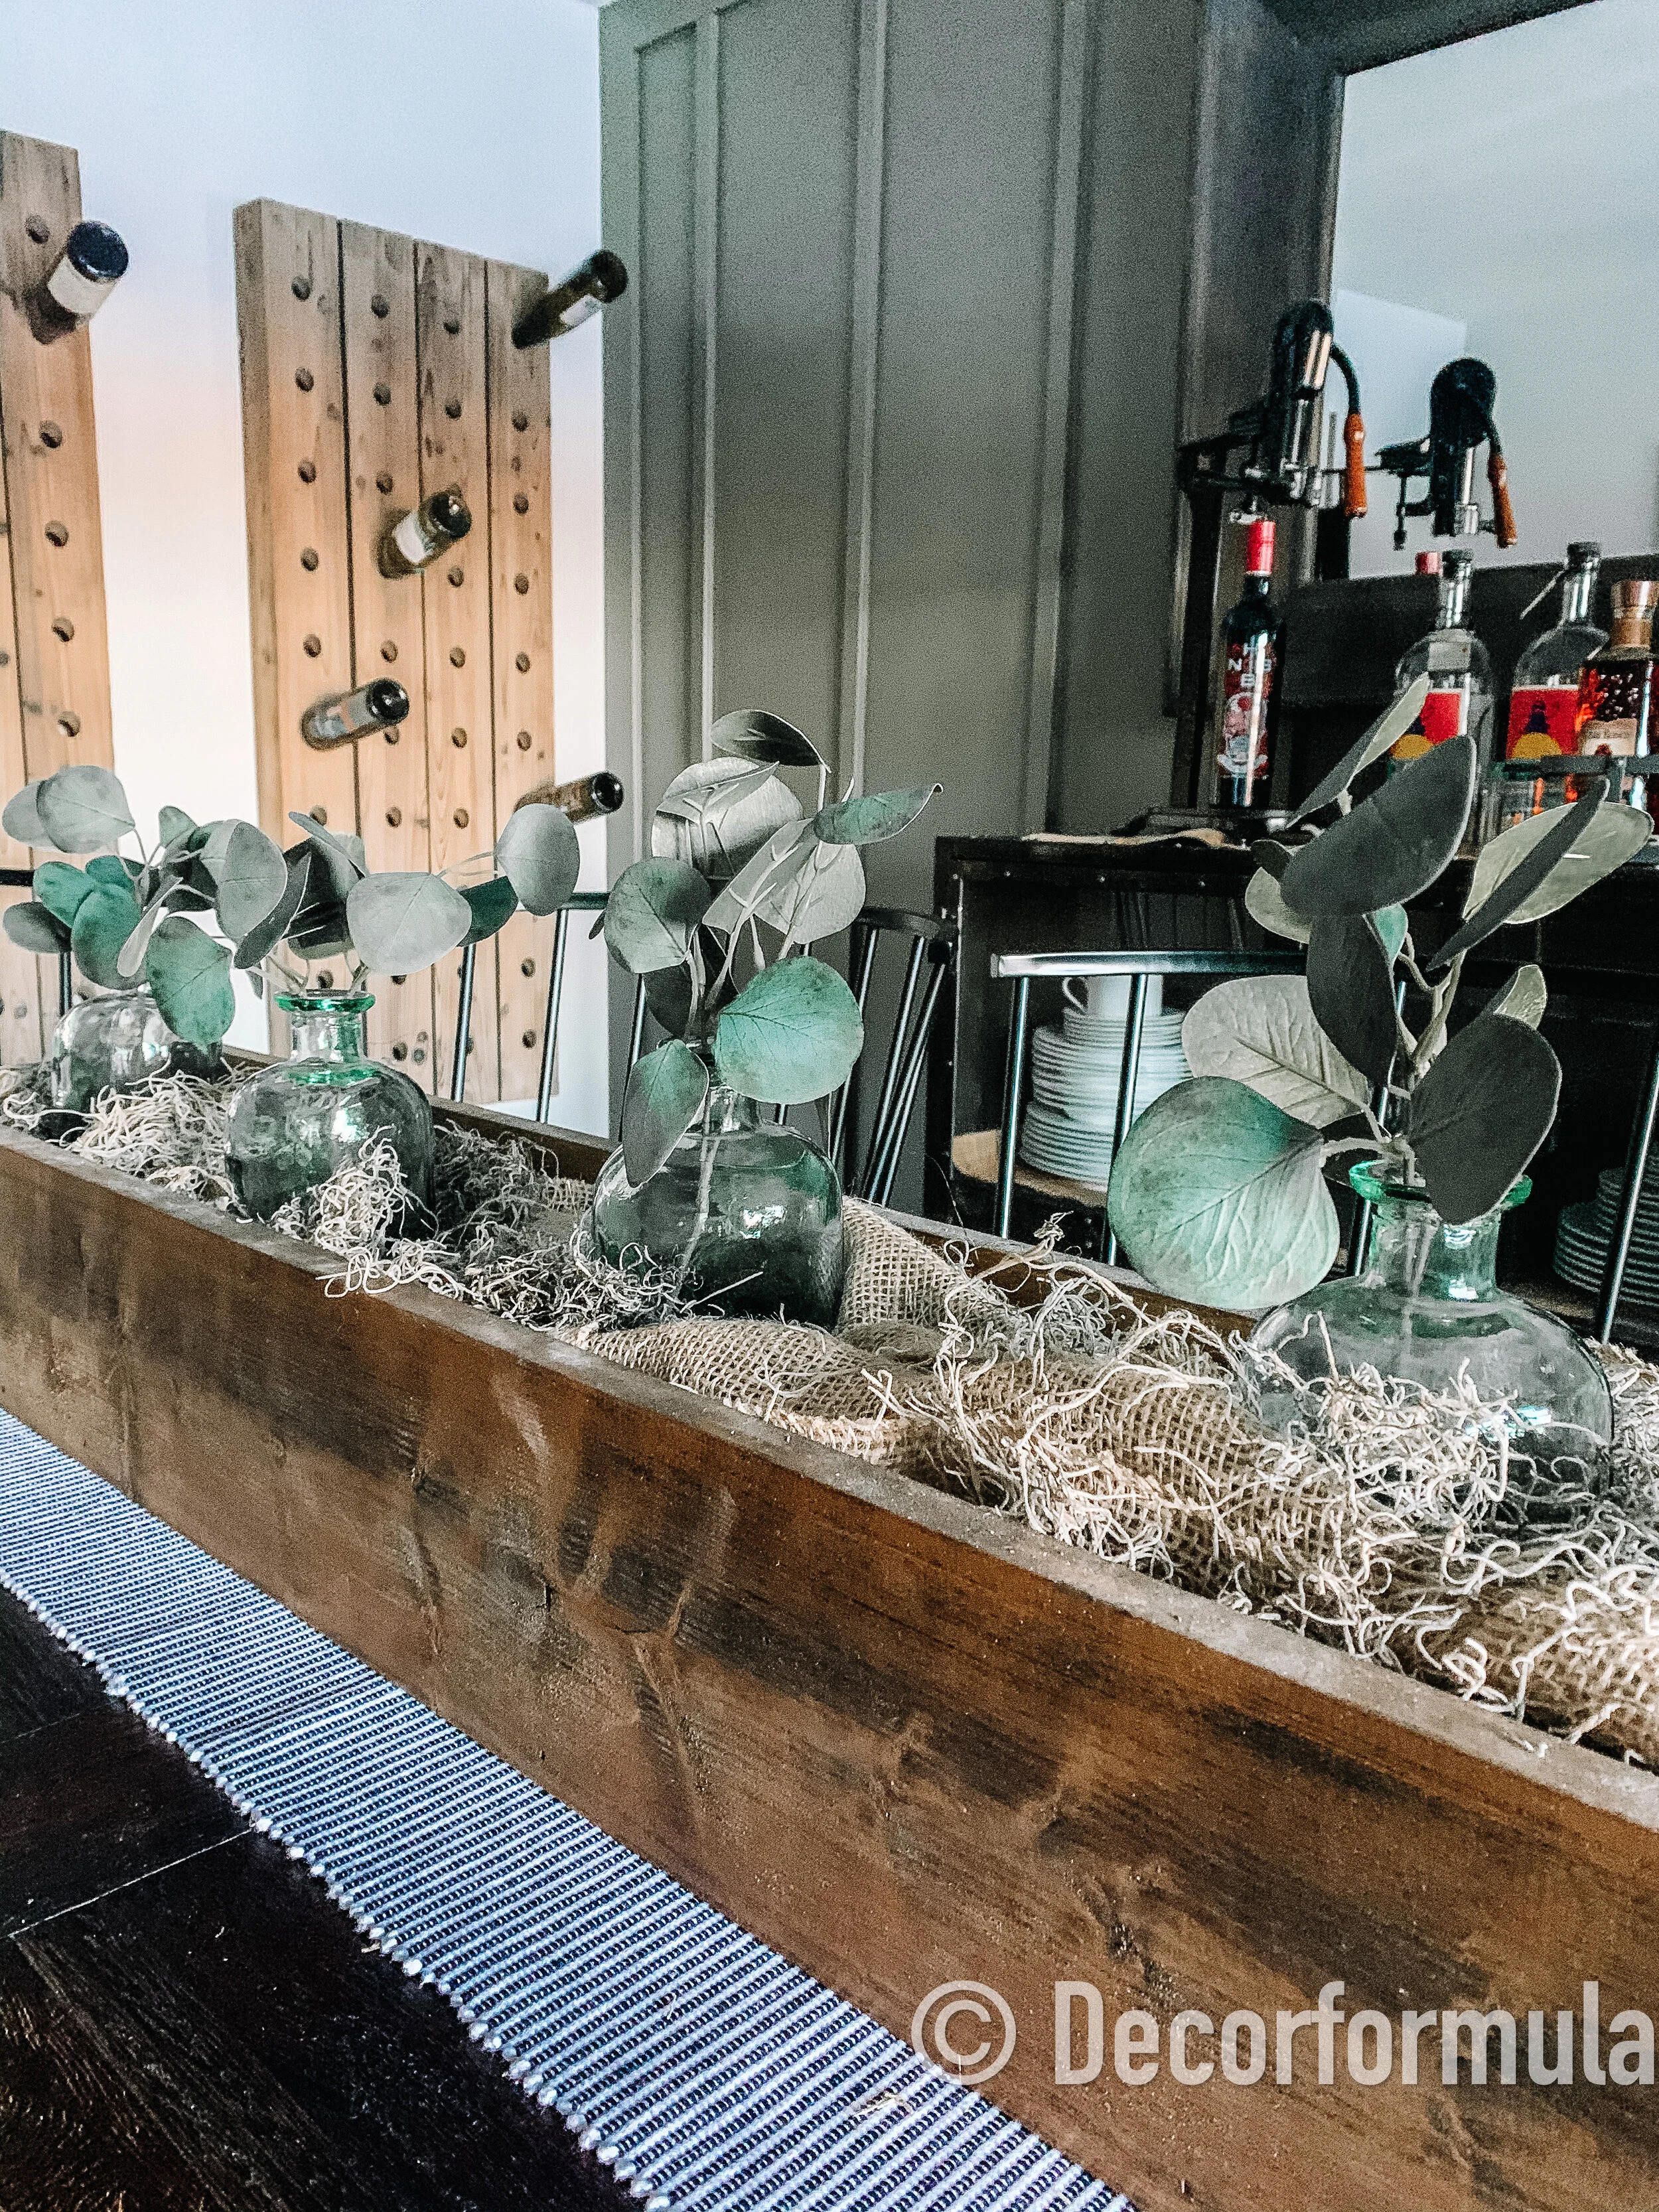
The runner was $9.99 from Homegoods, the box I built myself and I change out seasonly. I was lucky enough to walk in to the Homegoods the other day and they had 5 individual blue bottles for $3.99 a piece. The stems are from the wedding flower section of Hobby Lobby. The cheese boards in the background against the wall were also a Homegoods find.
Have any questions? Pop them below. As always, thanks for stopping by, sharing, and commenting!
:) Barbra
If you enjoyed this post you might also enjoy:
Hey Friends, I spend a lot of time putting together these posts, and I would love it if you’d show some love back and followed me on Instagram. **** 10/2020: Recently my instagram was erased and I lost all of my following, so I would SO appreciate it if you followed me by clicking on any of the pictures below from my current feed. Thank you so much!! <3