
DIY Pallet Walls: The Who? What? Where? How? of our Beautiful Pallet Wall
With our remodel in the basement complete, it's' time to start pumping out some posts on the details of our basement.
I made a "To-do" list for our house when we moved in 5 years ago (come October), which included small ticket and big ticket items (like our kitchen.. ouch). Last on the list was a remodel of our basement... which by the way was already finished, but not to my standards.

Over the past 5 years I've compiled ideas of the look I wanted to go for in this basement, and I truly love "Industrial" at heart, but living in a colonial, I feel like the industrial-look really doesn't fit the style of our house. (It's kind of like decorating as if you have a beach house but live nowhere near water... or a farmhouse and live nowhere near a farm... our land use to be a farm, so I don't know if that counts for anything.) Anyways, the basement was the perfect place to incorporate more of a dark and industrial feel, and while I hadn't exactly ironed out the details years ago...one thing I knew for sure is that I wanted an authentic pallet wood wall.
Here's some pictures of how our's turned out:


So I scoured the internet on how to get a hold of enough pallets to complete this wall. I found a ton of posts on collecting shipping pallets for free from places like Home Depot who pay companies to come pick up their pallets. But I had a ton of questions: How many pallets would I need? How many trips to how many places would I have to take to get the right amount? How would I transport them home? How exactly would I break them down? Were all pallets safe for in-home use? (Turns out the answer is no.)
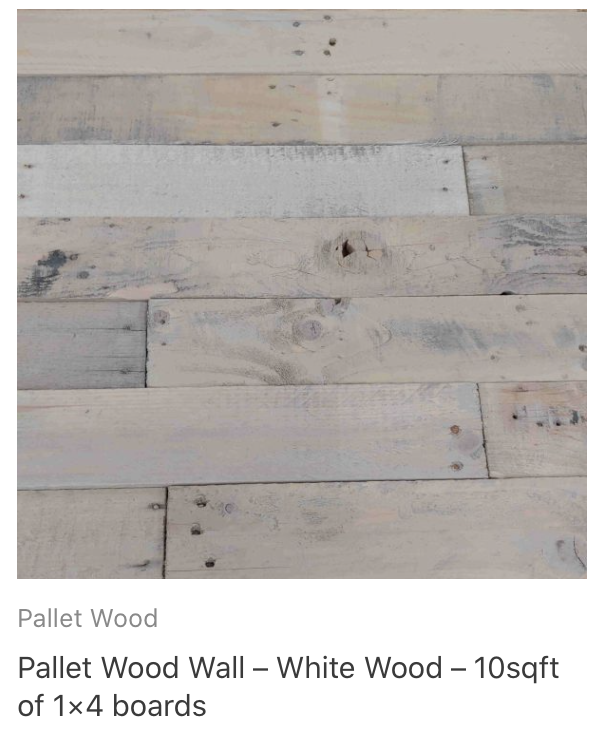
This route seemed extremely time consuming and a big hassle, so I looked into another option of getting "fake pallets" from kits sold at places like Home Depot. Here is the one I looked in to:

These boards looked pretty cool but when I took a look at the customer review photos- the wall just didn't look "authentic" or the rustic look I really was looking for. Also, at a whopping $25 for 10 sq feet (for which I needed close to 350 sq ft), This wall was going to cost me over $900.

That's when I came upon authentic pallet boards that were already broken down on Etsy that could be shipped to my house.
So here's the details in short on our wall:
The "Who?": "ReclaimedPalletBoards" Shop on Etsy
The "What?": Authentic Reclaimed Pallet Wood Boards in varying widths and color (no stain was added to any of the boards shown on my wall).
The "Where?": The company was based out of South Carolina so I had to pay UPS to freight ship it to my house, which took about 5 days.
The "How?": as in how much? (I'll get into details on how we put them up in a bit). $250 for the reclaimed pallet boards and $220 to ship them via UPS which was set up by a company called UShip.com. I know the shipping cost almost just as much as the pallet boards, but in my mind I was saving tons of time finding, transporting home, and breaking down boards, and at $470 this huge wall was half the price of the "non-authentic" looking one from Home Depot.
Update:
Many of you had written me asking if this company I originally ordered from offered different wood tones, which they didn’t. I searched for some other companies that offer pallet boards already prepared to be put up and I came across SLC Pallet Walls based out of my favorite state of Utah. What I love about the boards they offer is that they come in multiple shades. I posted some of my favorite below, and at around $2 a square foot you can’t go wrong. The owner Dan offered a coupon code to my readers to save 10% your total purchase by using promo code:
decorformula10
You can check out their website here:
And here were some of my favorites:


Frequently Asked Questions:
How did you set this all up?
It was actually super simple and done over the phone in about 10 minutes. I messaged Parker of ReclaimedPalletBoards via their Etsy page after seeing that he sold bundles of 400 pallet boards for $250. He answered me back within 10 minutes and gave me his number to call so he could give me more information over the phone on how it worked. Upon calling him, he explained everything to me including the cost and ways I could have them shipped to my house (like if you have a place of business, or know someone who does- the cost of shipping would be a lot less than what I paid). He asked me numerous questions like: What will you be using them for? What's the size of the wall? Do you have a preference to board width? Color? And he also explained how shipping would work. Click on the picture below for a direct link to the Etsy shop.

^Click picture to be brought directly to their page
How did you know how many boards to order?
I gave Parker the size of my wall (8ft by 32ft) and told him I wanted a mix of grey toned and weathered boards. He determined how many boards I would need. (Side note: when they arrived, I called him immediately because I thought that there was no way this short stack of boards would be enough to fit a nearly 35 foot wall. He assured me that they guarantee there's enough or they will ship you more at no cost. He was right- I had plenty with about 20 boards left over.)

What sizes were the boards?
The boards were roughly the same length at around 3-4ft a board. The widths of the boards varied between three different sizes. When I received them I separated the boards into three width groups: Skinny, Medium, and Wider in order to make construction of the wall easier.

Did you alter the boards in any way?
No, the colors shown in my photos are how the boards came. I did not apply any stain to the boards. However, I did cut the ends of certain boards off to fit the wall as we were putting them up. Nail heads were also left in the boards (which I love!).
What did you use to put the boards up?
We used a porter cable air compressor, 16 gauge finishing nail gun, and 1.5 inch finishing nails. I purchased these as part of a combo kit which came with three guns and the air compressor, which were on sale at the time as part of a pre-black friday deal for $150. I linked the kit we have below- but wait for it to go on sale again. We also used liquid nail to secure some of the boards (instead of real nails) that were questionably close to a waste pipe that behind the sheetrock.

Did you do a certain pattern on the wall?
Since the boards were three varying widths, we made rows of like widths across the wall. Take a look at the picture below to see what I mean. I also noticed that we had more of some widths than others, so I tried to alternate "Wide- Skinny", Wide-Medium", "Wide-Wide", so that I wouldn't get down to the bottom of the wall and just have all skinny rows or all wide rows.

How long did it take to put the boards up?
The process went pretty quickly once we got past the "questionable" area of where the waste pipe was behind the wall. I would say total time was about 2.5 hours for the 32 foot wall.
How did you go about putting the boards up?
Step 1: I separated the boards into piles based upon like "widths". I had three piles: Skinny, Medium, and Wide.
Step 2 Optional: I originally bought black paint to paint the wall behind the boards. I read online that because of some gaps showing between the boards it's best to paint the wall black prior to putting them up. In the end my husband felt we didn't need to because of the ugly "camel" color on the wall matched a lot of the boards. I ended up using the black paint in an area we didn't put planks on- where our flat screen tv mount was going to go.

Step 3: Take a stud finder and mark all of the studs along the wall. Then draw or chalk lines down the wall so you have a marker as to where to put your nails. This is extremely important because you do not want to hit any pipes while nailing these boards into the wall. Our wall was super tricky because we have a waste pipe that goes down on an angle across the entire wall. I was completely terrified that we would hit this pipe, and so every 6 feet or so we made a small hole in the wall to check where the pipe was.
Step 4: Grab some "like-width" boards from your pile, put it up against the ceiling or molding, use a level to make sure your boards are going up level, and start nailing. We only nailed boards into studs and we did two nails in each stud. When we got to the bottom of the room wall, I put up the base molding and used a table saw to rip down some of the boards to make them skinnier so they would fit up against the molding.
Some photos of the wall going up:


And there you have it... I can cross "Pallet Wall" off my Home Decor Wishlist :)

If you have any questions feel free to comment below and if you like this post feel free to share it with a friend!
Thanks for reading!
:) Barbra
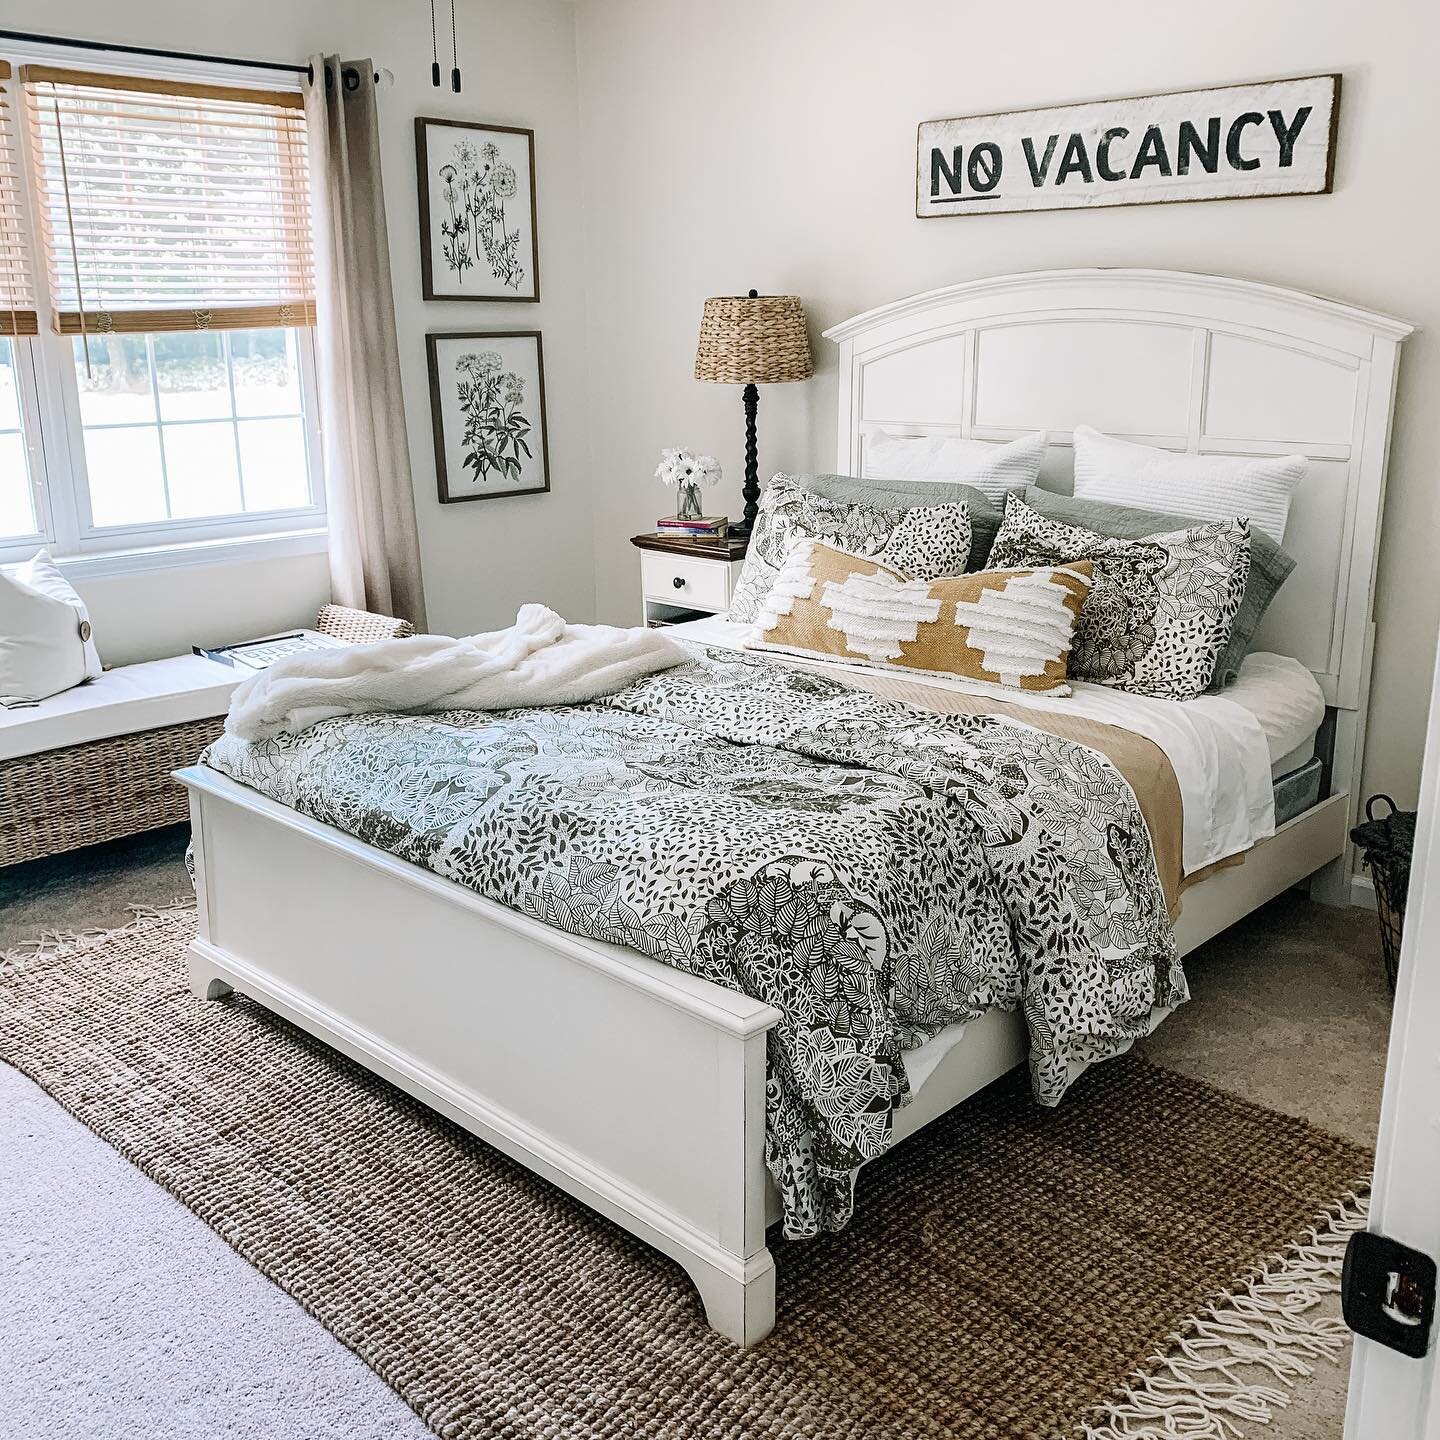
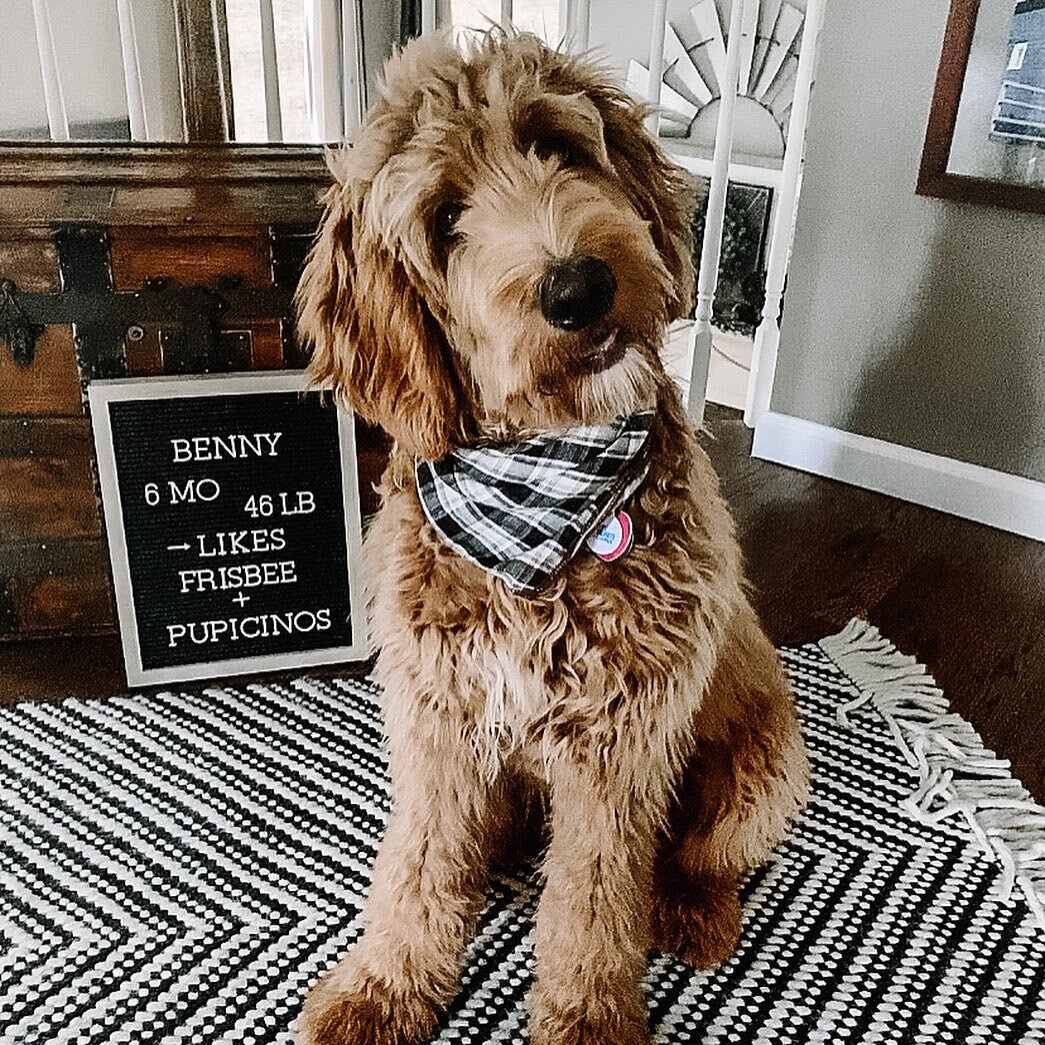
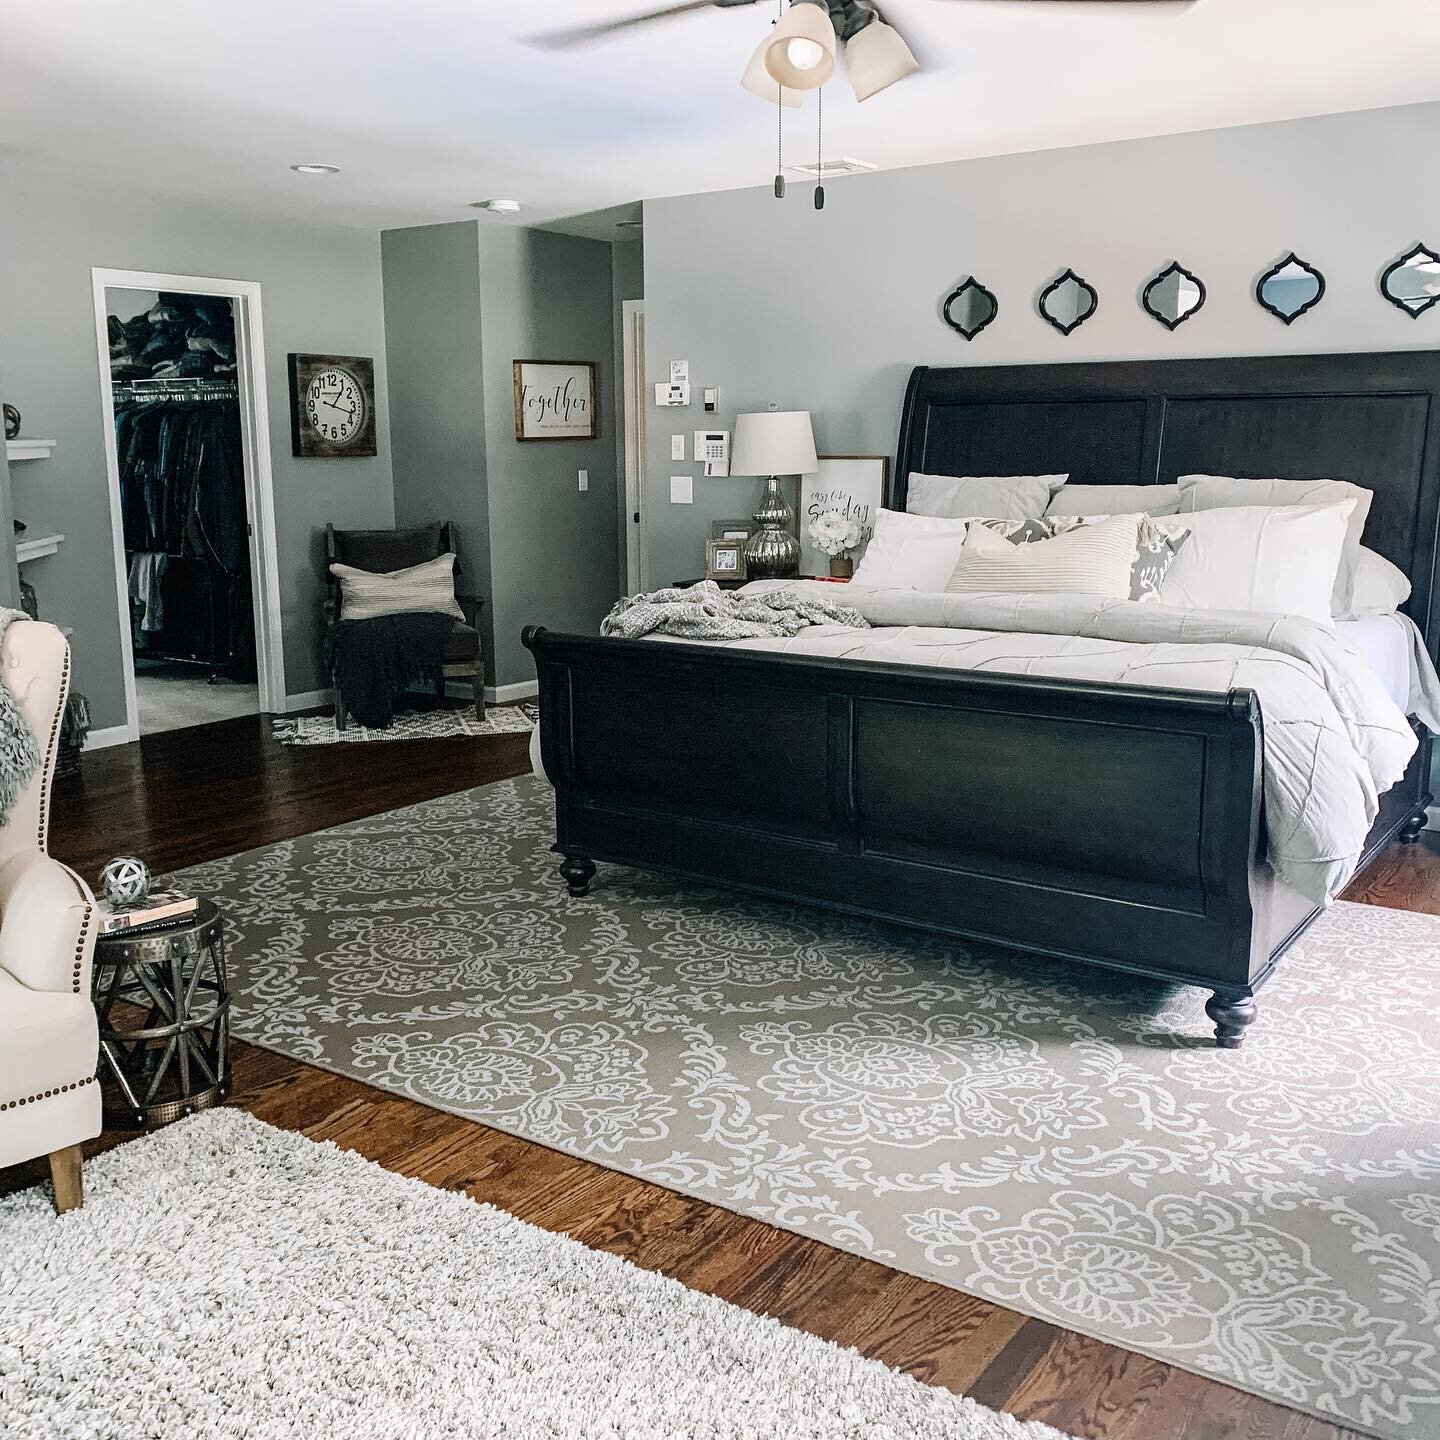
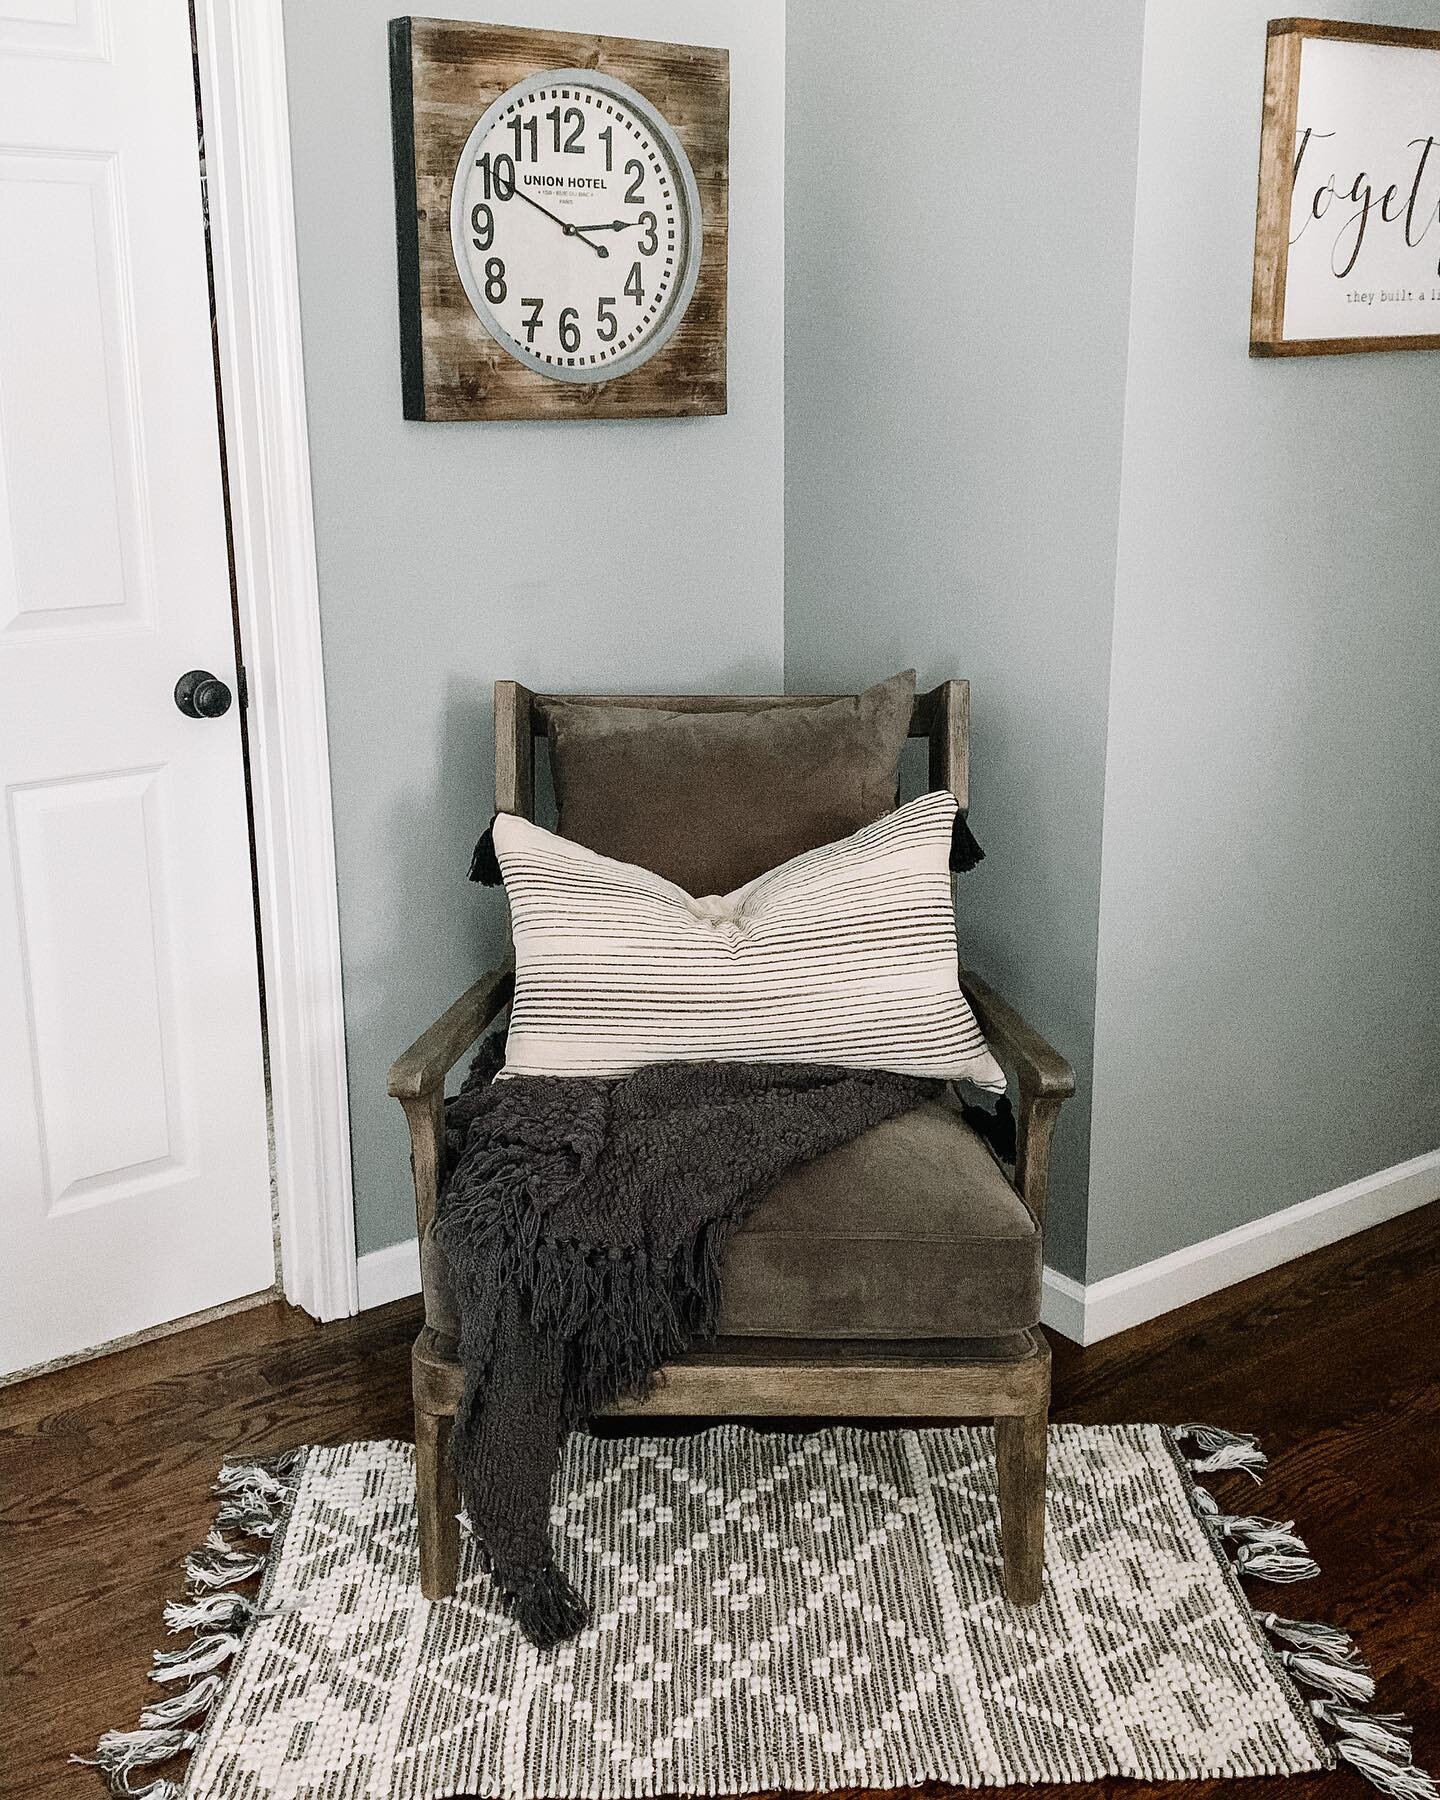
Hey Friends, I spend a lot of time putting together these posts, and I would love it if you’d show some love back and followed me on Instagram. **** 10/2020: Recently my instagram was erased and I lost all of my following, so I would SO appreciate it if you followed me by clicking on any of the pictures below from my current feed. Thank you so much!! <3