
How to Make a Wall Collage: Tips for tackling it with ease
I have always been a fan of the "wall collage" or as I sometimes like to call it in my house "wall-of-random- s.... (stuff)." In my "One Day" book that I mentioned in my coffee table decor post- I had tons of wall collages clipped out from pottery barn and ballard design magazines and was determined to put one in my home. Likewise when I started decorating on the side I've done at least one wall collage in each of the homes I've worked on.
There's many different types of wall collages. I like to categorize them to the following:
1. Photos-only Wall Collages
2. Sayings, Objects, and Random "Stuff"
3. A Mix of 1 + 2
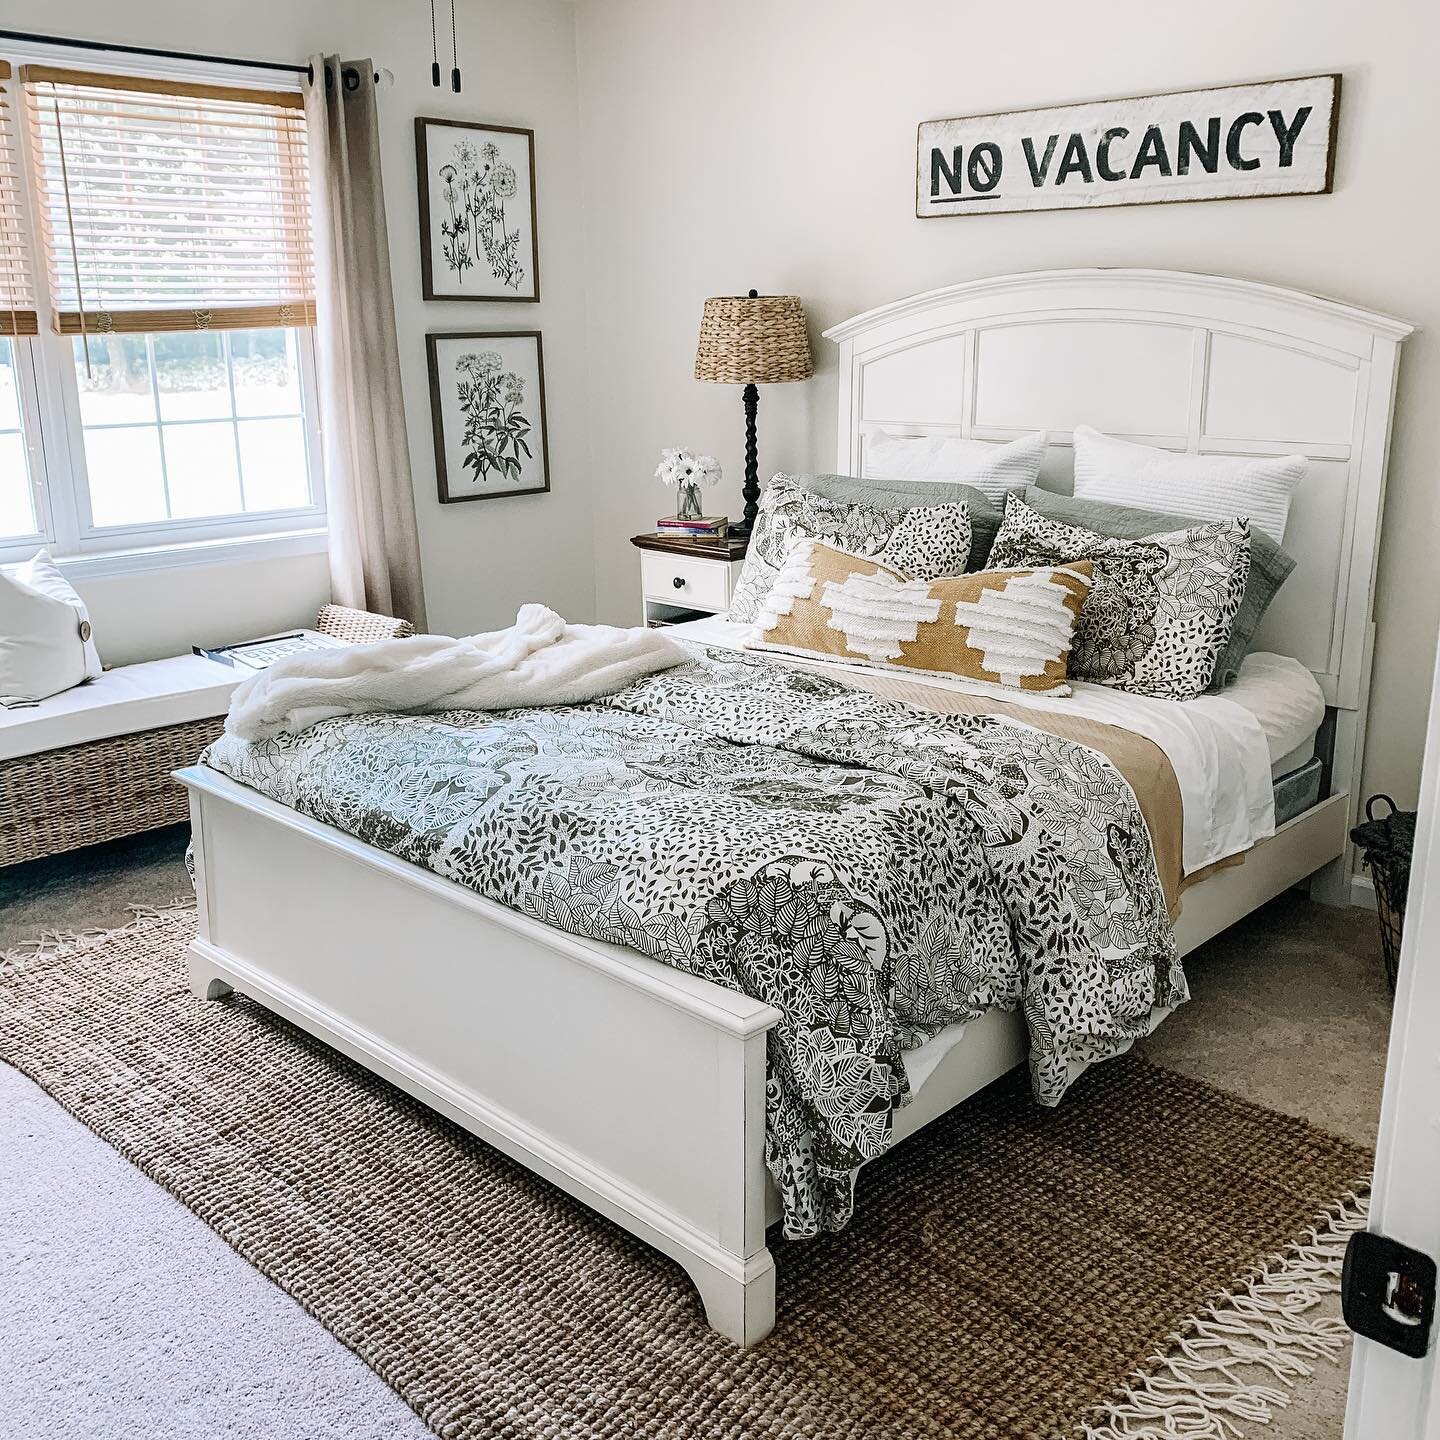
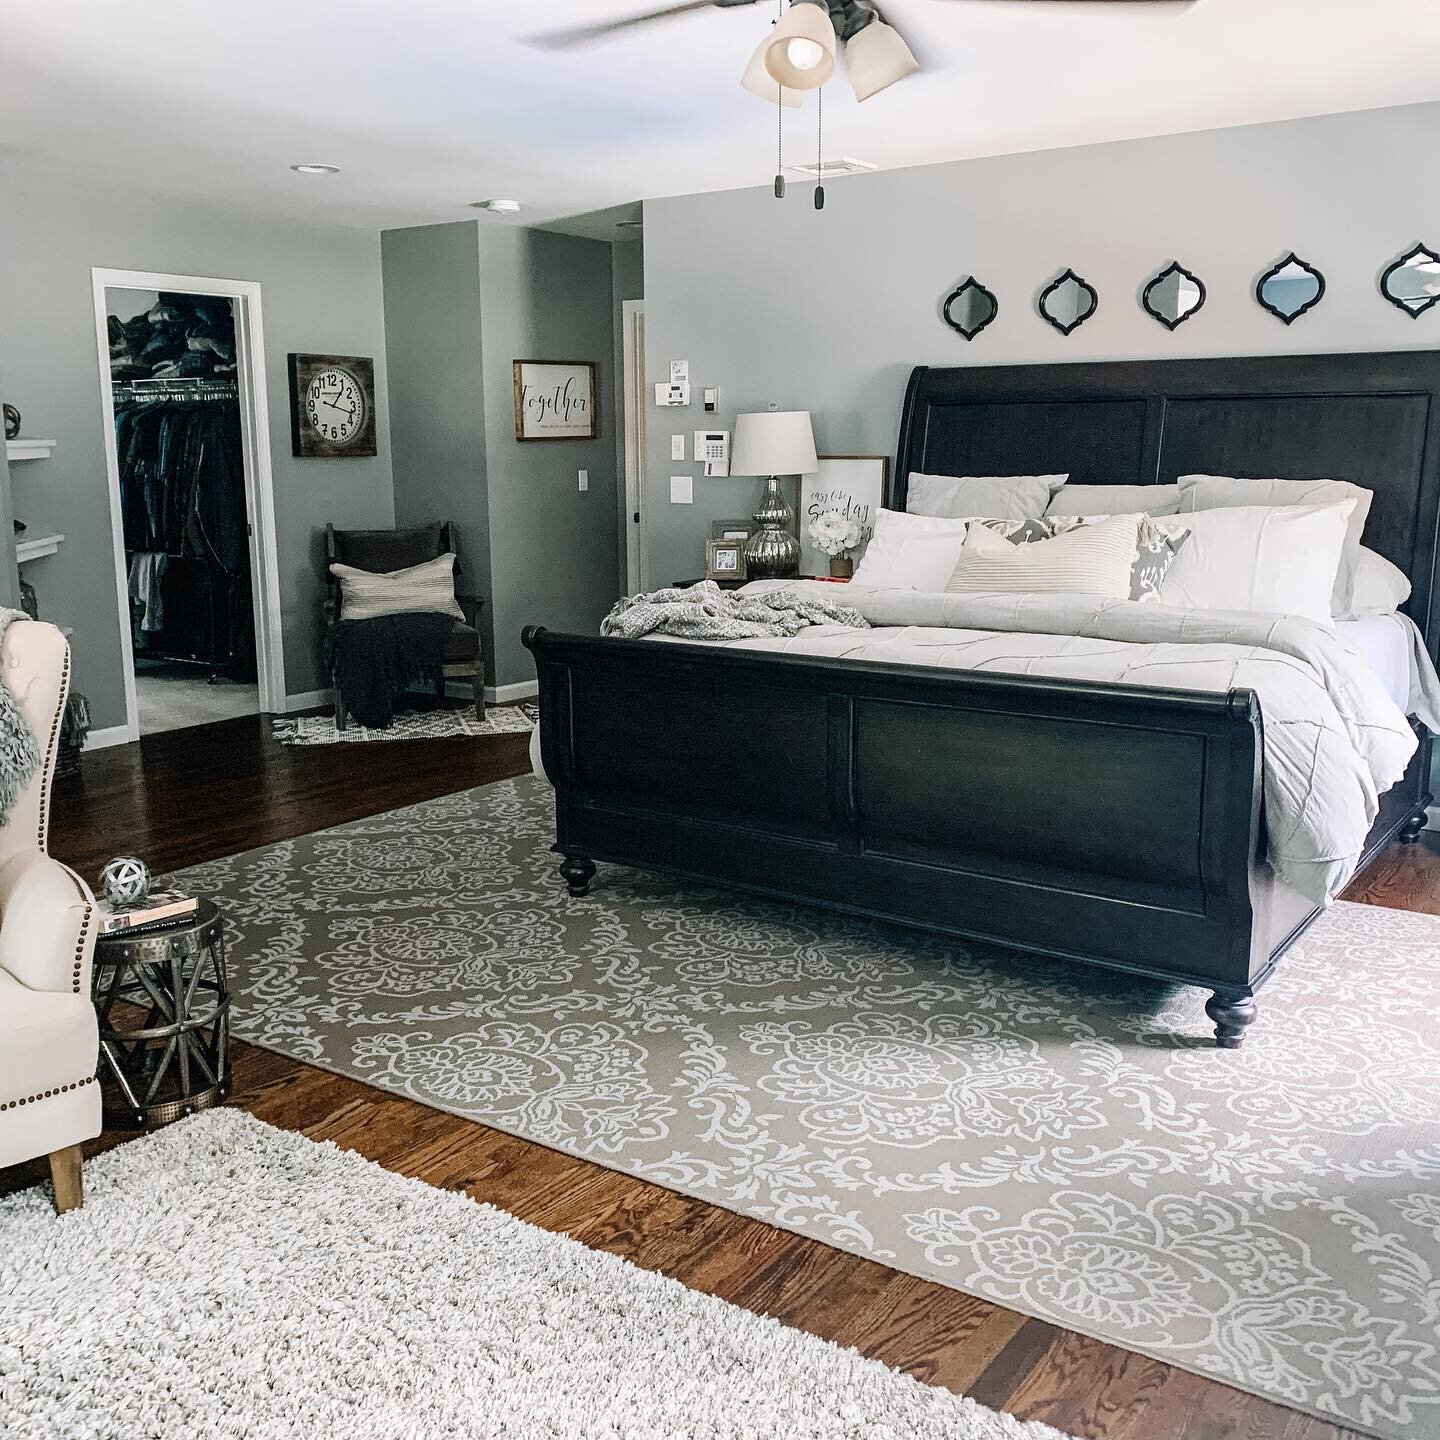
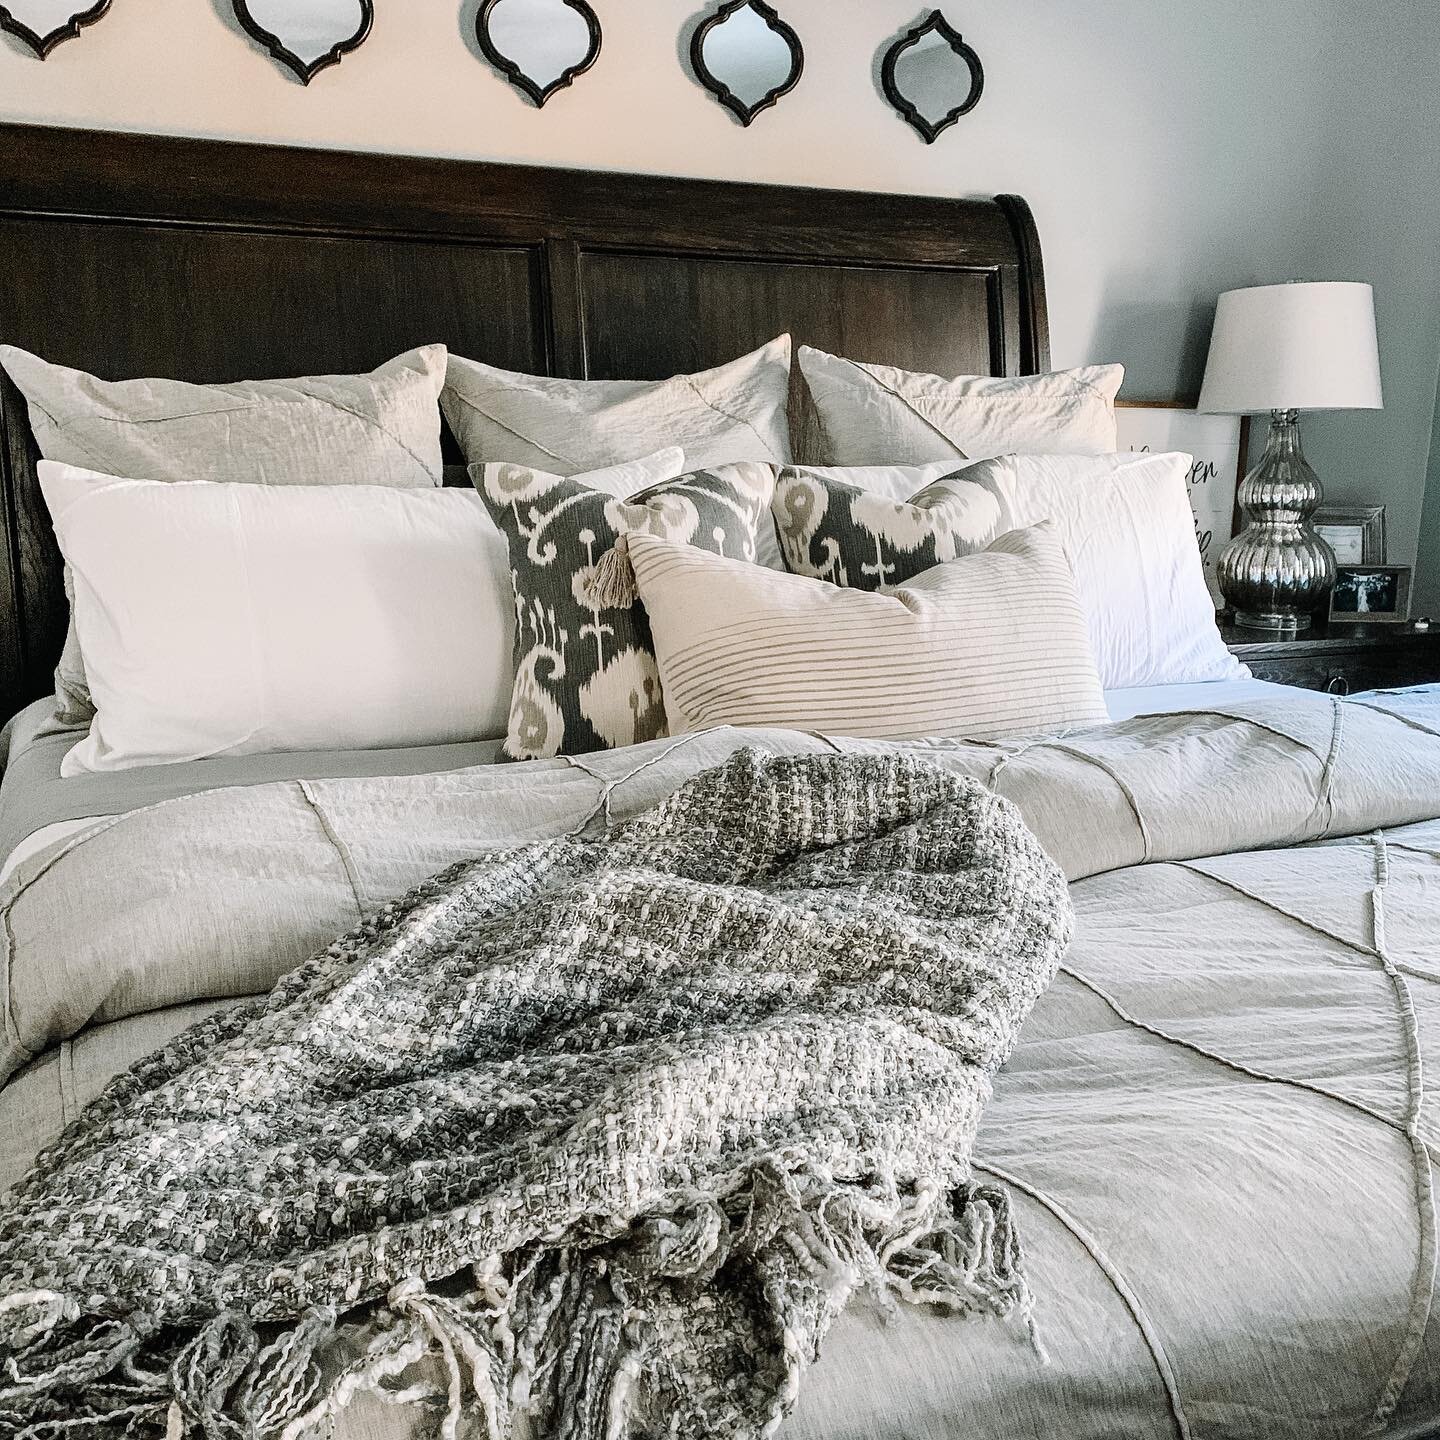
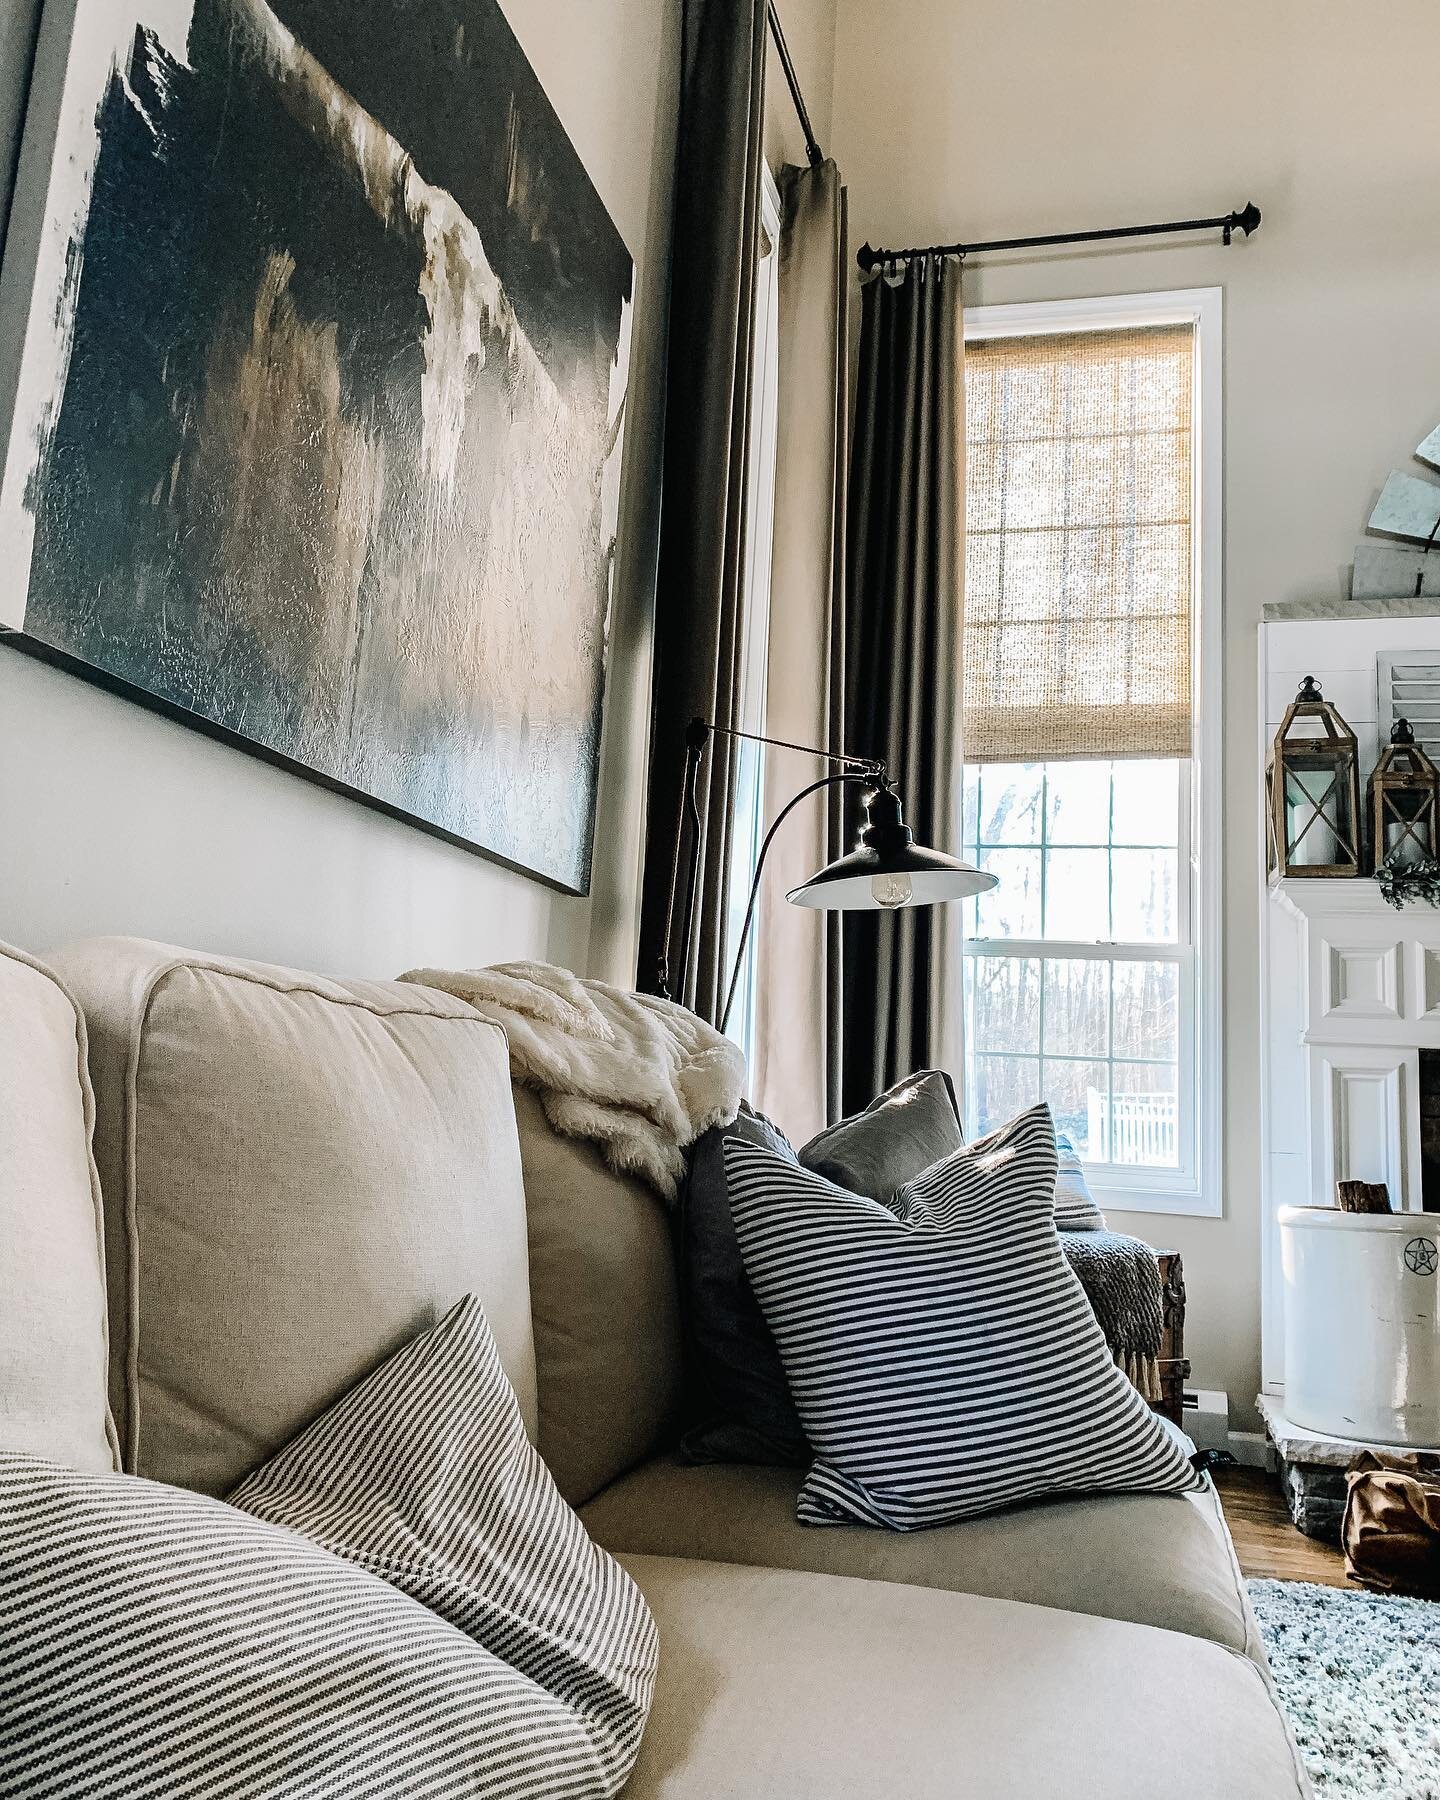
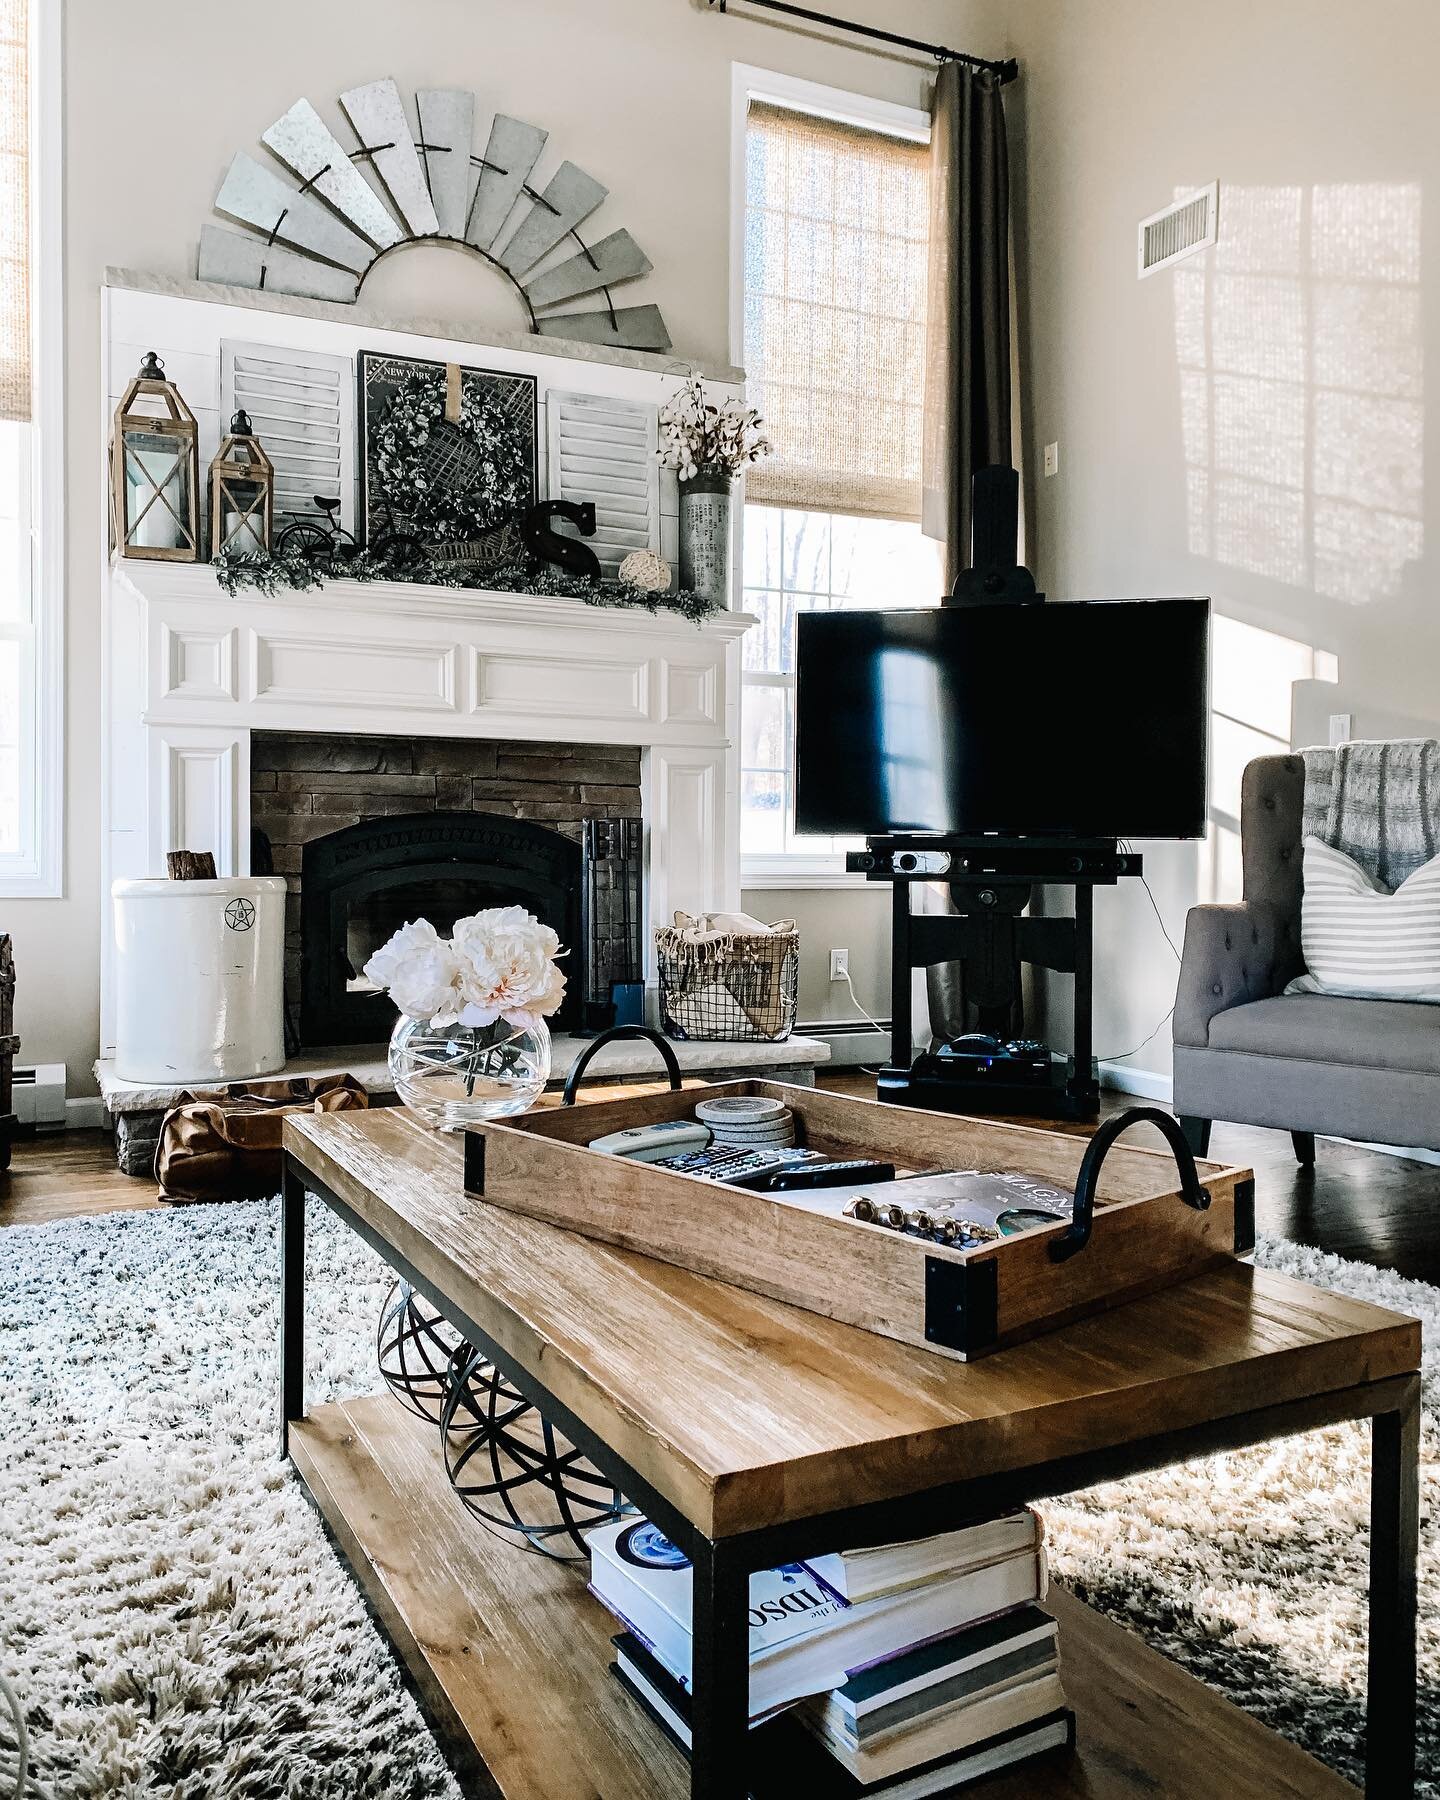
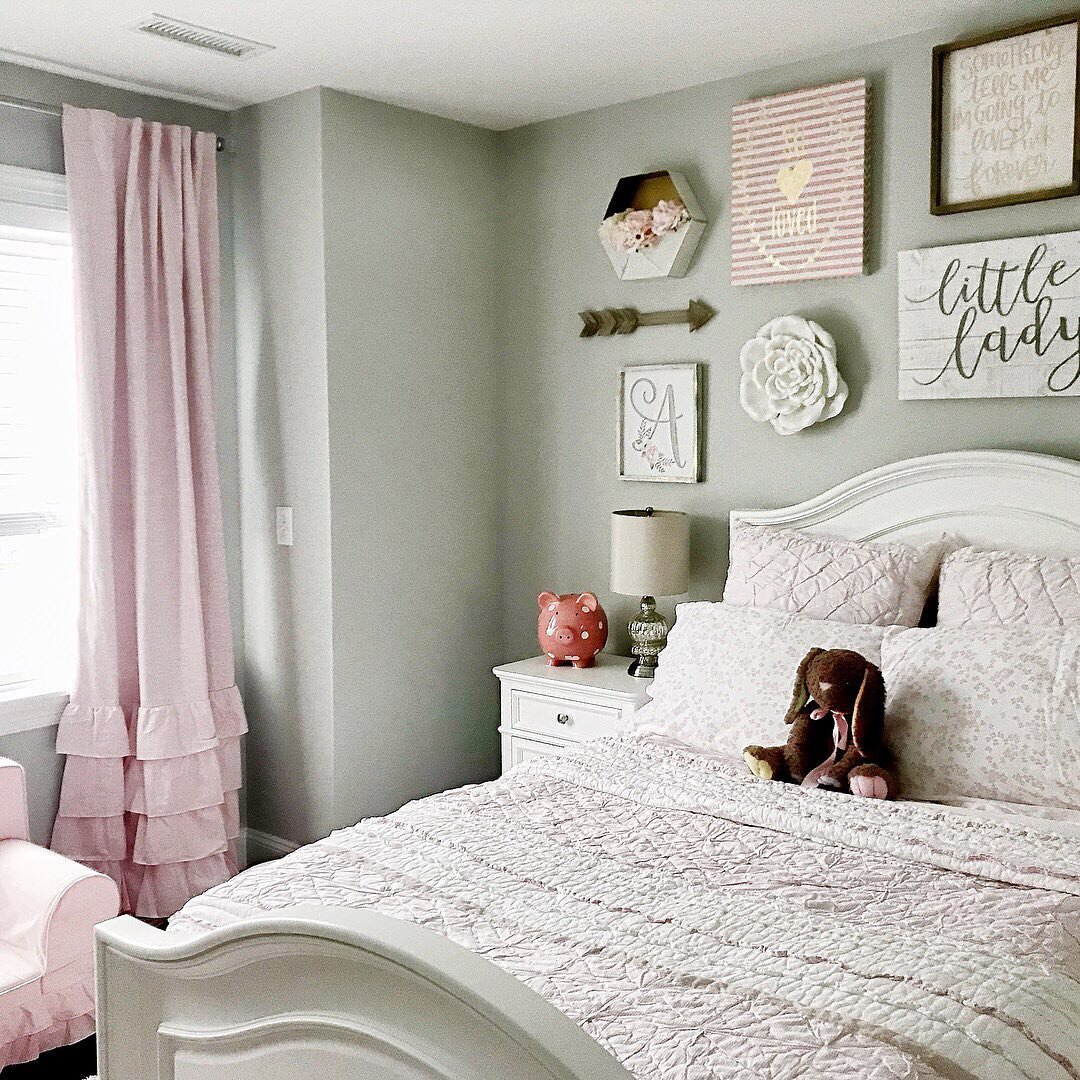
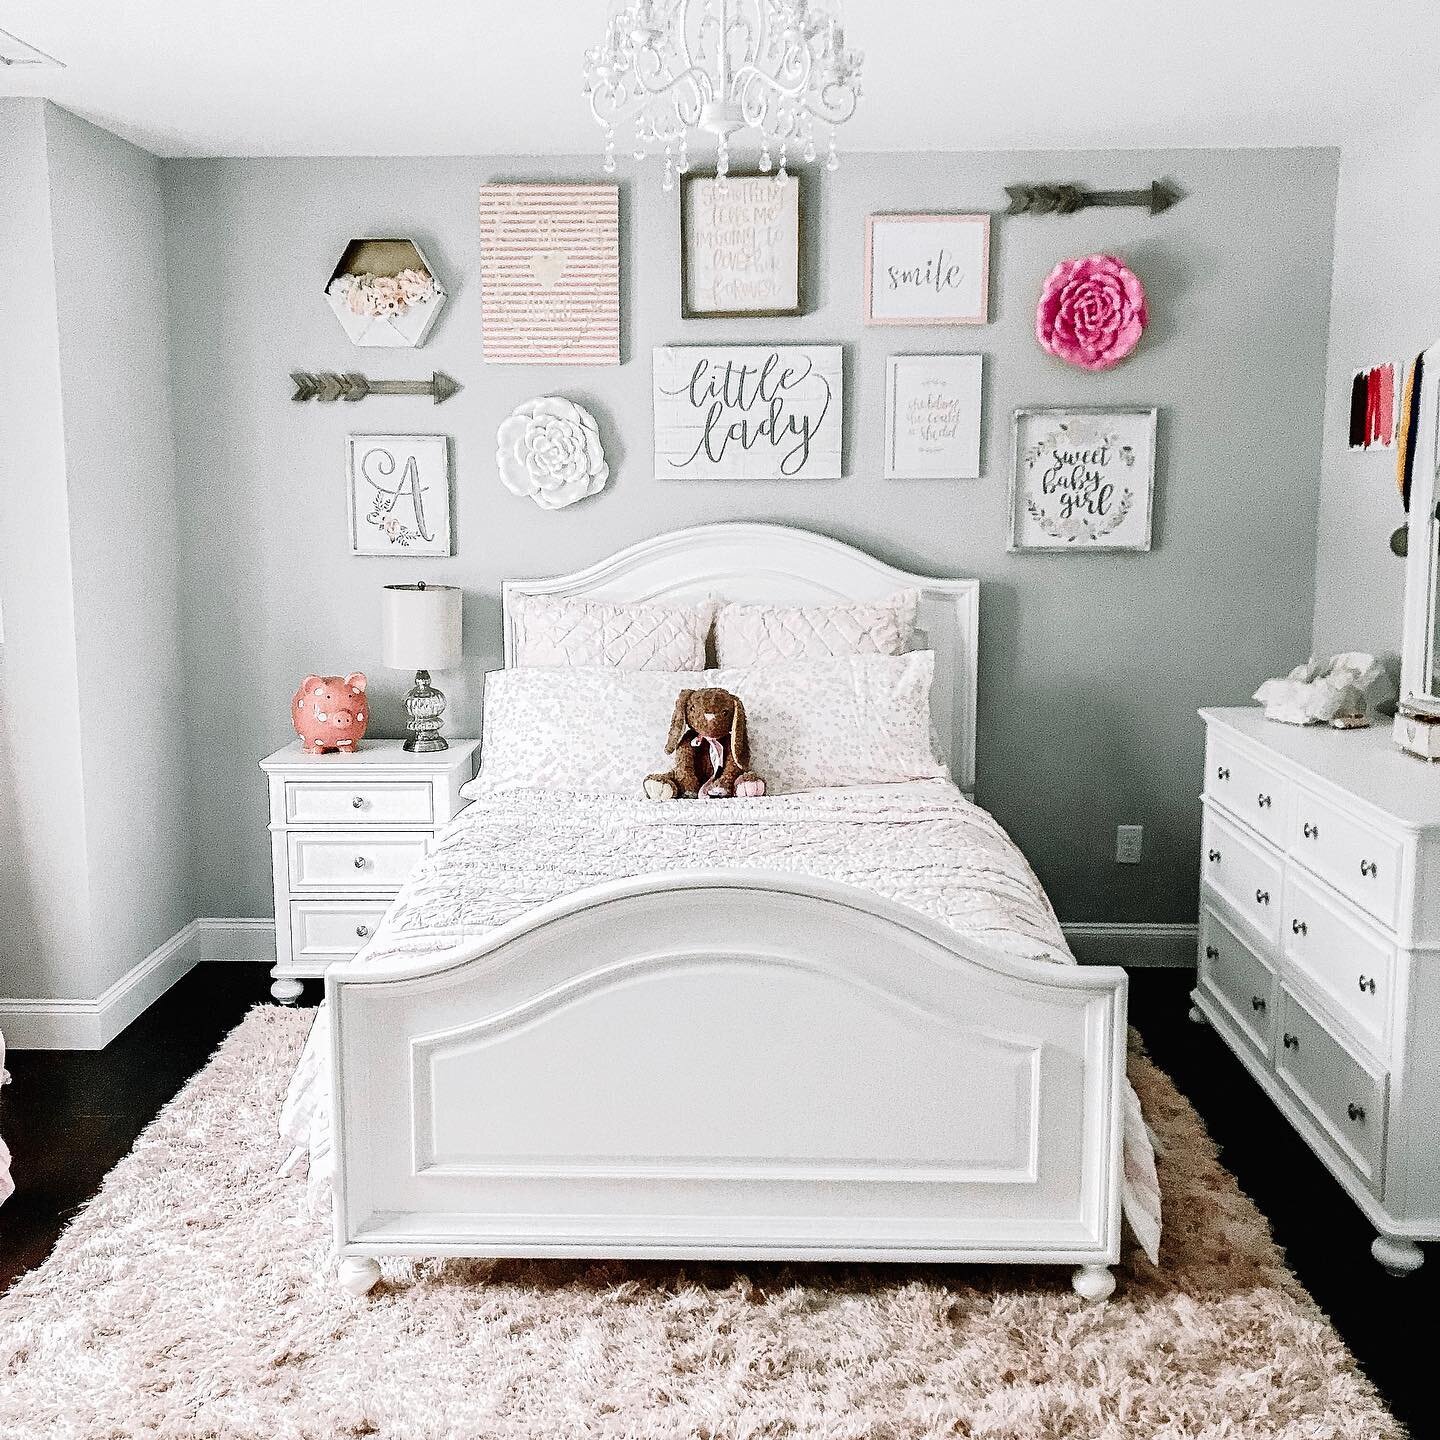
Regardless of what type you wish to do, they can go just about anywhere in a home. My favorite spots are over a bed, on a large open wall, or on a TV- Wall. I especially love putting wall collages on a mounted television wall because it makes it visually appealing and a focal point, especially when the TV is off.
Here's a couple from my home:


From Clients:


^This wall collage came out of a design dilemma. We were thrown off by this random small window and now this wall collage makes it look on purpose.
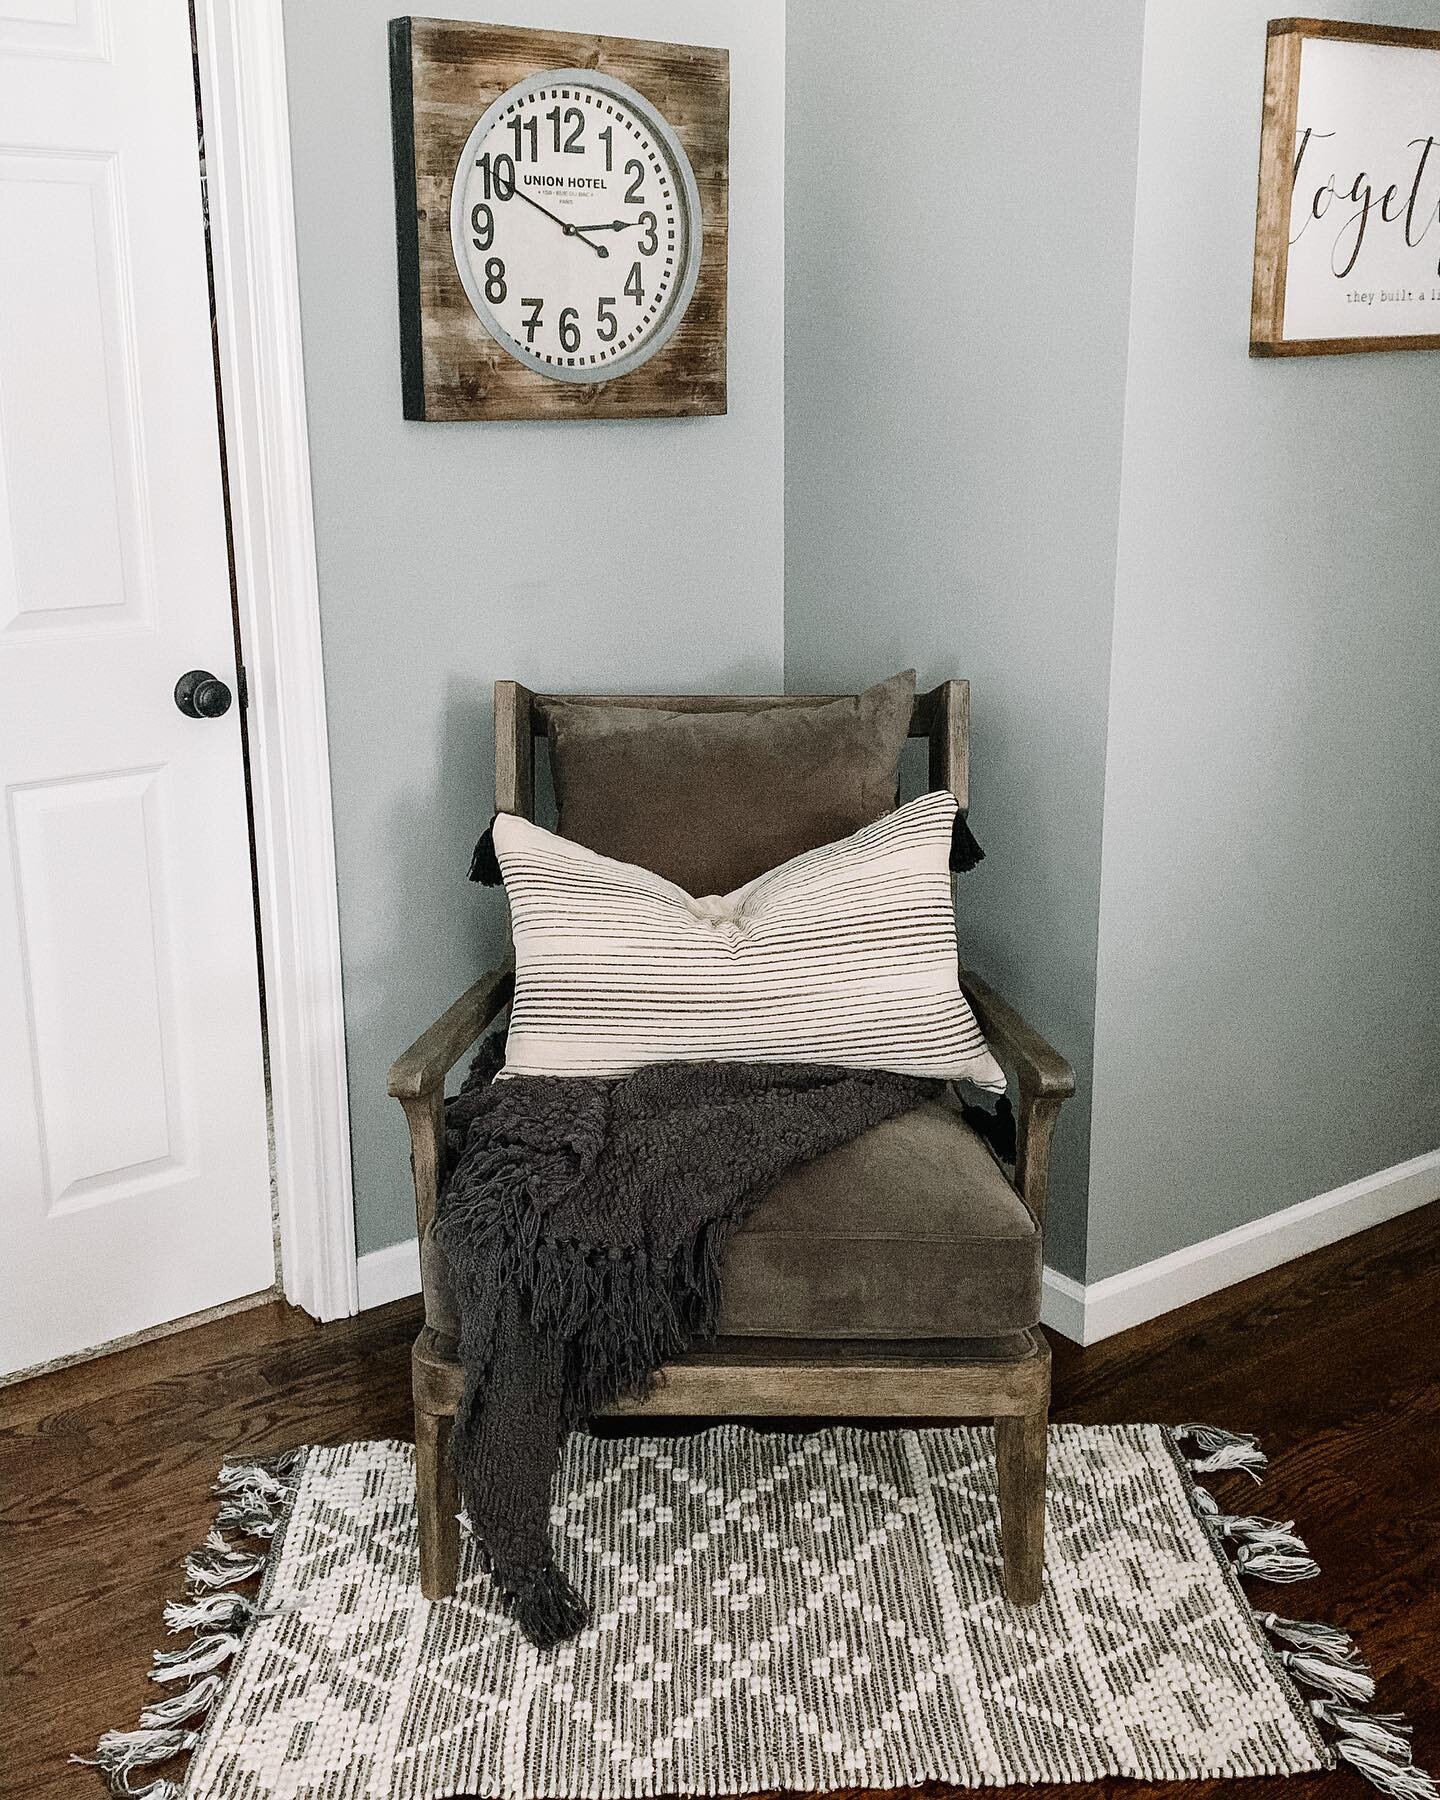
So the formula for the perfect wall collage is:
It's all about the lines.
What do you mean?
The perfect wall collage has most objects, pictures and sayings hung up in a way as so they share similar lines.
Take a look:


For the purposes of this post, I am only going to focus on wall collages that fall under ideas 2+3. For photo-only collages, I"ll be writing in a separate post, but I'll apply some of these ideas at the end of this post.
Tips & Tricks
Tip 1: Your first step should be to measure out the space you have and draw a model of it on a piece of paper. This especially helps if you don't have a big wall canvas- like if you are doing a collage around a bed-frame for example. I draw out all my ideas in an art drawing book (also called my "One-Day" book). I write down all measurements: Sides of each bed, bedside table up to ceiling, across the bed, etc. I keep these measurements/drawing in a book and in my car for when I happen to be at a store and see some "random stuff" that I think will look good on my wall (because you never know when you are going to find the perfect "random stuff"- I found the collection of metal antlers above at a store called Z Lion in Charlotte while visiting my friends Eric & Amber. Since I only had a carry-on, I was stopped at airport security because these antlers were considered "blunt objects". However, they obviously made it home with me.)
Tip 2: Draw out an idea of what you would want to put on the wall: whether it be a clock, sayings, photos, animal antlers, etc. Drawing it out gives you a basis for when you go shopping for your random things.
Tip 3: Have a tape measure with you at all times. It could be a small tape measure that you keep in your purse (or your pocket if you're a guy...or your man-purse). This is so when you come upon frames, objects, or sayings, you can see whether it's going to fit in the space provided.
Tip 4: The best spot to find things for your wall collage is Hobby Lobby. They have everything you could possibly need for a wall collage. Every other week certain parts of the store are 50% off. So sometimes it's worth it to wait for the sale. For example- the little girl's room above- her wall collage was only $107 total and everything was from Hobby Lobby. The "kitchen collage" which is on the wall behind a kitchen-table, also from Hobby Lobby- total $60. (If you are doing a photo-only collage, try Michaels frames- at least once a month they are 50% off, and if you're a teacher you get an extra 15% if you show your work badge.)
Tip 5: Think about investing in a tape measure that tells you what every little line on the tape measure equals (LOL) . This is so embarrassing to mention- however, if you're anything like me with a tape measure- I know 1/4, 1/2, 3/4ths and that's about it. All the time I"ll say to my husband "it's two lines after the 1/2" and he'll respond "You mean 5/8ths?" I came upon this DeWalt tape measure below while I was browsing through Home Depot (yes, I browse around Home Depot). I then purchased it as a stocking stuffer for my husband last year- but in actuality it was really for me : P (Needless to say he realized this very quickly.)

Tip 6: Before hanging anything lay it out on the floor, start in a corner of the collage when hanging, and make sure you have a piece of paper and pencil handy to do some "measuring" math before putting screws in your wall.
New***: Tip 7: PicGenie123!! I only recently discovered a new product that Home Depot sells in order to hang photos and let me tell you… I wish I had discovered this easy-to-use product years ago.. It’s literally cut hours and hours off of writing down and subtracting measurements to make all the pictures perfectly even with one another when constructing these wall collages. The product is called PicGenie123, and is sold in the Nail/Screw aisle at Home Depot. It probably took me forever to discover it because it’s literally on the lowest shelf at my local HD. You can also make it easy on yourself and order it for in-store pick up or delivery instead. Click on the pictures below to be brought directly to the product.
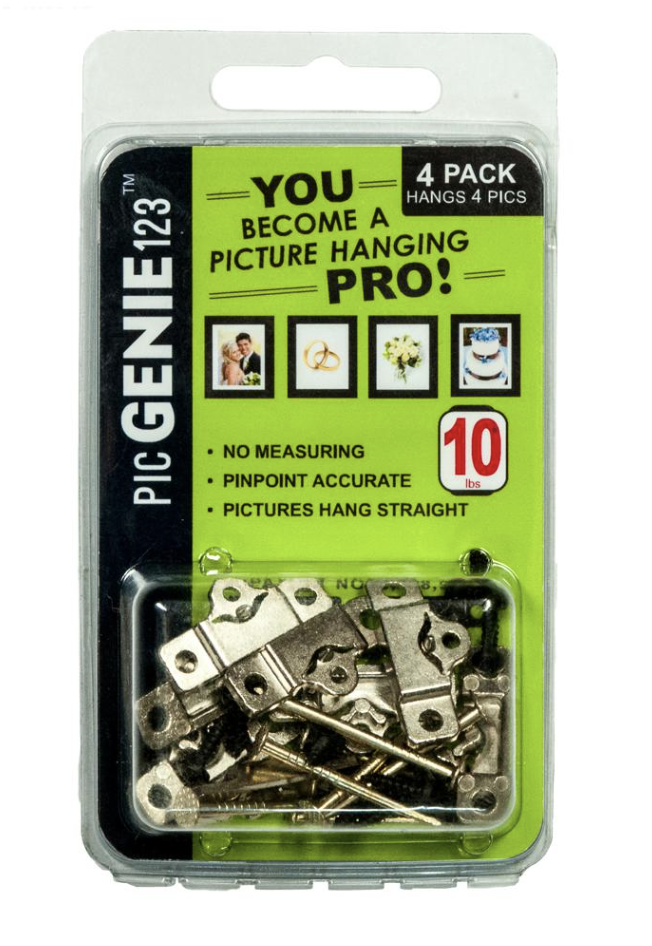
*One I use most often^

How does it work? You attach the picture hanger to the back of the frame with the little screws it includes. It literally doesn’t matter where you even put the picture hangers or if they’re even with one another. You grab a small level and put on top of the frame, press the frame against the wall, and when you remove it, picgenie123 leaves a tiny hole of where you need to put the nail. Each pack says it hangs “4 pictures” and comes with 8 picture hangers- But I only use two on larger frames, and one in the center on smaller frames. Check out the video below.
Do's & Don'ts
DO: Collect items in your cart and find an open space on the floor in the store. Lay things out on the floor with your tape measure to see what it looks like before purchasing.

^ Me practicing my first "DO" on the floor at Michaels craft store for a photo gallery wall in a client's house.
DON'T: Feel stupid doing the above "Do" ^. I have my tape measure with me all the time and at first I feel stupid laying things on the ground while people are walking by, but I can't tell you how many times people make comments to me "That's so smart!" as they walk by.
DO: Buy more items than you need. You can always return things and it's better to have more than you need, than to be knee deep hanging stuff on your wall and thinking " I should have bought this instead" or " I wonder if this would have looked better." Sometimes things look great on the floor in the store or on the floor in your home and when you start putting things up the plan changes.


^"The Plan" on the left, and the final result on the right, see how they differ slightly?
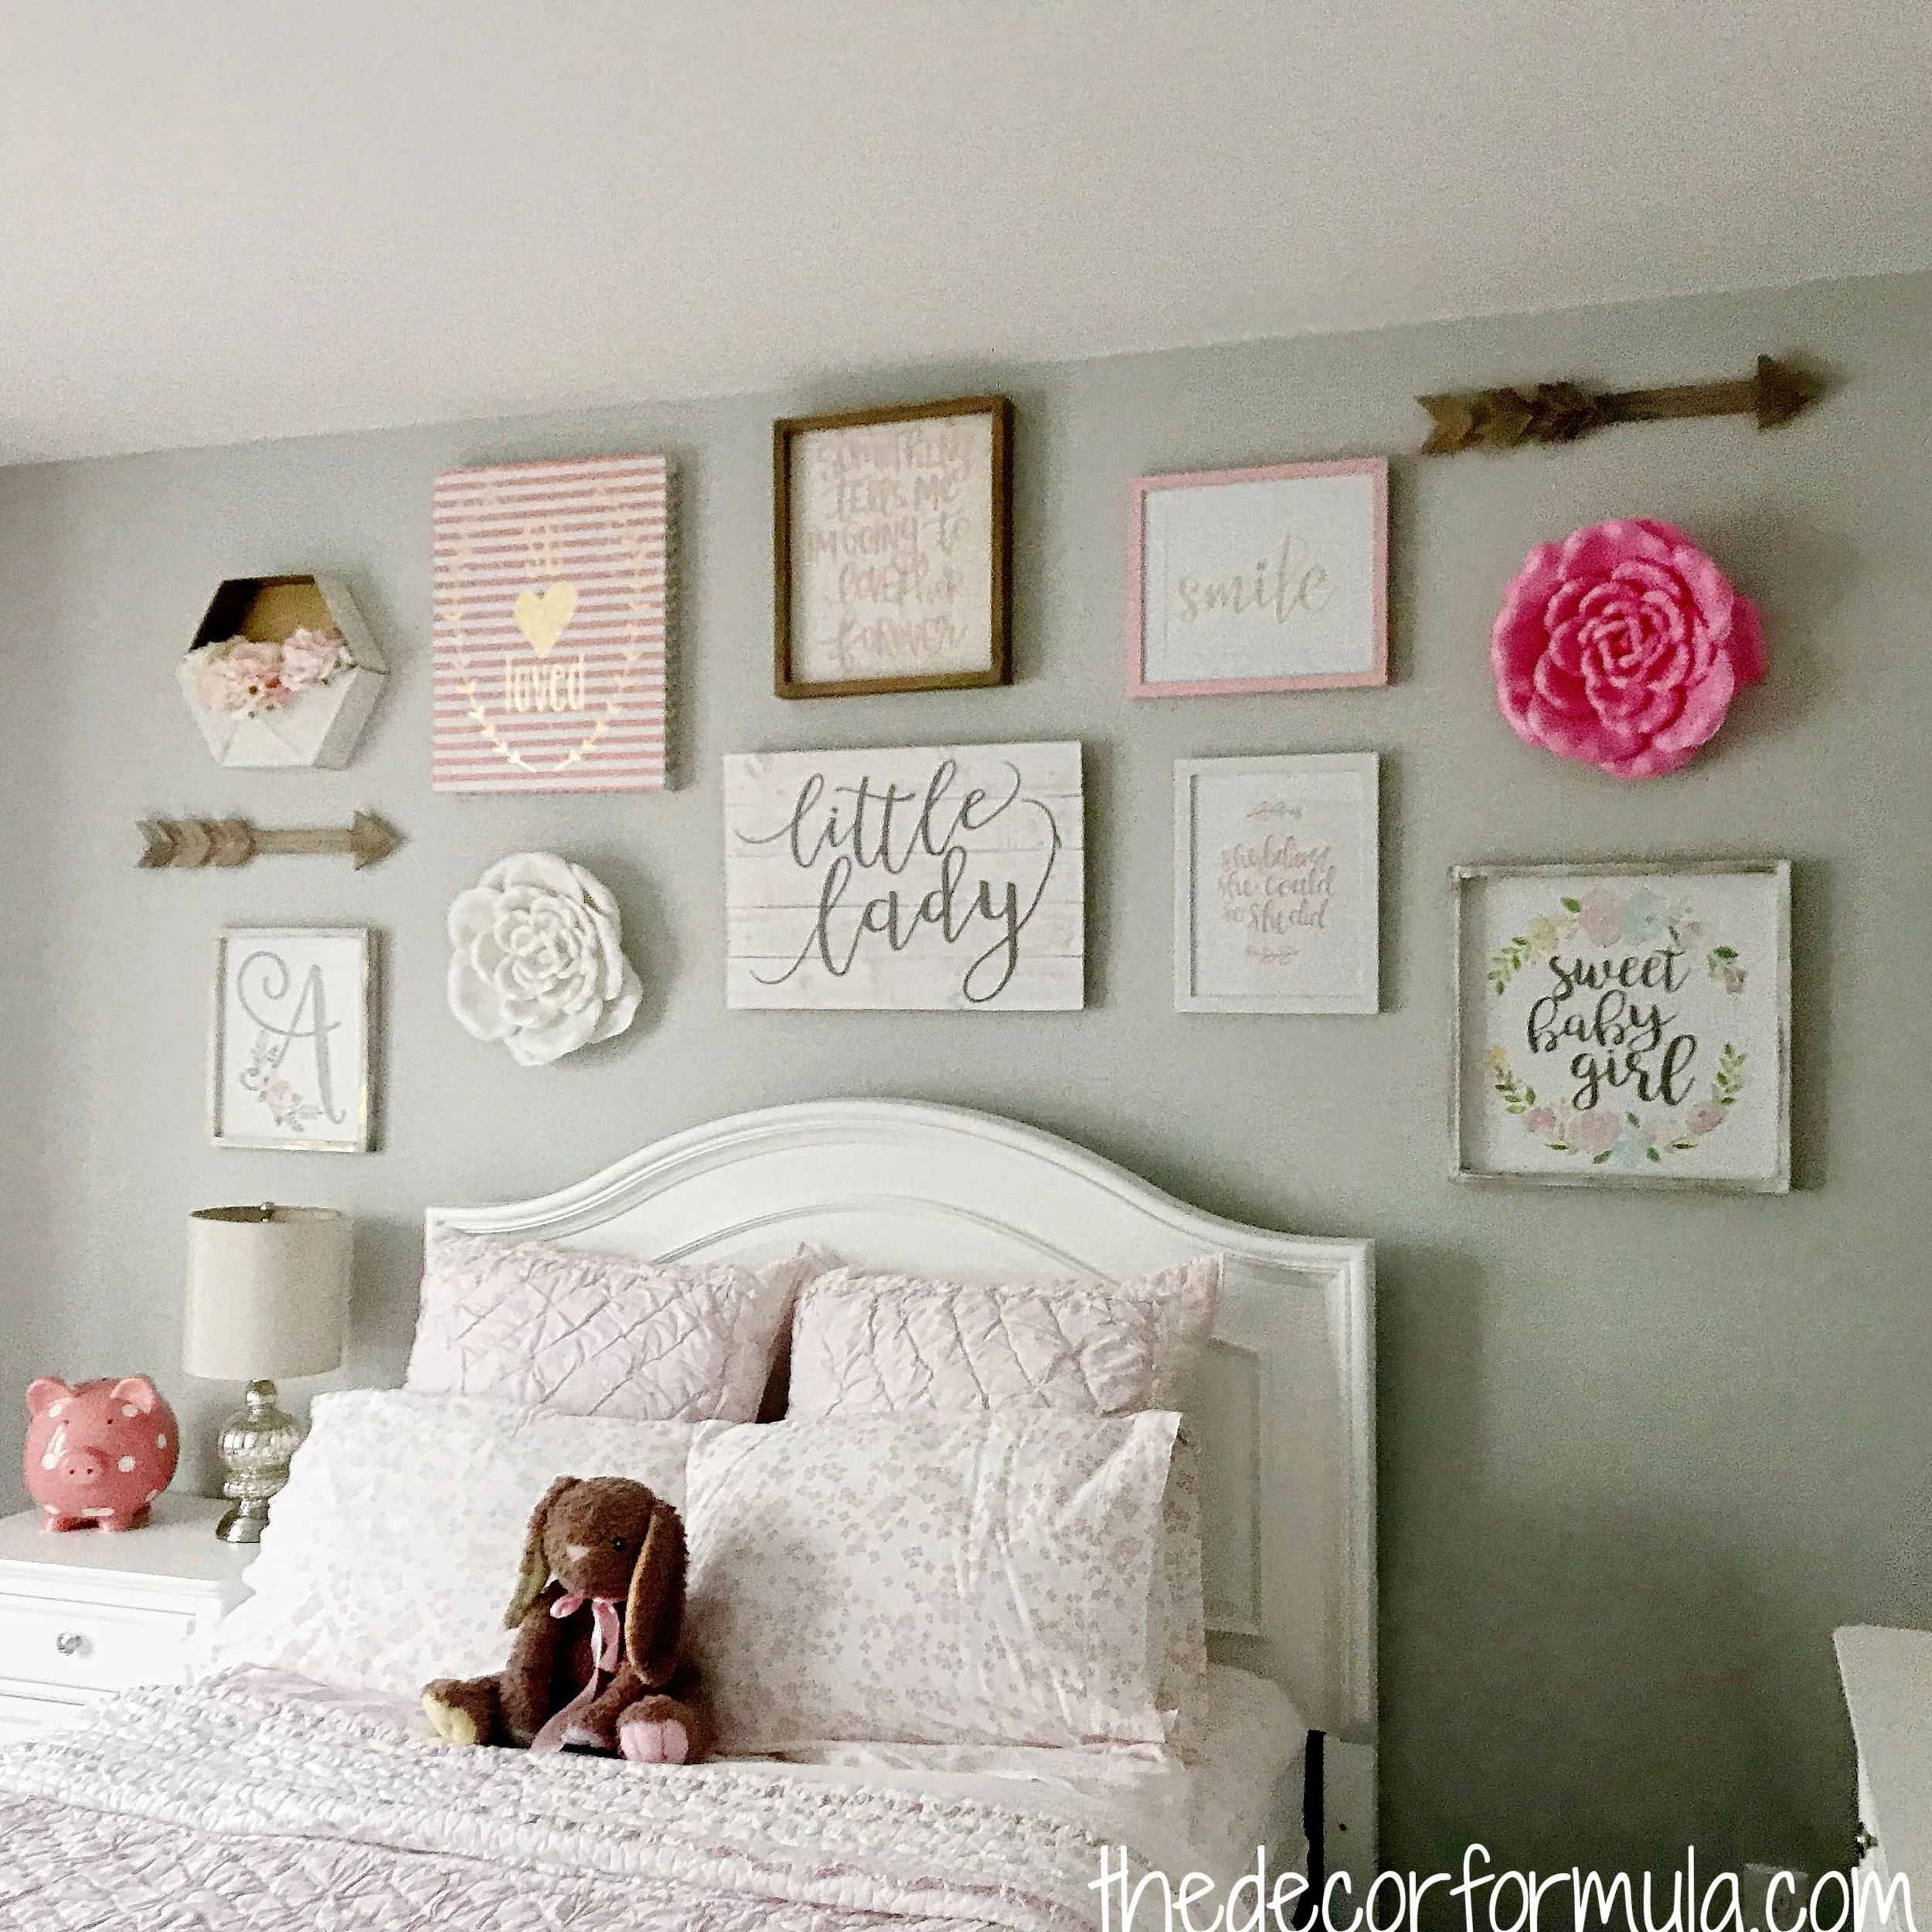
DON'T: Have all sayings or all objects. This is just a matter of personal preference, but I feel that having all of one thing (with the exception of a photo-only wall collage) doesn't feel balanced and is too overwhelming. Also- if you are using a lot of "words" and "sayings", try to have it balanced so that there's not too many long sayings with one another. For example in the photo above it says "Smile" "Little Lady" "A" (the little girl's first initial) "She believed she could and she did." "Something tells me I'm going to love this girl forever." In my opinion, if it was all long quotes it would look too busy. If it was all "one-words" it would look too simple.
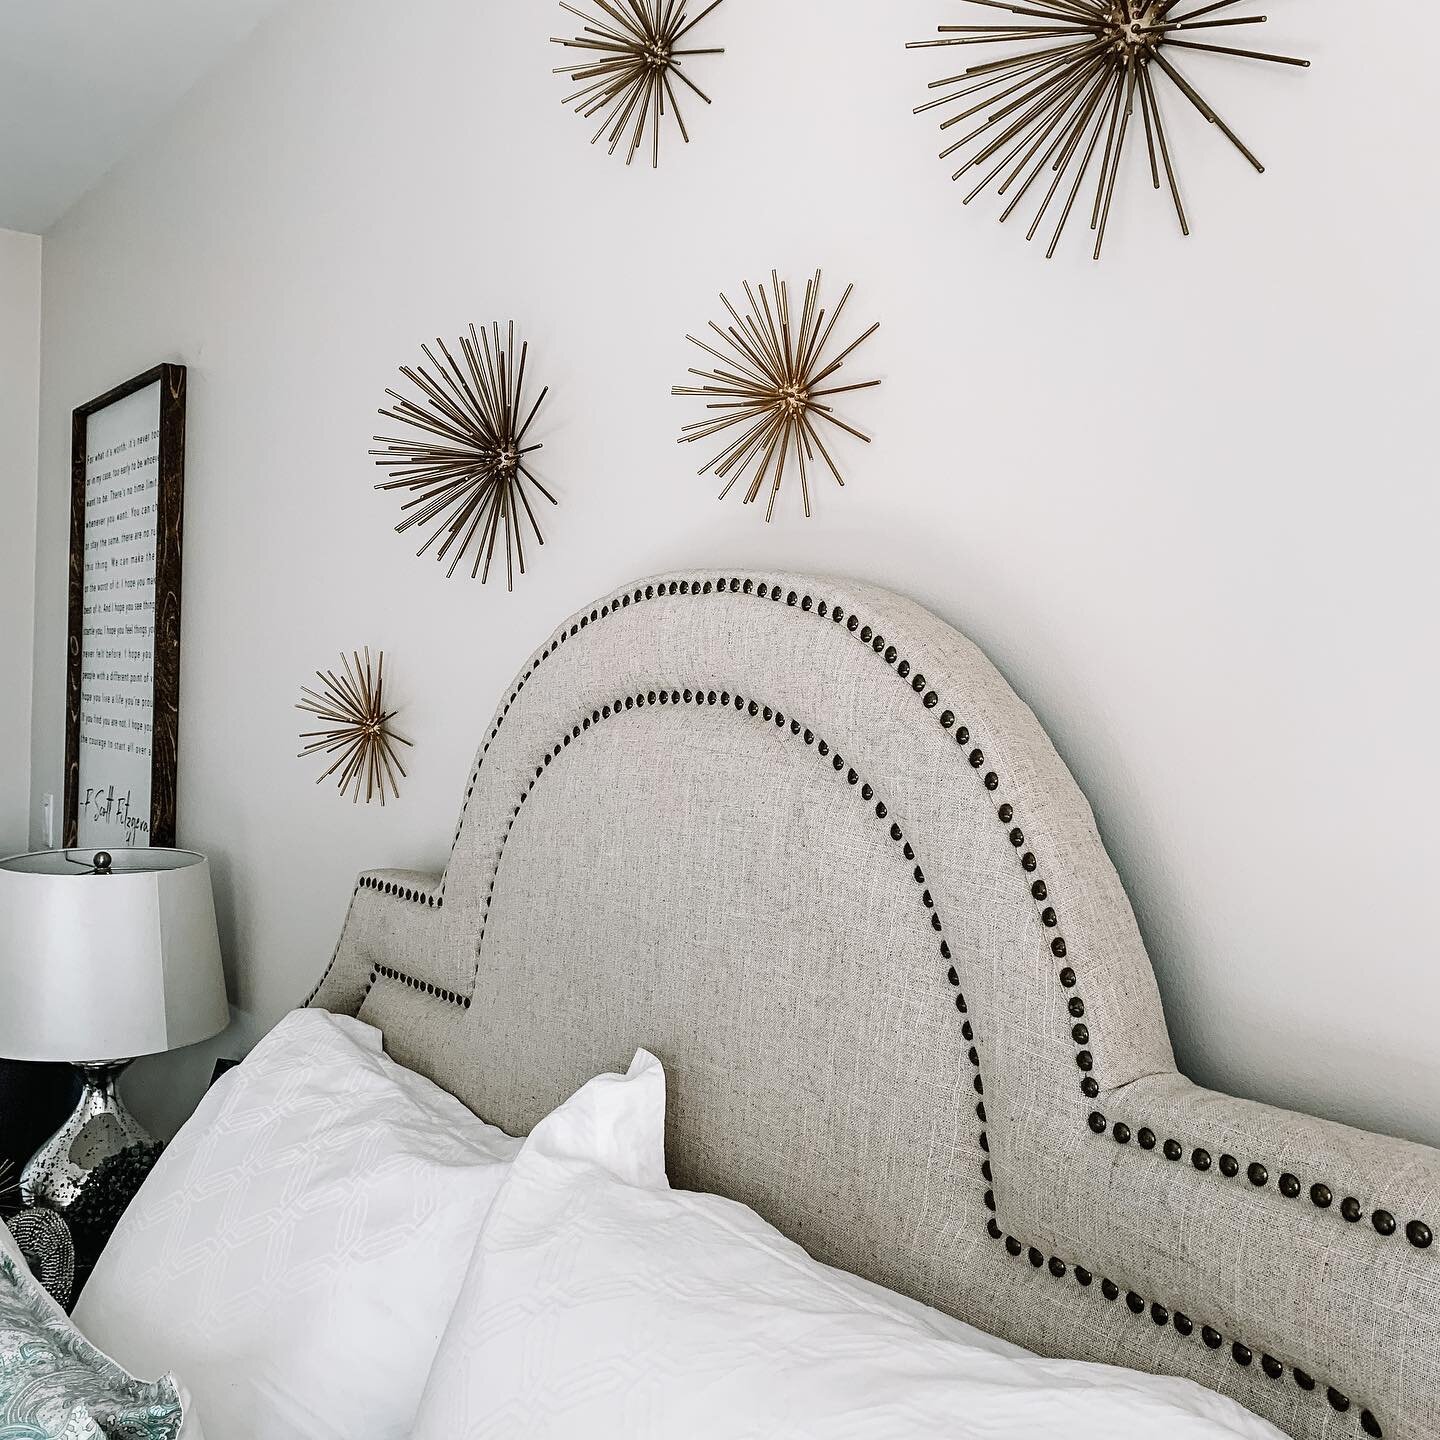
DO: Be open to having at least one "interesting" eye appealing object. In my TV wall collage it would be the antlers. In the small window dilemma picture it would be the silver deer head. In the little girl's bedroom it would be the hexagon with fake flowers or the larger fabric flowers.
DON'T: Space things too far apart or too close together. There's no true formula to say your objects need to be for example : 2 inches apart, it really comes down to eye-balling it and having an eye for it. This is where the tip above of spacing things out on your floor prior to putting screws in your wall really helps.
DO: Be consistent with mattes or no mattes. When using photos, if you have a white matte in one photo frame, have a matte in all your photos. My biggest pet peeve is when people will have a group of photos together and most will have white mattes, and then there's one large one in a frame with no matte.
DON'T: Use only small little frames in your wall collage. Personally I think it looks terrible when someone has a wall of all 4x6 or 5x7 frames. Be bold and have some bigger frames (9x12 11x17) with smaller frames. It looks so much better!
and finally:
DO: And if you DO nothing else- make sure that some of your objects, frames, and sayings, share the same lines as pictured in my examples above and below.


Is anyone actually reading this?? If you enjoyed this post or have any questions please make sure to comment below. Thank you! <3
Hey Friends, I spend a lot of time putting together these posts, and I would love it if you’d show some love back and followed me on Instagram. **** 10/2020: Recently my instagram was erased and I lost all of my following, so I would SO appreciate it if you followed me by clicking on any of the pictures below from my current feed. Thank you so much!! <3