
How to build an Ikea Entryway System/Command Center
I felt like I haven’t posted in a while…. and I had 2 free entire hours to myself tonight. So instead of catching up on my secret guilty pleasure of DVR’ed Jersey Shore episodes (not so secret anymore…), my ADD set in and here I am typing up this post.
So here’s the deal. My friend Lindsey… who I refer to as LQ, has a whole tribe of kids… 4 to be exact (all of which were completely planned if you could believe that… PS. I’m not Joking), and these kids come with a whole lotta Shhh…tuff. Shoes, gloves, hats, and papers upon papers galore. She hired me to help her figure out just how to organize all of this stuff and on a tight AF budget (her words not mine) because four kids aren’t cheap. (Disclaimer: while working in their home I made the mistake of asking how much their grocery bill was each month because all these kids do is snack, and MY GOD, maybe being childless isn’t so bad after all …)
LQ’s house is set up like any normal home- with a regular size closet in her mudroom. At first her idea was to figure out a way to reorganize the closet to hold all of their crap… but a regular size closet just wasn’t going to do the job for how much stuff that comes along with 4 little ones. So I proposed two additional spaces within her entryway and kitchen that I’ve referred to as “command centers”.
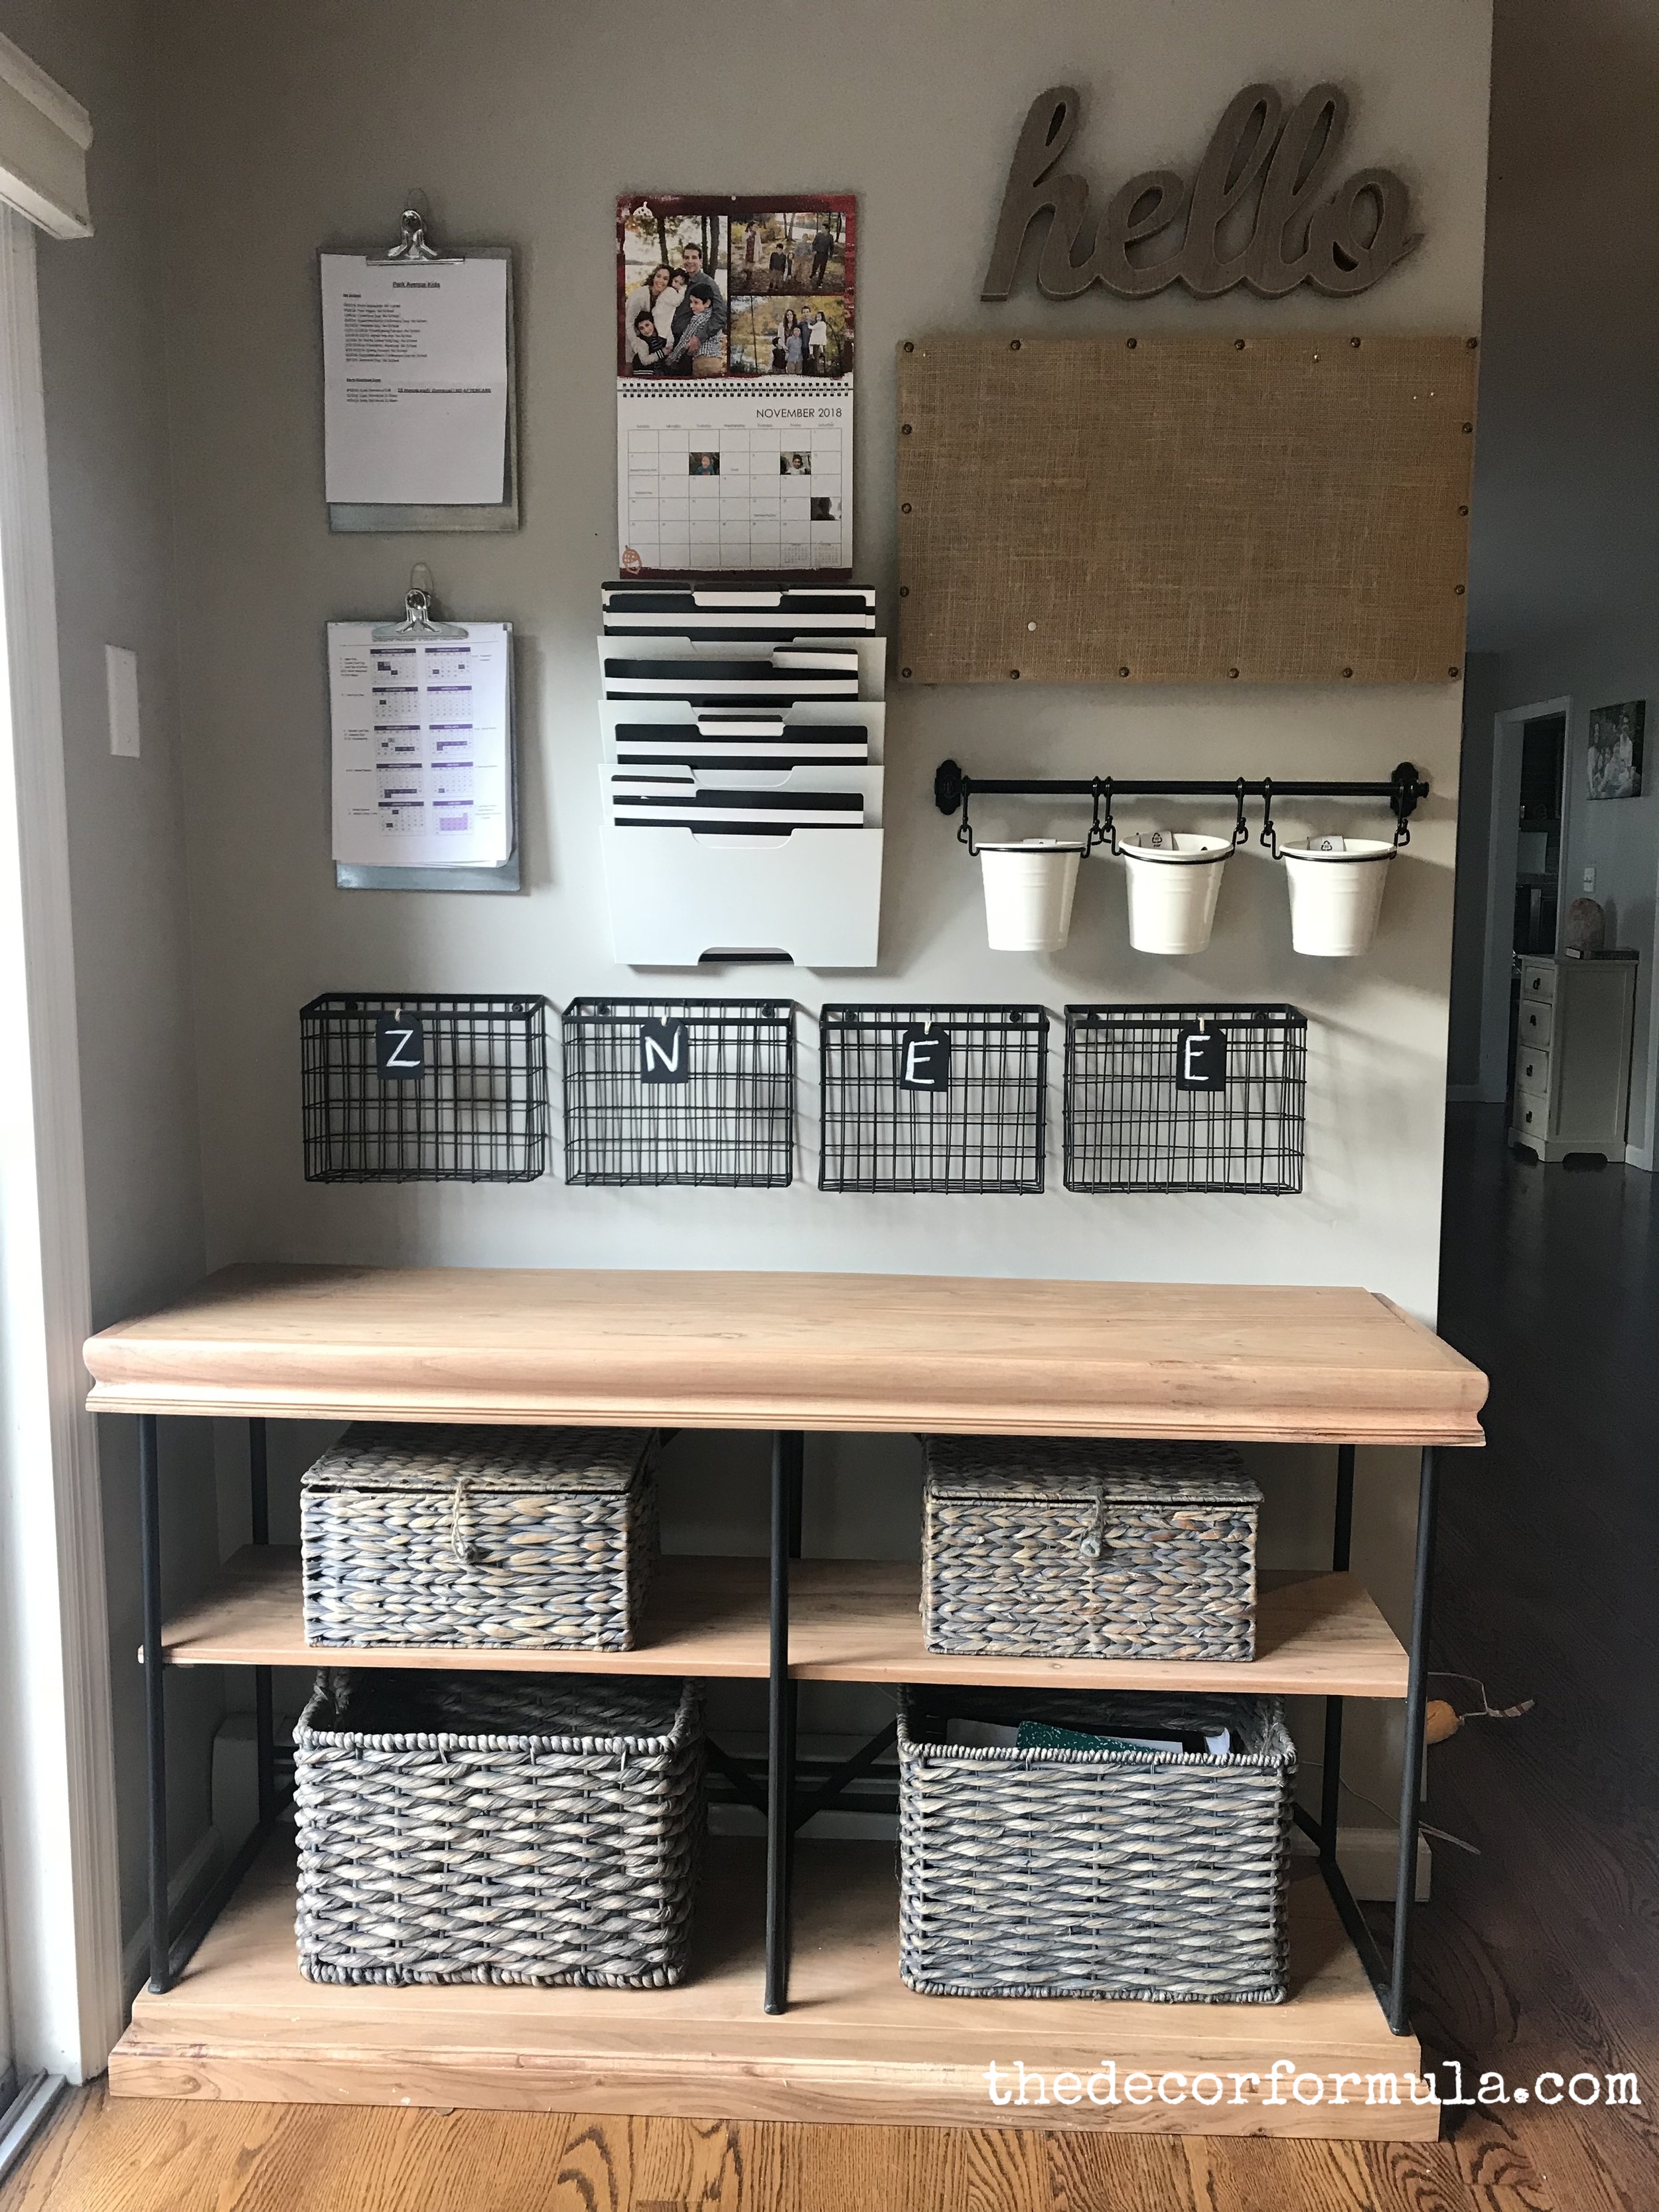
Command Center 1 from my Plan of Action, or POA for short, was a place to organize papers, kid schedules, artwork, pens, pencils, and invitations.
Here was the plan:

Here was the result:

Command Center 2 that I proposed in the POA was a much bigger job. She had this awesome long wall next to her kitchen, that was currently only being used as a straight-away for running children. I proposed an entryway-like system like seen in my home- but I knew that would run her at least $1500 and up for a system of this size (hers ended up being 7.5 feet) if purchased from a home decor store or website. So that led me to look for a budget-friendly alternative with an Ikea hack.
Here was the plan:

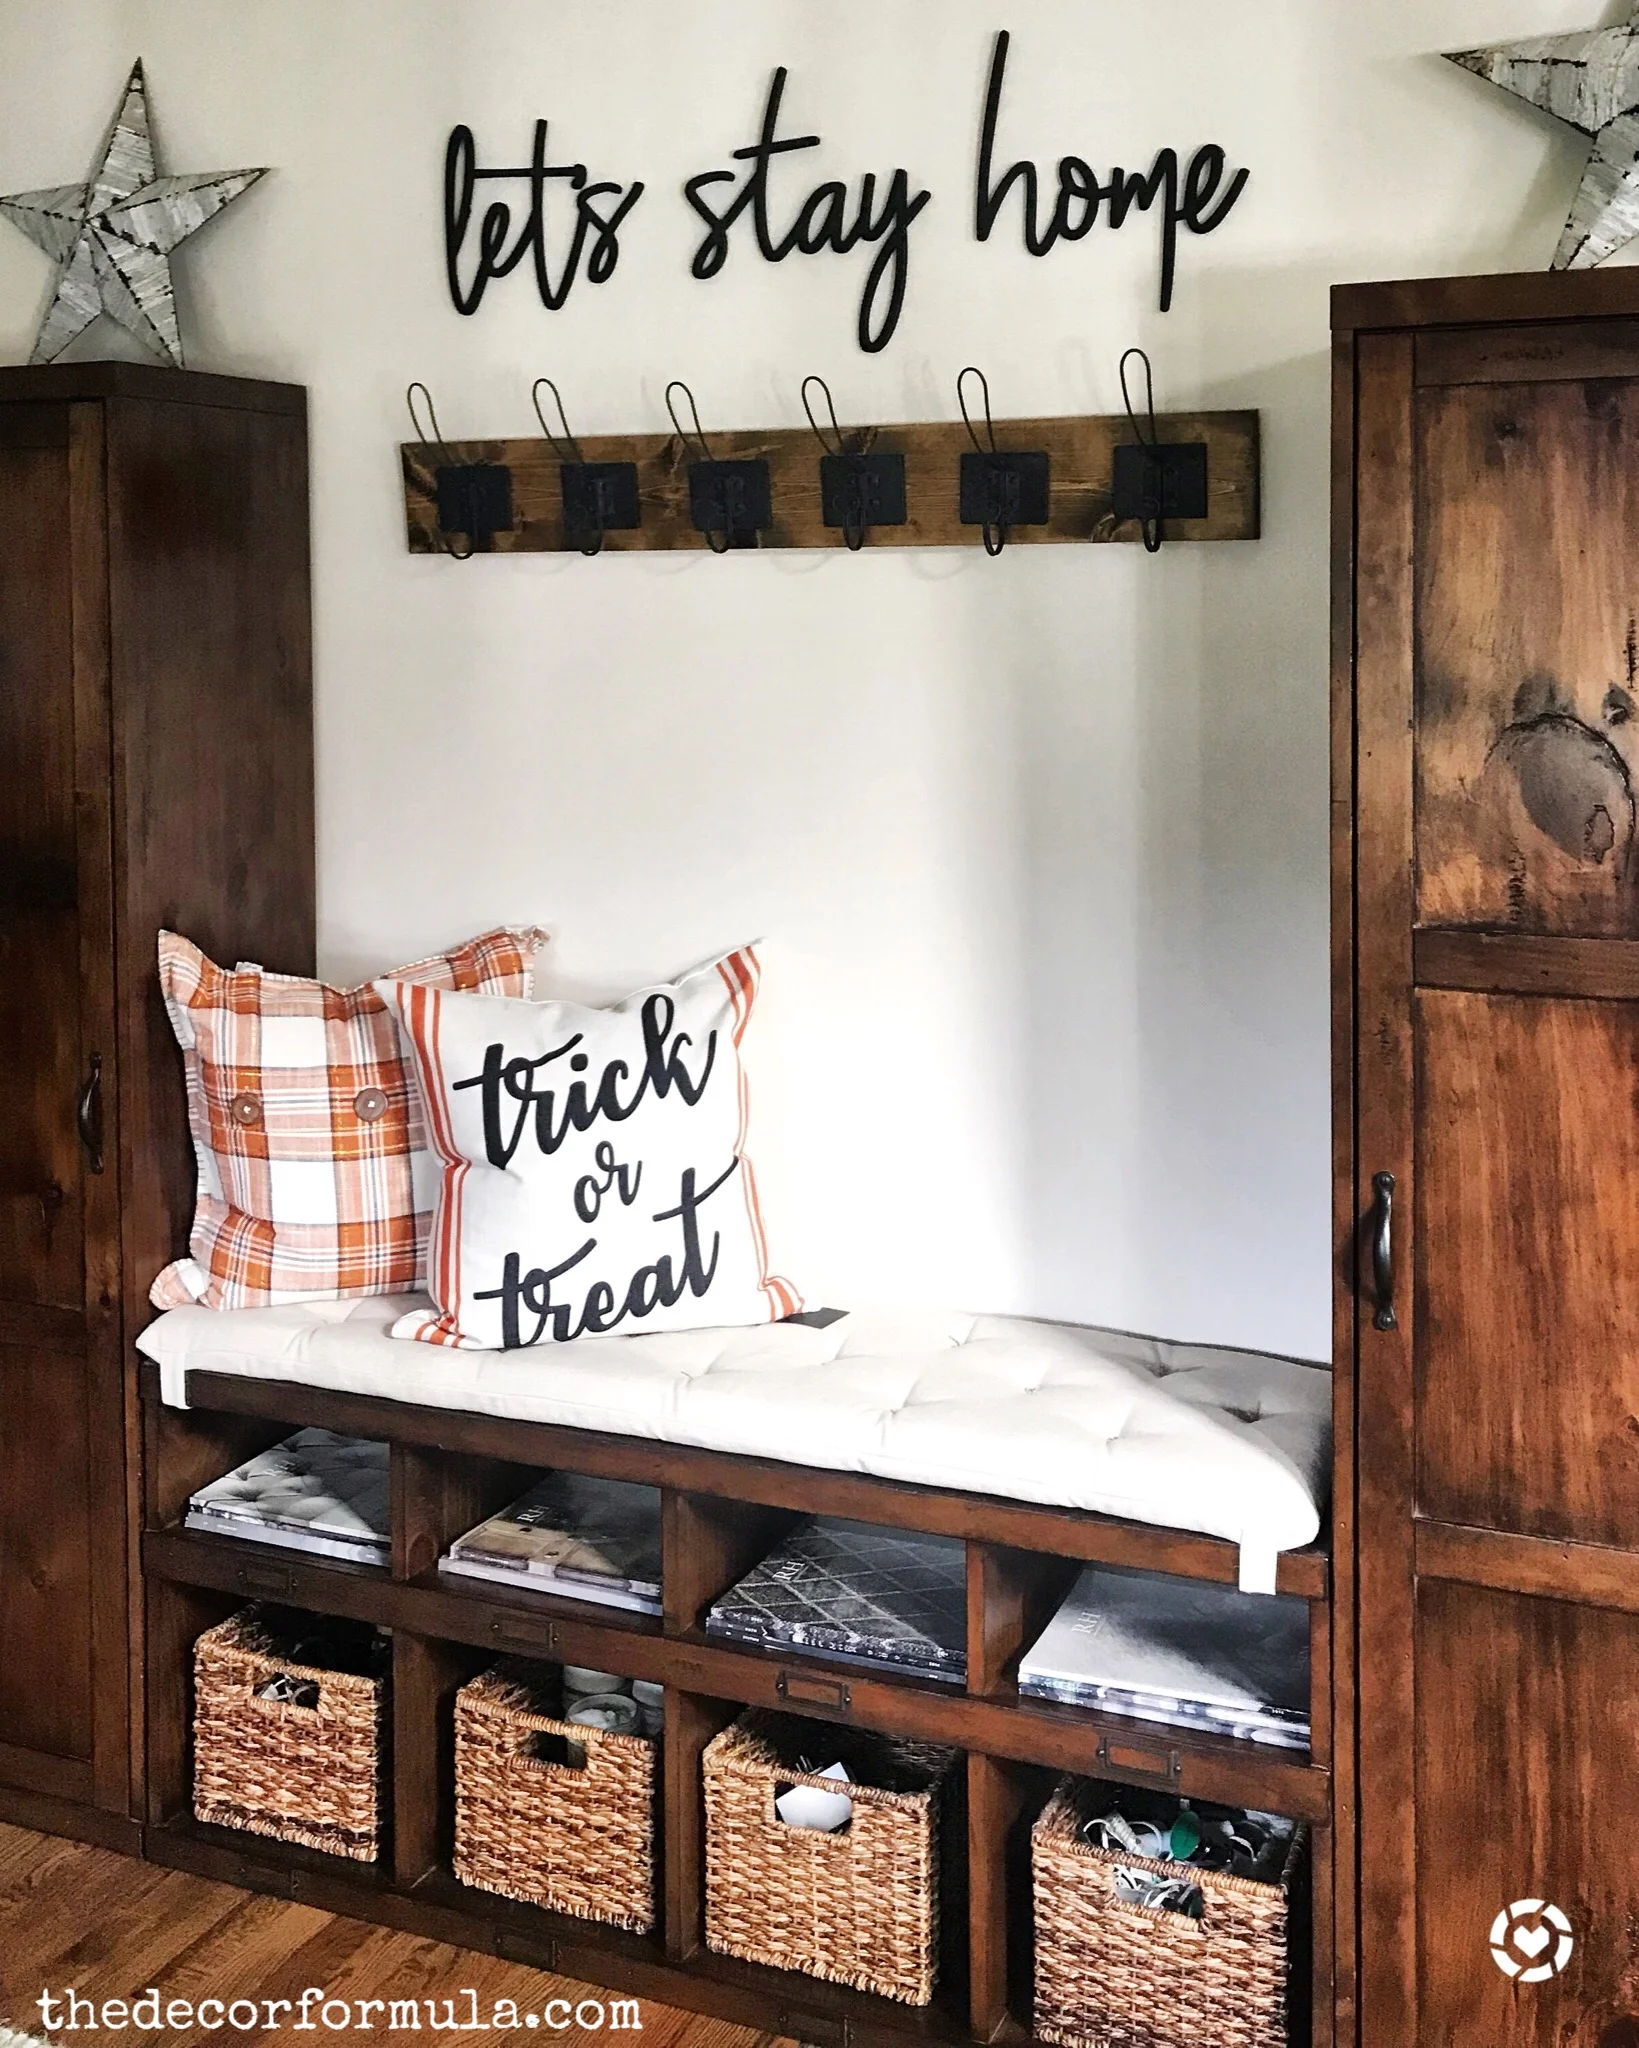
Here were the results:

So here’s the simple formula for this piece:
Ikea Kallax Shelf Units+ Cubicle Baskets for Inside+ Shellac Primer+ Paint of your Choice+ 2x3’s for a base stand, 3 1/4” base molding, 1x6’s stained for the top= A Budget Friendly Entryway Storage System
How much did it cost? Under $350 for the entire 7.5 foot piece.
By comparison- my entryway system seen here from Pottery Barn has a sticker price of $2,197.
Here’s a breakdown of the supplies, cost will vary depending upon your choices of baskets and paint:
(3) Kallax Shelf Unit from Ikea at $38.99 each= $116. 97
(8) Branas Baskets from Ikea at $12.99 each= $103.92
(2) 2x3x 10ft studs from Home Depot for base frame at $3.12 each
(3)1x6x8ft Square Edge Common Board at 10.82 each
(1) 3 1/4 x 12 ft Primed Finger-Jointed Base Moulding Primed White (Technically free for her because I had some leftover pieces from my summer basement project) available for $8.79 a board.
BIN Shellac Primer from Home Depot at $13.98
One can of the paint of your choice- we chose Benjamin Moore’s Regal Collection in Wolf Gray (btw you do not need an entire gallon... LQ has ¾’s of a gallon left and the paint is pricey... leftovers for sale if you’re interested in the color)
A tube of Liquid Nails at $3.47 (to secure wood to top before nailing)
A tube of DAP AlexFlex caulk $3.96 (to fill in joints between base moulding and shelf unit)
A small can of a stain of your choice for the top.


Tools:
Nail Gun and air compressor: to secure the wood top to the unit and molding on the sides.
Miter Saw: to cut 2x3’s for base, 1x6’s for top, and turned at a 45 degree angle for the base molding corner cuts
Stain, Screws, Paint brushes, and 1.5 inch porter cable nails


Step 1: Collect all the supplies. Go to Ikea can get the Kallax Shelf Units…( or you can go with the Eket brand which is a cheaper thinner version). I listed this as Step 1, because I despise the MOUSE MAZE that is Ikea (btw… just saw a news story of a guy who put his own random arrows down in Ikea aisles to mess everyone up… hysterical). However, did you know that Ikea offers an option where they will shop for you? I believe it was under $10 and only learned this when LQ decided to buck up and pay the shopping fee for fear of bringing her 4 kids into Ikea… smart move LQ… smart move.
Step 2: Put together the Kallax shelving units.
Step 3: Prime them with BIN Shellac Primer. LQ did this step on her own, and it’s key in order to have the paint adhere to the mdf shelf unit so that it doesn’t chip.

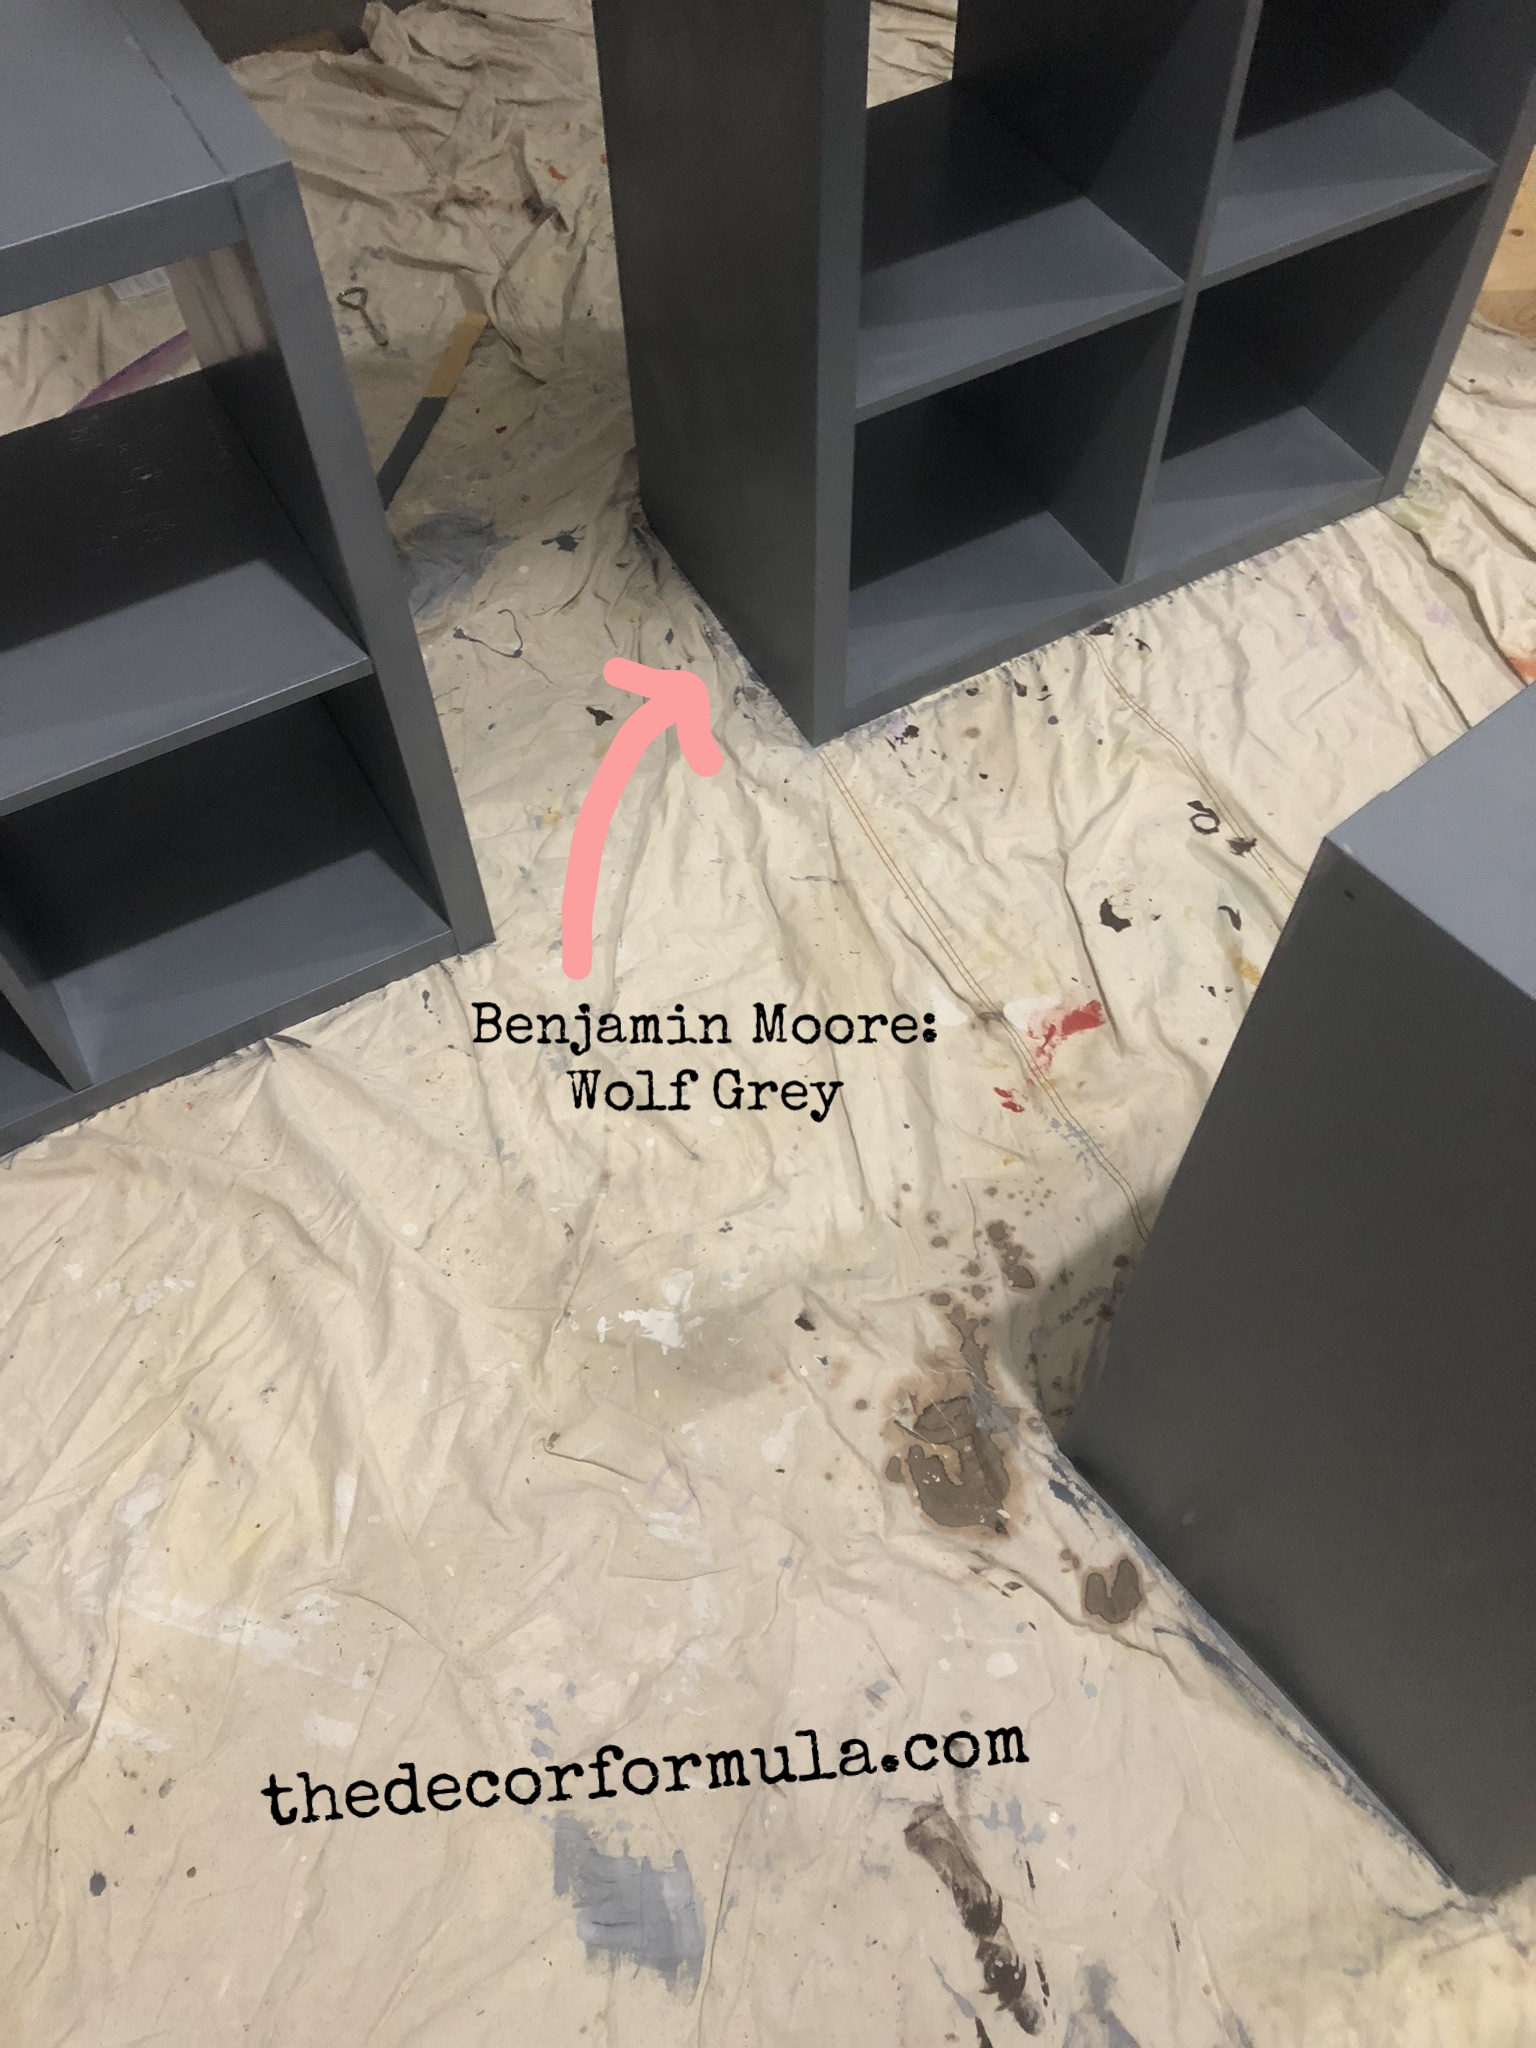
Step 4: After the primer dries, paint the shelf units with your choice of color. We chose Benjamin Moore’s wolf grey.. that actually looks more blue. (Then call me to come over when these steps are all done. )
Step 5: Line up the shelving units pushed together and measure the length and depth to create a base with your 2x3’s. This step is super important because this box is what your shelf units will sit on to pick them up off the ground. That way when you put on the base molding to make it look like a piece of furniture, your base molding isn’t covering a portion of the cubicle hole opening- thus blocking your baskets from coming out. Ours measured 91 1/8” x 15 3/8”. Grab your 2x3’s and make a base box that matches these measurements. Of course you’ll have to take into account the depth of the 2x3 when cutting your smaller pieces. Screw the wood together to create the box. Of course I didn’t take any pictures of this step… so I drew you a diagram instead. (I’m horrible with taking pictures… thank god LQ took some of the process.)

Step 6: Put your box in the place that you want your entryway system, and sit the three Kallax Units on top of the box.
Step 7: Measure your molding for the three sides of the unit that show, and cut your molding for this space. Make sure to leave enough on each piece to cut the 45 degree angles at both corners. Use your nail gun and air compressor to nail the base molding into the base of the unit.

Step 8: Caulk the space between the base molding and unit. Wait for it to dry, then paint the caulk in the same color at the unit.

Step 9: Measure the top of your unit, and cut the (3) 1x6’s to the length of your unit. Sand, stain, and if warm enough- poly these boards. We stained ours in Minwax special walnut.

Step 10: Put liquid nails on top of the Kallax Unit before placing your stained 2x3’s on top as the top. Clamp the boards down and place weights on top. After the glue has dried, grab your nail gun and nail the top into the Kallax unit- making sure that you only nail it in the spots where the boards meet the corners of the unit (otherwise the nails will show through the underside of the unit).


And Voila… you have an entryway/command center/organization system (there has to be a simpler name for this thing)!
This space also doubles for LQ as an area for putting appetizers and desserts when entertaining. If this system is too large for your space, adjust it as you need to with the same concept in mind. There’s tons of different configurations and cubicle systems available through places like Ikea and Target. (I even picture the middle section of this just being 1 row of cubicles instead of 2, with a cushion on top to serve as a bench.)
FAQ:
Where did I get the hooks? Hobby Lobby on sale for $2.99 each
Square Frames? Michaels Craft Store.. they’re called Studio Decor Double Matte Gallery Wall Frames
Welcome Sign? Hobby Lobby for a whopping $20 on sale (it’s over 45 inches long). It’s part of the Spring Decor collection ( can we get through winter first?)
Bulletin Board for Art? Home Goods- $29.99
If you enjoyed this post, feel free to comment below or share with a friend. I appreciate the feedback and support!
Special Thanks and Shoutout to LQ who not only trusted me to work in her house, but also fed me, sent me home with a sandwich bag of cheese and crackers, and took the only pictures I have of this project.
:) Barbra
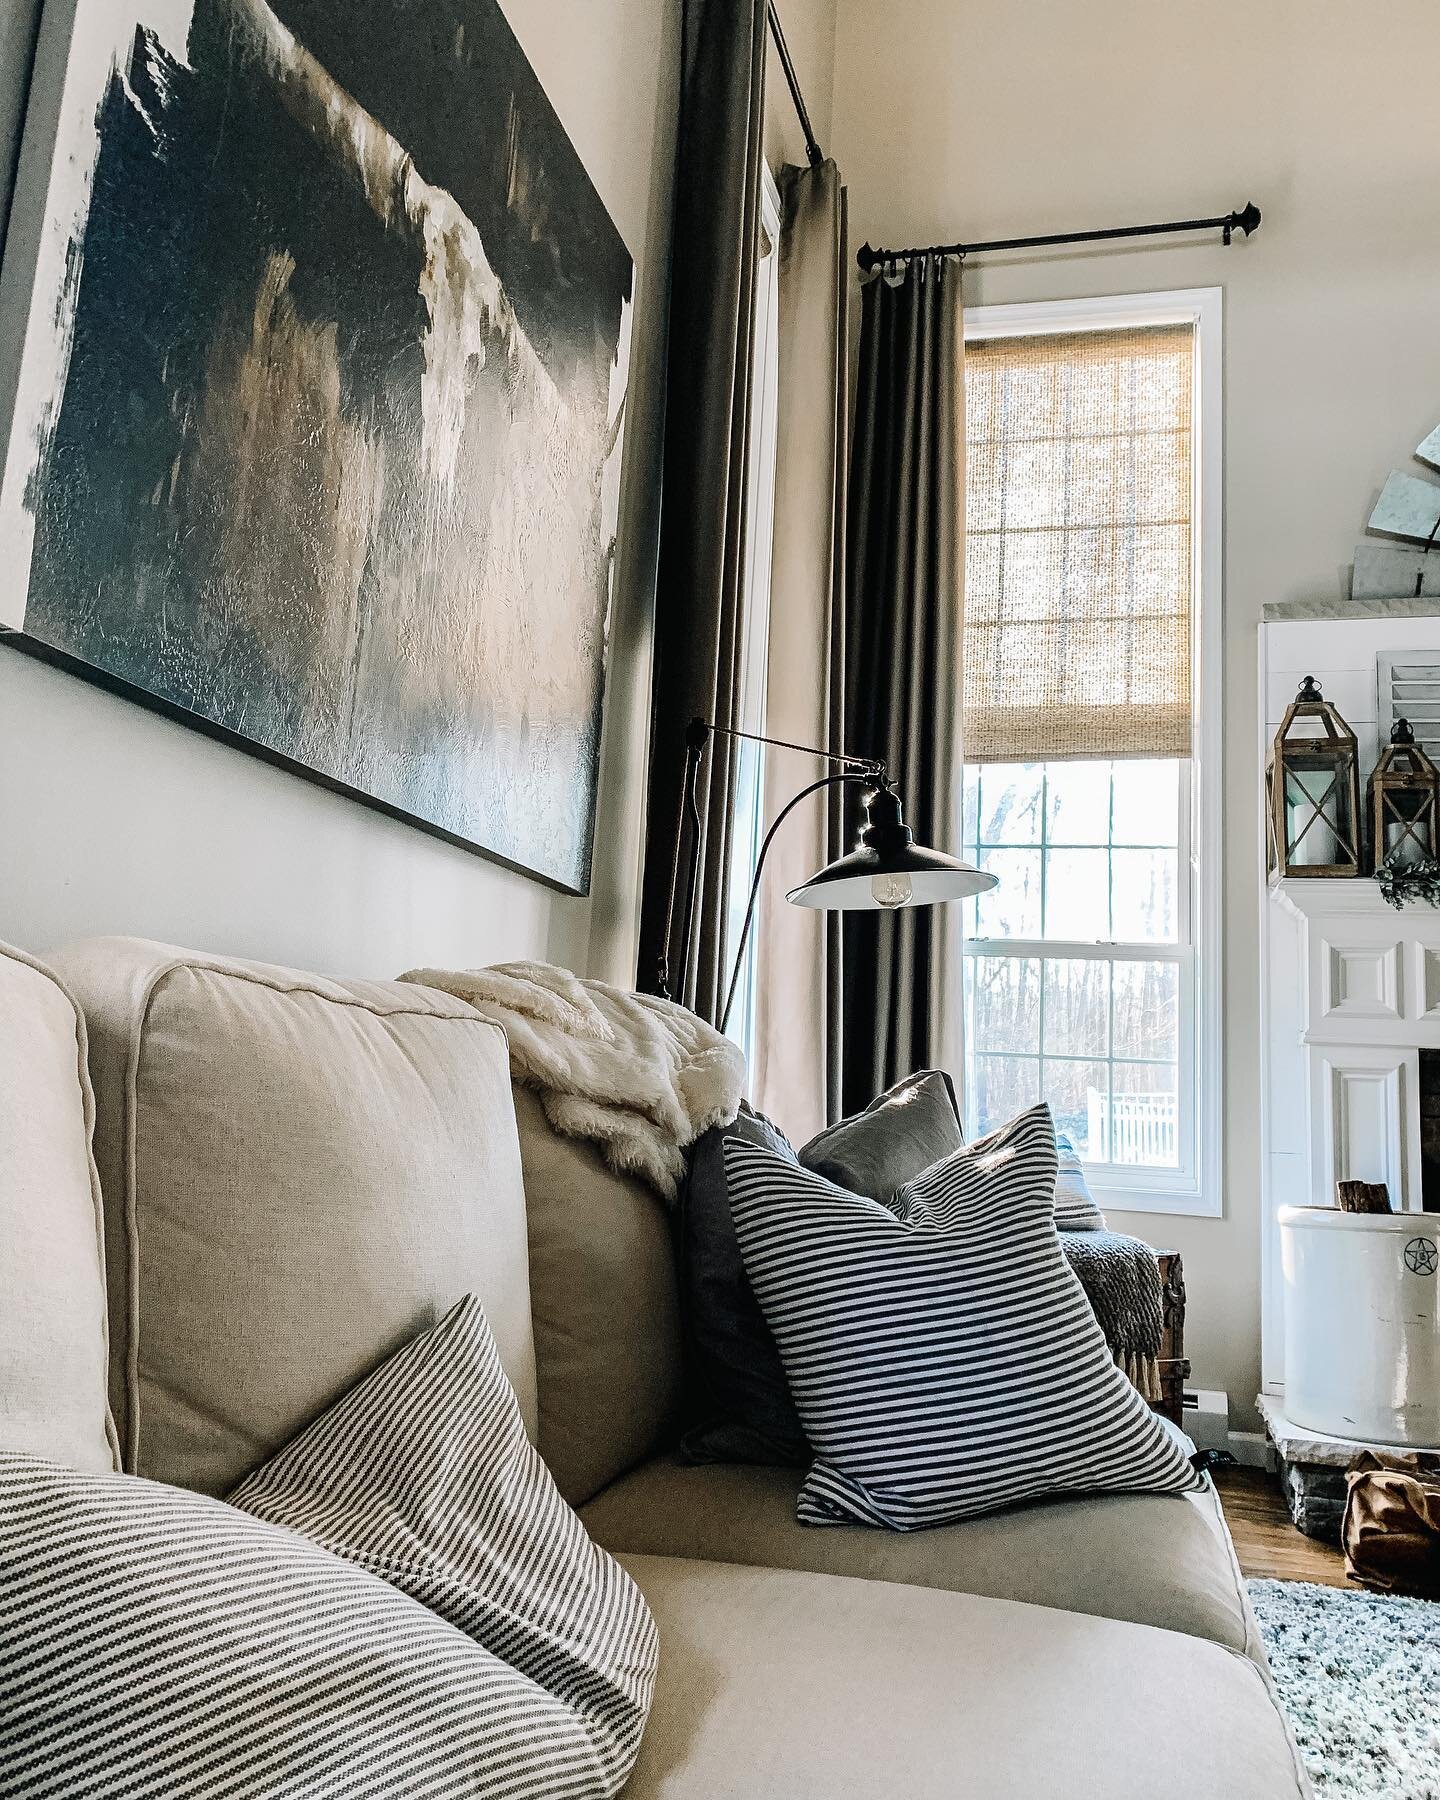
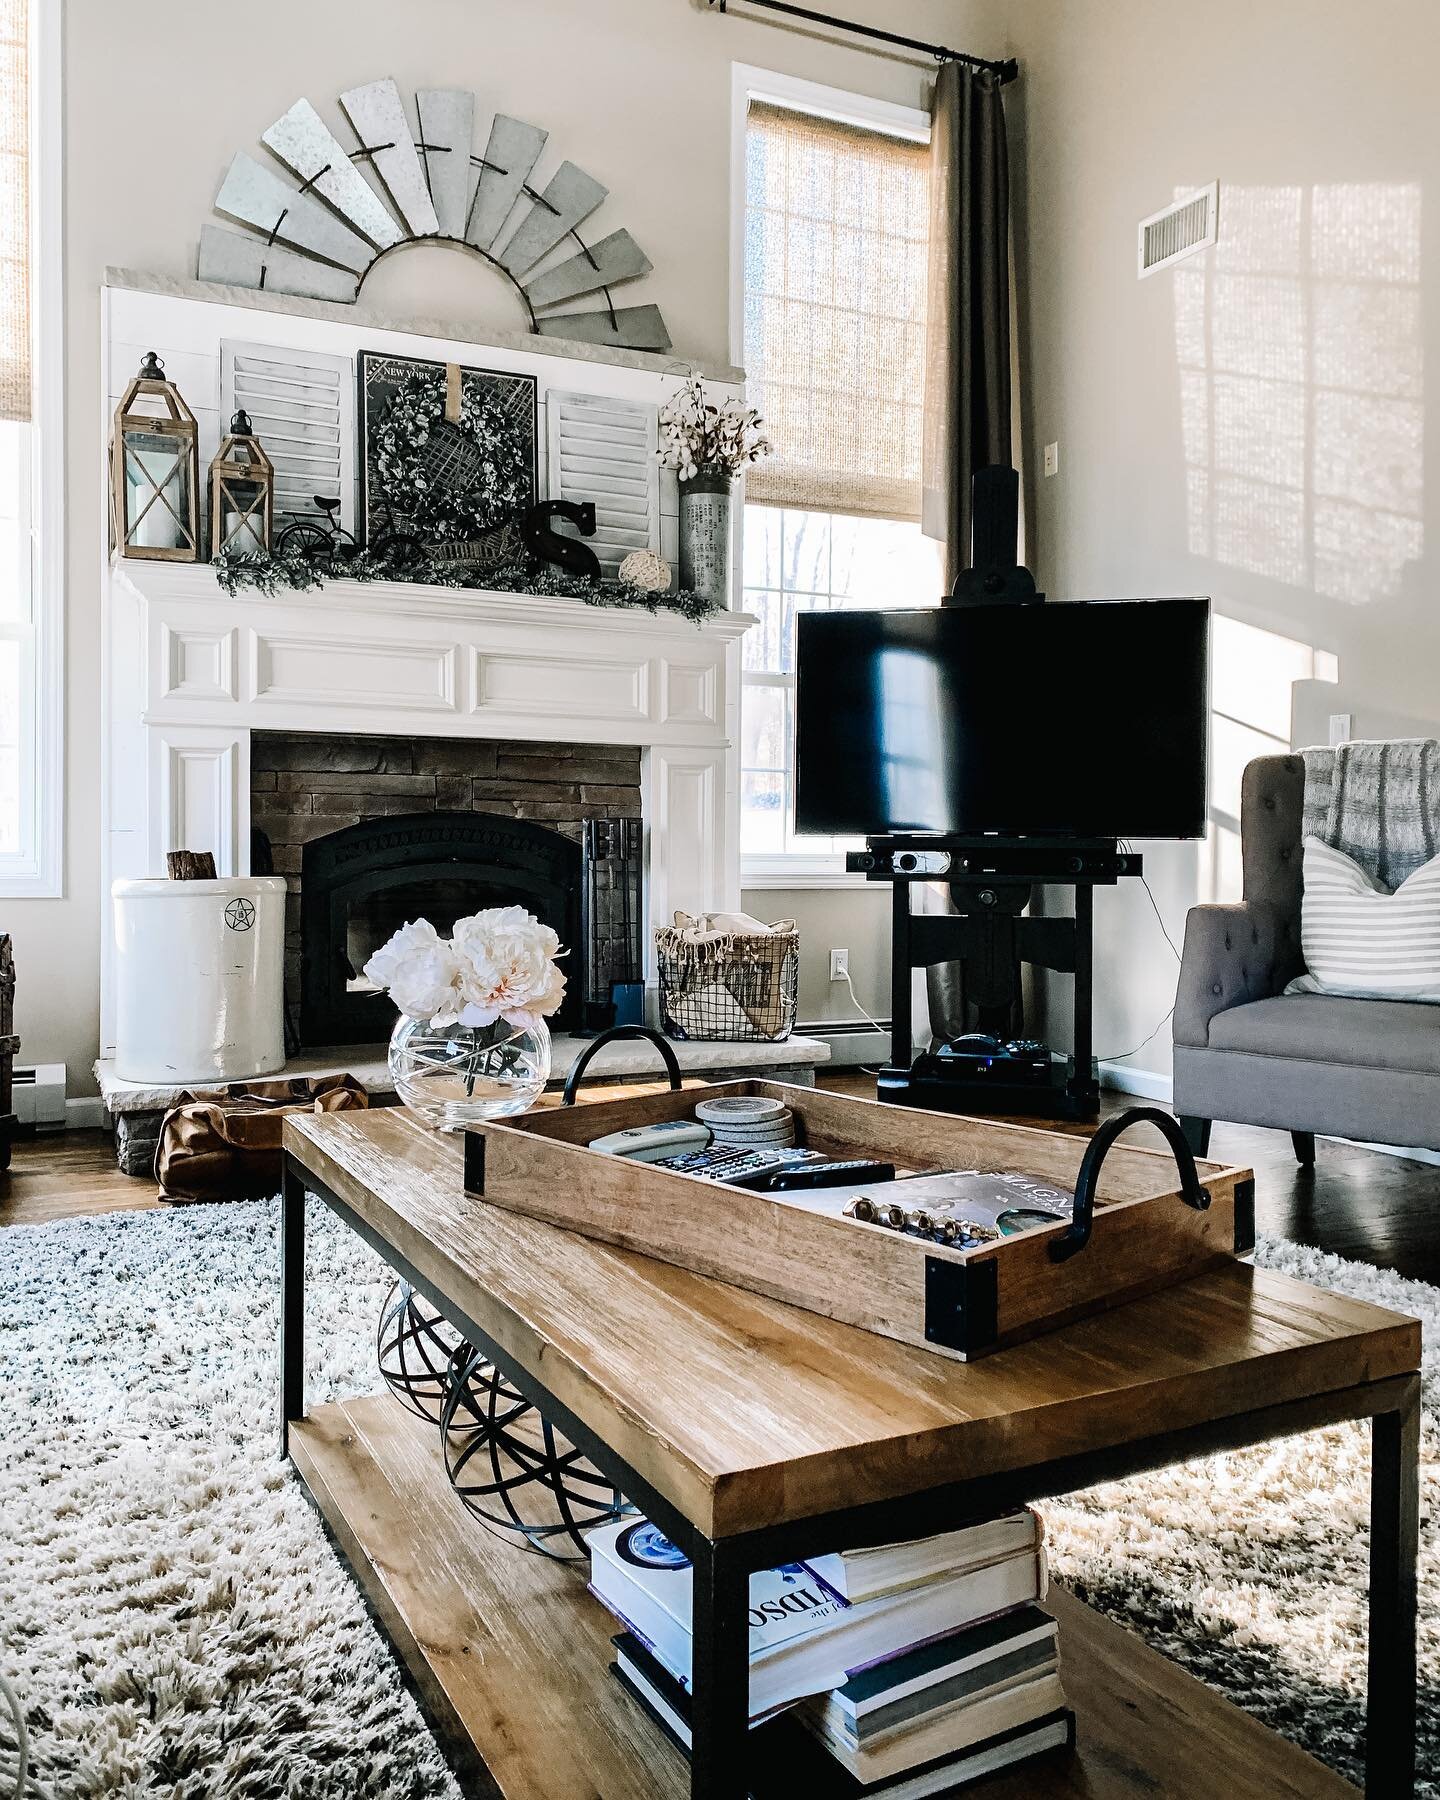
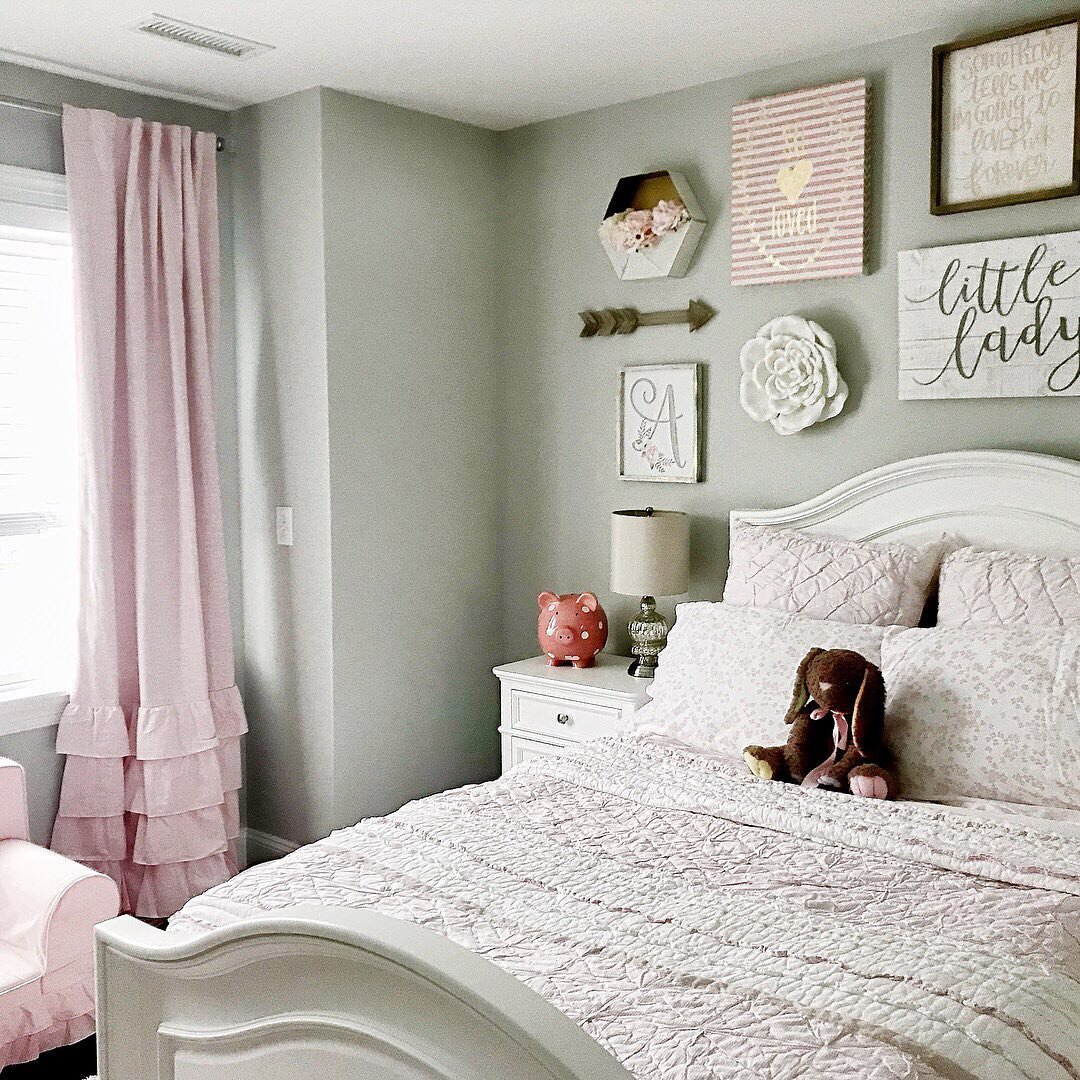
Hey Friends, I spend a lot of time putting together these posts, and I would love it if you’d show some love back and followed me on Instagram. **** 10/2020: Recently my instagram was erased and I lost all of my following, so I would SO appreciate it if you followed me by clicking on any of the pictures below from my current feed. Thank you so much!! <3