
Front Porch Makeover: Railings + Stain Recommendations
Alright… a couple of disclaimers here.
Number 1: I’m not promoting standing in line at your local Home Depot to get some house projects done given the COVID pandemic. If you want to do that of course do it at your own risk. My Type-A a** didn’t have this problem, because when I prepped for this pandemic, I also prepped for the possibility of wanting to complete some projects while on lockdown. (PS- I hear they’re not doing the line thing at our local Lowe’s)
Number 2: I am not an expert by any means when it comes to this stuff. I just have a general passion to take care of our home and make it look nice- but I’m too frugal to hire people to do something like restaining a deck when I can probably handle it myself. So like most of my projects- I dive in and hope for the best. So far I haven’t had any projects that became a complete flop. So I would highly recommend doing your research prior to starting a project like this. I’ll just explain how mine went in this post.
So back in January (if you read my previous post on our bathtub surround), when I heard this whole COVID-19 fiasco hitting China… I started prepping. First was food, essentials, masks- 100 rations of rice and beans with a thirty year shelf life (lol) . Next came the “Well what the hell am I going to do if I’m locked in my home for a month?” So in early February I made a “just in case to-do list” of things I wanted to get done around the house and as part of my prepping, because I knew I wouldn’t be able to sit still long enough to just binge-watch tv the entire time. (Though, I was surprised at my ability to make it through the horrible series Tiger King… I still don’t understand what I was actually watching)
Then I bought all the supplies I needed to complete these projects. On the list: clean out closets, complete the bathtub surround, redo our retaining wall by the pool, re-stain our front porch, and mulch the side areas by our pool. So I was that weirdo buying mulch in February, paint, stain, wood, and a paint sprayer mid-February, despite that the weather didn’t call for any of these projects to be completed- because I thought surely these stores would be closed when I was jonesing to get these projects done. Then the online schooling requirements started taking up my days… and if you live in NY we’ve also all been patiently waiting for the weather to cooperate for outdoor projects like these… more on that later.
Long and behold: Our Porch Redo
7 years ago when we moved in: I hated the color of our front porch. It was originally stained this reddish color which didn’t go with my biege/greige/brown style. I excenuate stained because I can’t tell you what to do or if you can even use the product I used if your deck is painted, because that wasn’t my experience.
Here’s the original porch:

(Keep in mind it was 7 years ago) So in phase one: we removed the porch railings which needed to be sanded and repainted. We ended up axing that idea because it looked like more pain than it was worth- and we switched out the railings for composite ones instead (a little pricey but best decision ever, I just wash them down with soft scrub and a hose each year at the beginning of the season to get the winter grime off and we’re good to go). We kept the original wood posts on the porch though and I sanded and painted those- because the vinyl porch wraps to make them have that “boxy” look were a whopping $300 each… and we had 10 posts.
Note: we didn’t buy the composite posts, because we attached them directly to our wood posts, but we did have to buy the bracket kits shown here:
For Phase 1 I ended up renting an orbital sander from United Rentals. My original plan was to sand it with a palm sander to remove as much as the red as I could because I knew the new stain was so different from the red that I feared the red would still show through. I spent about an hour on 1/4 of one board with a palm sander, and realized it would be much easier and faster to rent a heavy duty sander. I was right. I rented the sander for $50 at the time, and the porch was completely sanded down in an hour. Completely worth it.
Check out what I got the boards down to with the orbital sander (picture is showing first coat of the new stain as well):

Next I applied the stain with a brush and roller. I brushed between the boards and ends first on each section I was working on, and used the roller to cover 2 boards at once. I’ll explain why this is important later on.
I applied 4 complete coats, with about an hour of drying time between (it was summer and it dried super quickly). It probably only needed to have 3 coats, but I wanted to be sure to completely cover it. The can recommended a longer drying time… but I never really follow directions that closely because I lack patience and I just hope for the best… lol
I used Sikkens Semi-Transparent deck stain in Oxford Brown originally (which doesn’t exist anymore… I’ll explain more in a bit. )
Here’s how it came out after 4 coats:

Fast forward 7 years and most boards were still in great shape with no wear through with the exception of the few closest to the stairs- due to weathering and rain. The color did fade over time though. Here is a before shot prior to me redoing it for a second time:

Still in great shape.. but it definitely lightened from the sun over the last 7 years.
I absolutely loved the application of Sikkens…it went on like paint… but you still saw some of the wood grain through- and you didn’t have to wipe it off with a rag like traditional stain, it just sunk right in to the wood. So I decided to go to my local Home Depot (Pre-covid masks and lines… will be ever get back to those days?) and purchase it again. Except- I couldn’t find it in the store. The salesman told me they didn’t sell it anymore… so then I went online to find who did sell it. Turns out the Homedepot.com does still sell it, it’s just under a new name:

What I liked about it? It’s application was easy. It had a ton of different colors to choose from. It dried quickly. The deck looked and felt great and smooth. It’s coverage was great- my entire porch (about 6 feet by 26 ft) had four coats the first round with 1/4 of the can left. This time I did 2 coats and I had 3/4th of the can left. They sell it in different sheens and a complete paint version. Lastly, it wasn’t : Behr Deck Over. I hate that stuff. I’ve used it before on a small deck outside of our pool shed… it spreads like molasses, it’s hot to walk on, and it doesn’t cover well AT ALL. (Also there’s been a class action lawsuit for the original product from years ago ruining decks and them having to be replaced… google it for more info. )
Plus + + +
Now having done the re-application process 7 years later, I have to say my second go-around was a much much easier and smoother process. I feel like that’s the type of product you want to use: something that you know is going to be easier should you do it again down the road. And having a home in the northeast most definitely means your deck stain isn’t going to last forever.
How did I prep the surface? Well since I had used this stuff before, I wasn’t too concerned with “completely covering the red” like the first round, so I did not follow the complete instructions which recommends completely sanding the porch down first. I was using the same color, it went on like a transparent paint, and my deck was in great shape, so I saw no need to sand it down like I did the first round.
I did however follow the recommended cleaning regiment given in the product specifications on Homedepot.com :

I used this TSP powder stuff (click on pic to be brought to amazon) mixed with bleach and water in a bucket. I then rolled it on the deck with a paint roller, scrubbed the deck with a bristle brush (click on pic) as directed above that I purchased also online at Home Depot and then power washed the deck.


Weather: Then I waited longer than the recommended 48 hours after prepping the surface… mainly because I was waiting for the weather to cooperate. NY’s weather has sucked in the last month… we’re definitely being robbed of spring. Anyways… I checked the forecast and this past Tuesday was set to have 65 degree weather, with the nightly weather dropping to 49 degrees. The directions on the can say to apply it when the temperature is above 50 degrees and no precipitation will happen within 48 hours. I worried most about the temperature dropping at night, so I started the project super early, and it was completely dry mid-day. Another thing to keep in mind is that my porch is covered from weather… so if you are redoing a surface that’s not covered, definitely follow the temperature and precipitation recommendations.
Second round of application 7 years later:
As I noted above, I had already used the same product and color seven years prior, so this time around I only did 2 coats. I also only used a brush this time. I wouldn’t recommend this for first time applications because it dries quickly and you will see brush marks where your brush strokes stopped which you can see on the first coat in this picture below:

For the second coat I made sure to work on one board at a time and complete the same brush stroke for the entire length of the board so that this didn’t happen.
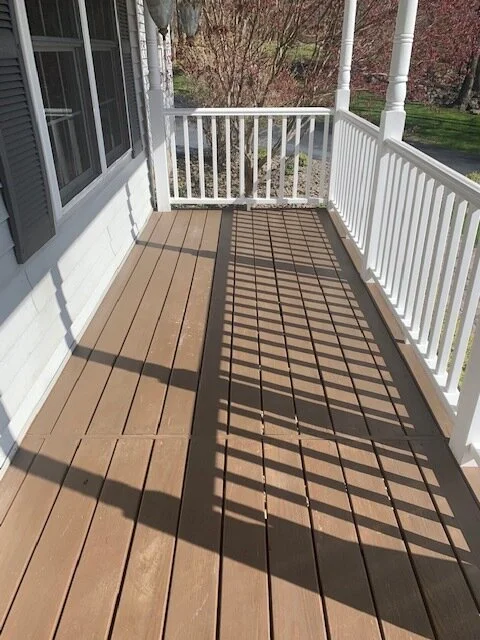
Here’s how it turned out:


Some things to note:
This product has held up great for me- but our porch is also covered. We had one stair that was not covered and pretty beat up from where water dripped when it rained. Therefore we replaced the steps only with composite decking a few years ago. I would love to have all of our decking in composite like our back deck… but its too expensive- the stairs alone cost us close to $350 to purchase just a few boards.
Our porch wood was in great shape to begin with- you have to judge your project based on your individual situation.
Our porch was not painted prior, only stained. ProLuxe does sell transparent, semi-transparent (what I went with), and solid stain (which looks more like a paint). You have to choose the product that you feel is best based on your situation.
Although I could walk on the porch just hours after the last coat- we did not put the porch furniture back on the porch for 5 days.
Do your research: Definitely pay close attention to the weather and precipitation requirements as well as the directions by the manufacturer. I know I skipped the sanding step on my second application 7 years later- but I felt that I didn’t need to sand it, and the new stain adhered just fine.
Next project: I’m going to attempt to paint our pool fence black this weekend… wish me luck. And as always, thanks for stopping by, reading, and supporting me! Have any questions? Feel free to comment below or share with a friend!
<3 Barbra
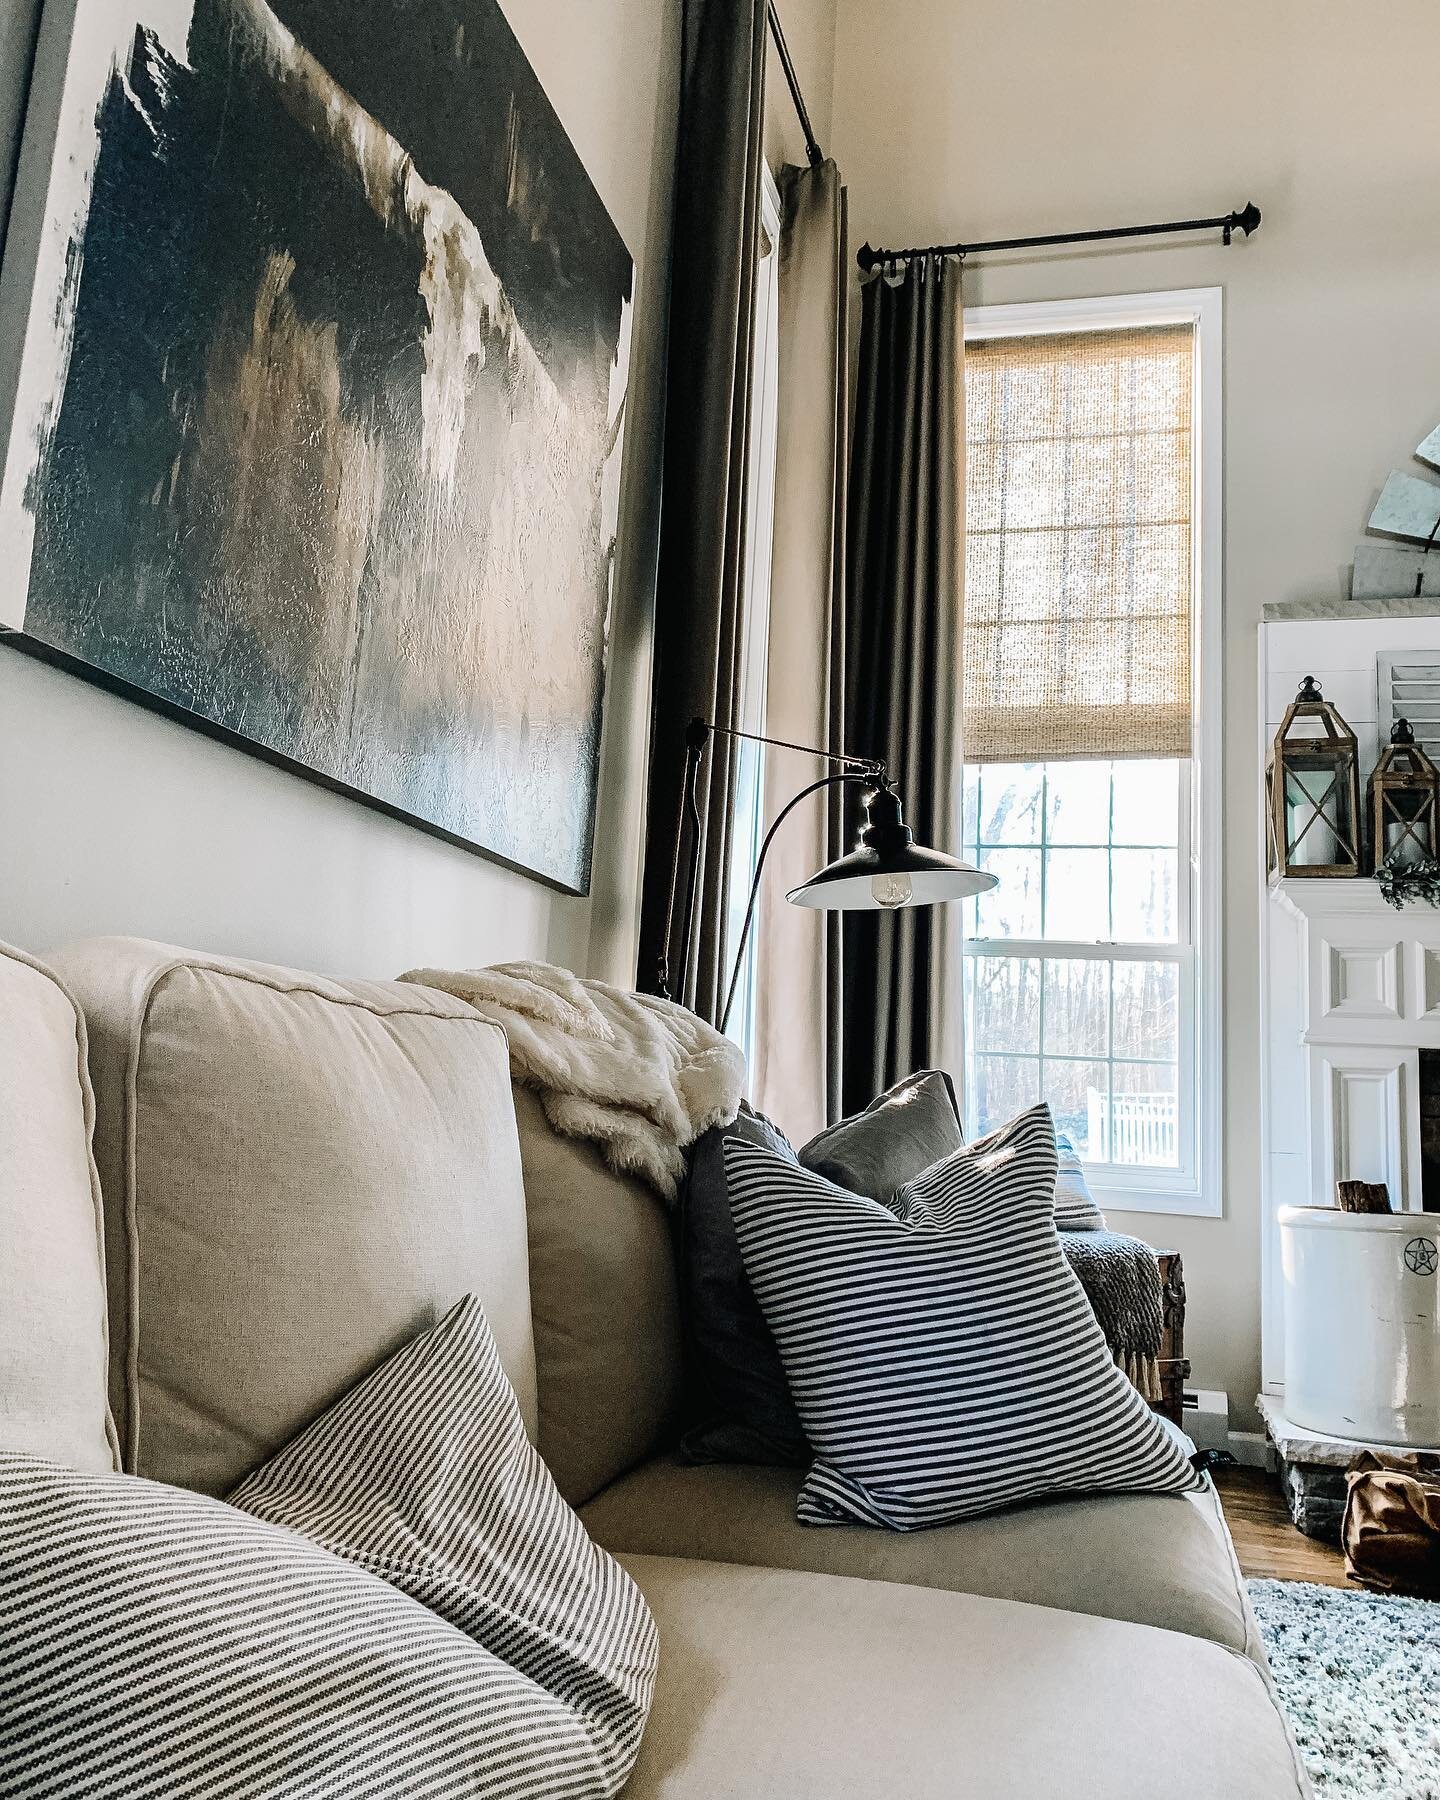
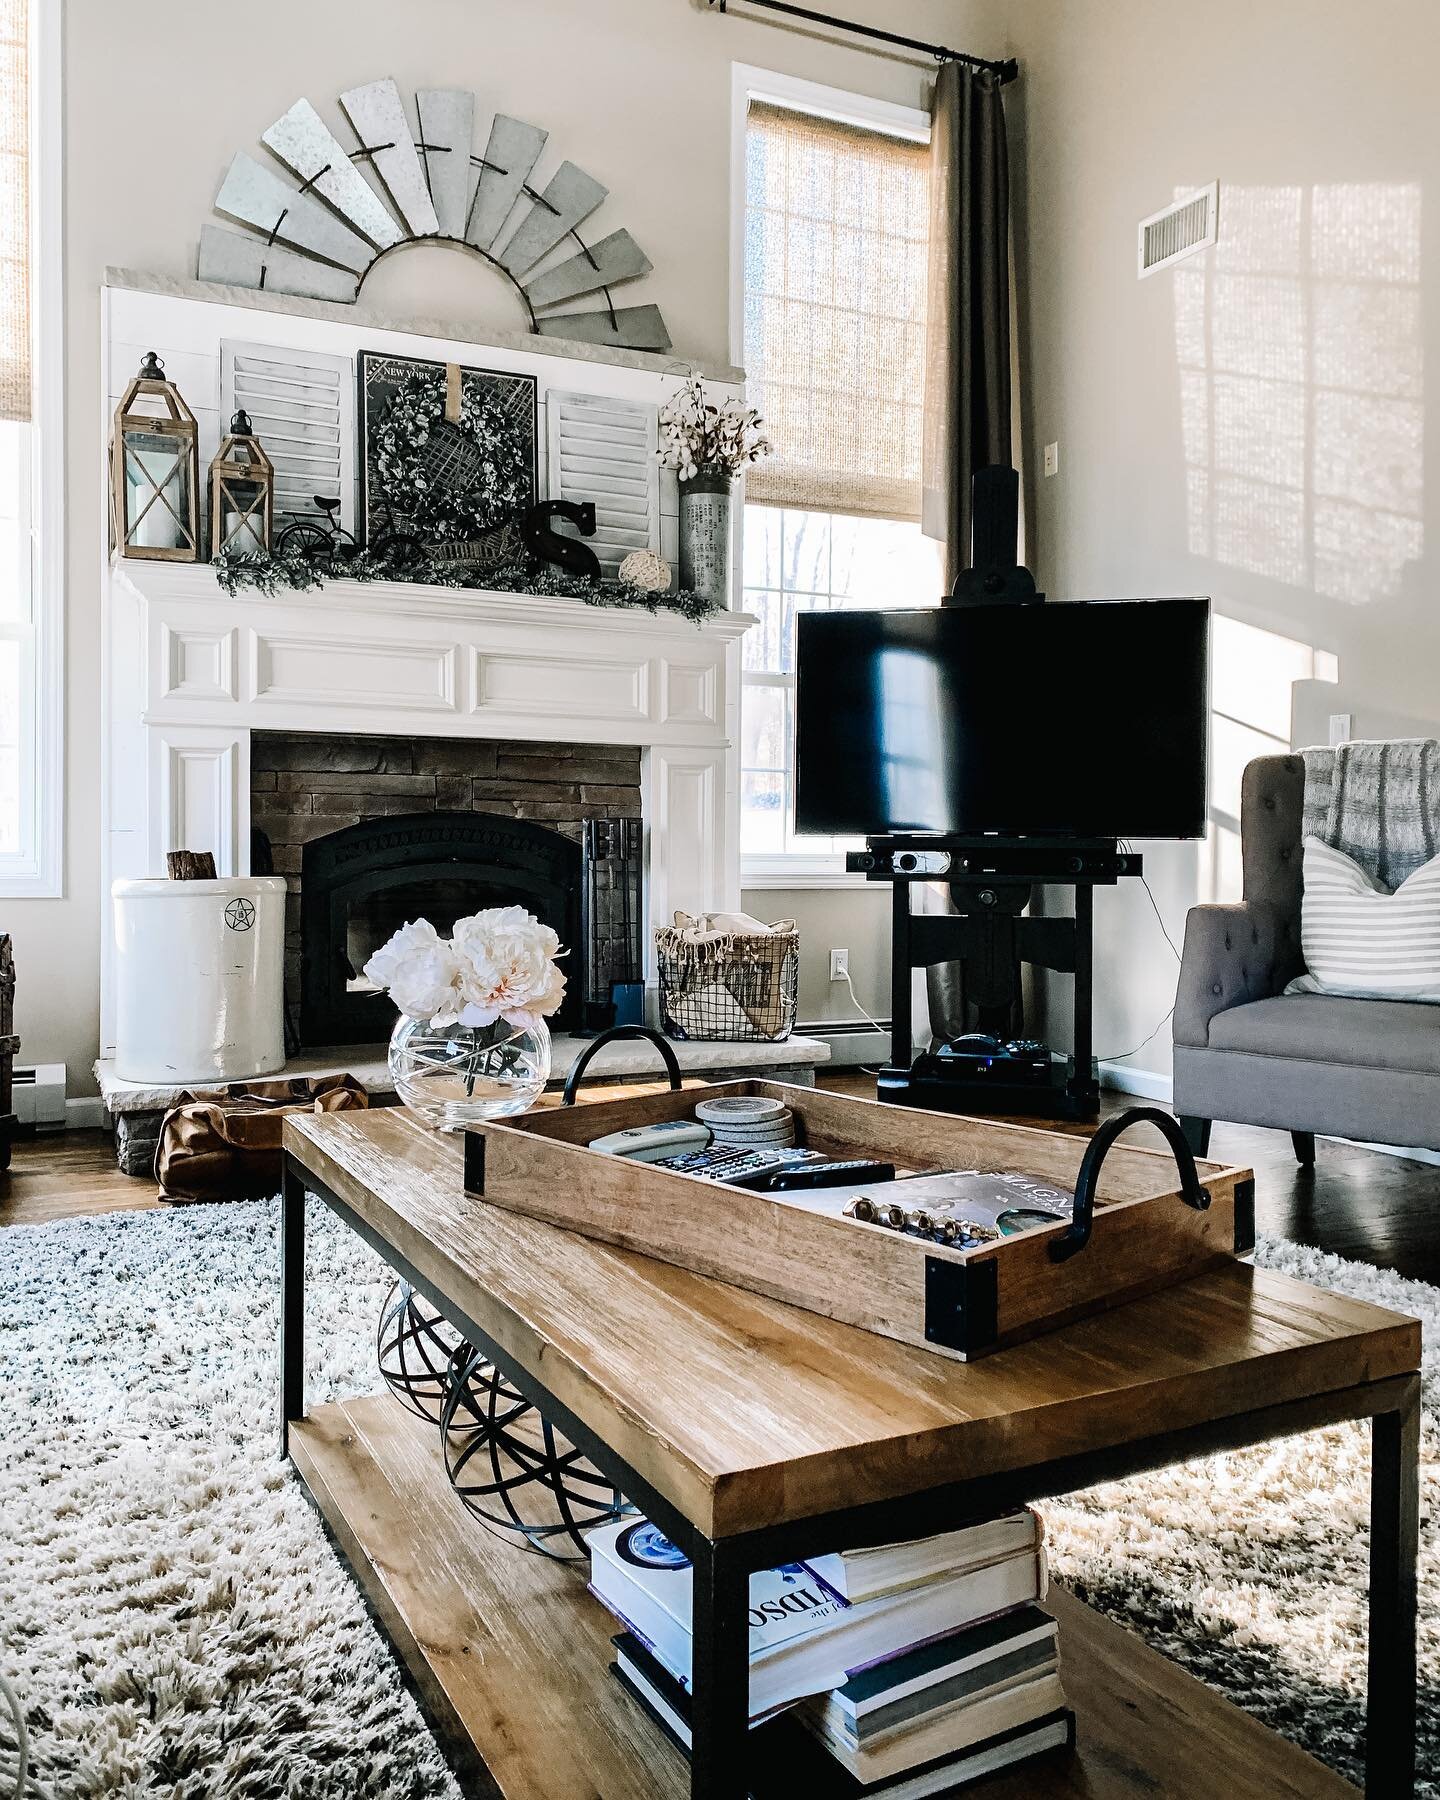
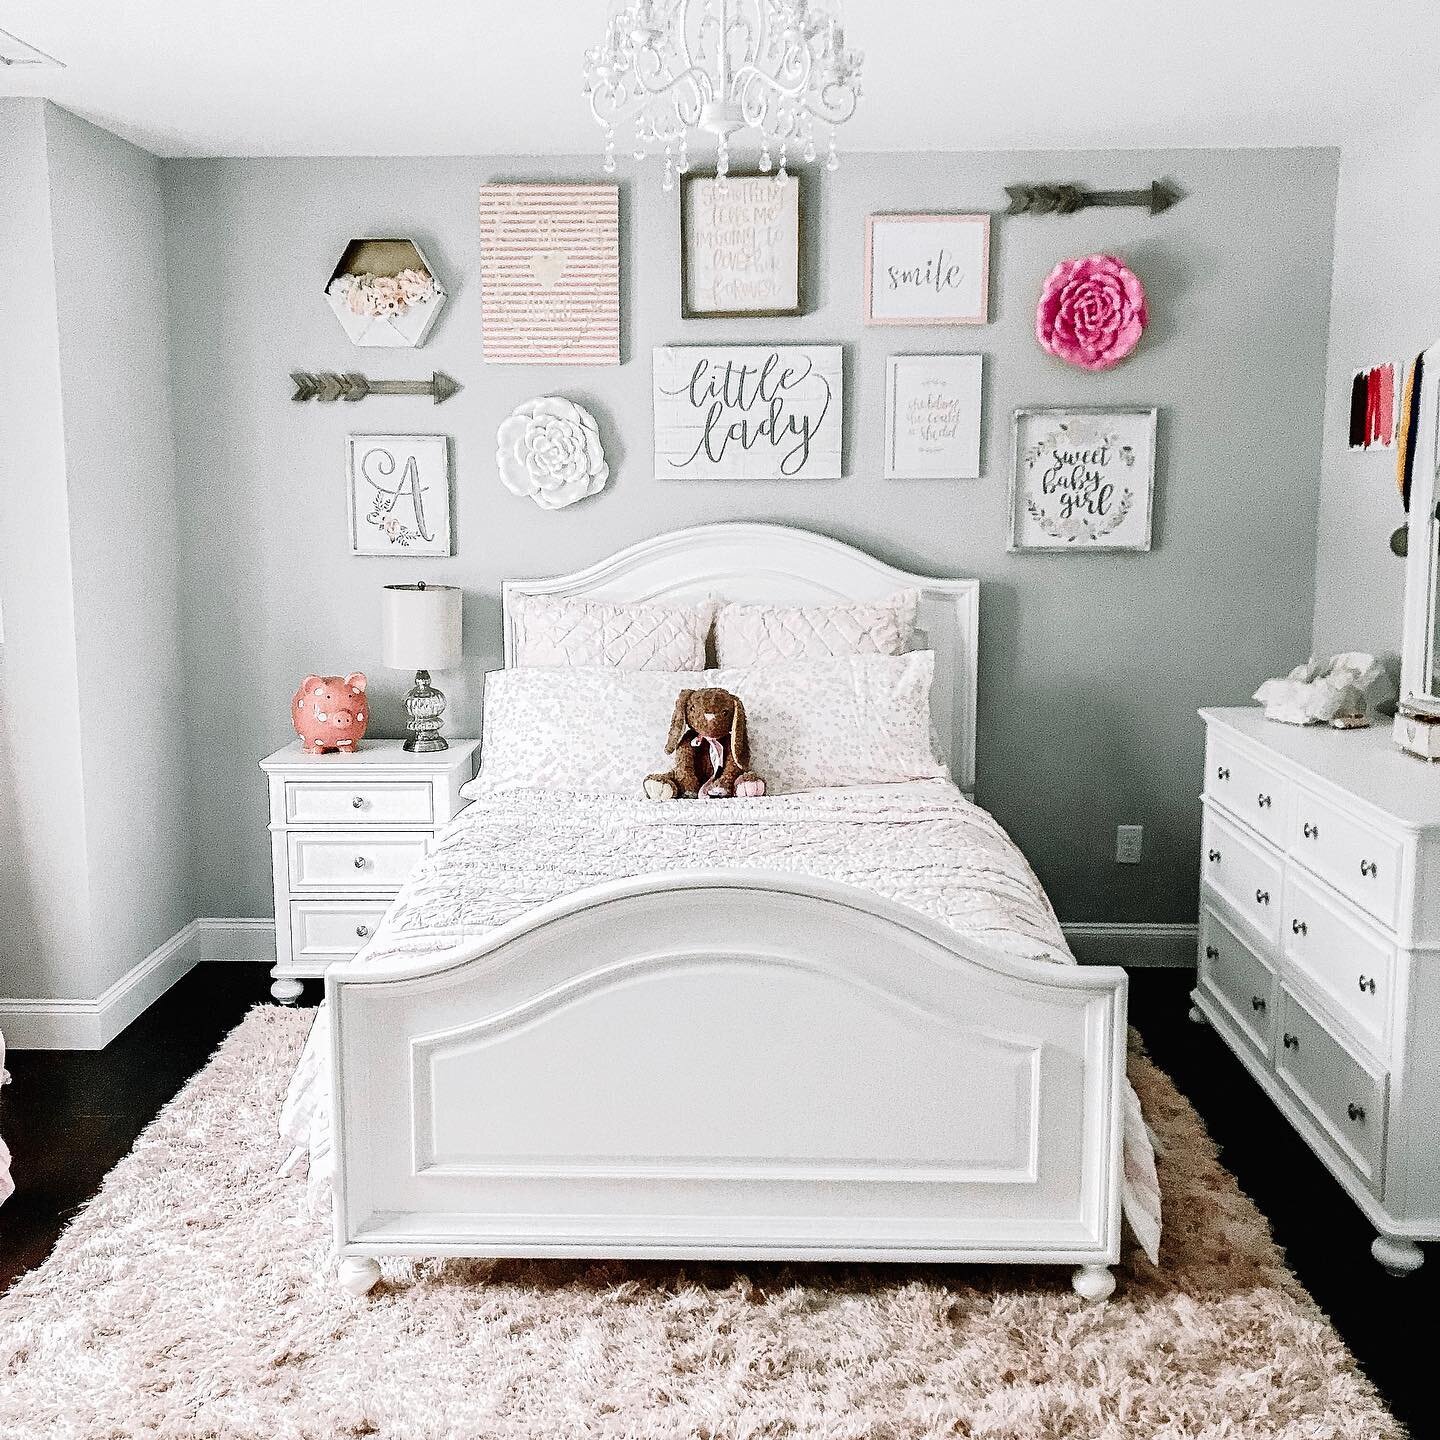
If you enjoyed this post, you might also enjoy my other posts:
Hey Friends, I spend a lot of time putting together these posts, and I would love it if you’d show some love back and followed me on Instagram. **** 10/2020: Recently my instagram was erased and I lost all of my following, so I would SO appreciate it if you followed me by clicking on any of the pictures below from my current feed. Thank you so much!! <3