
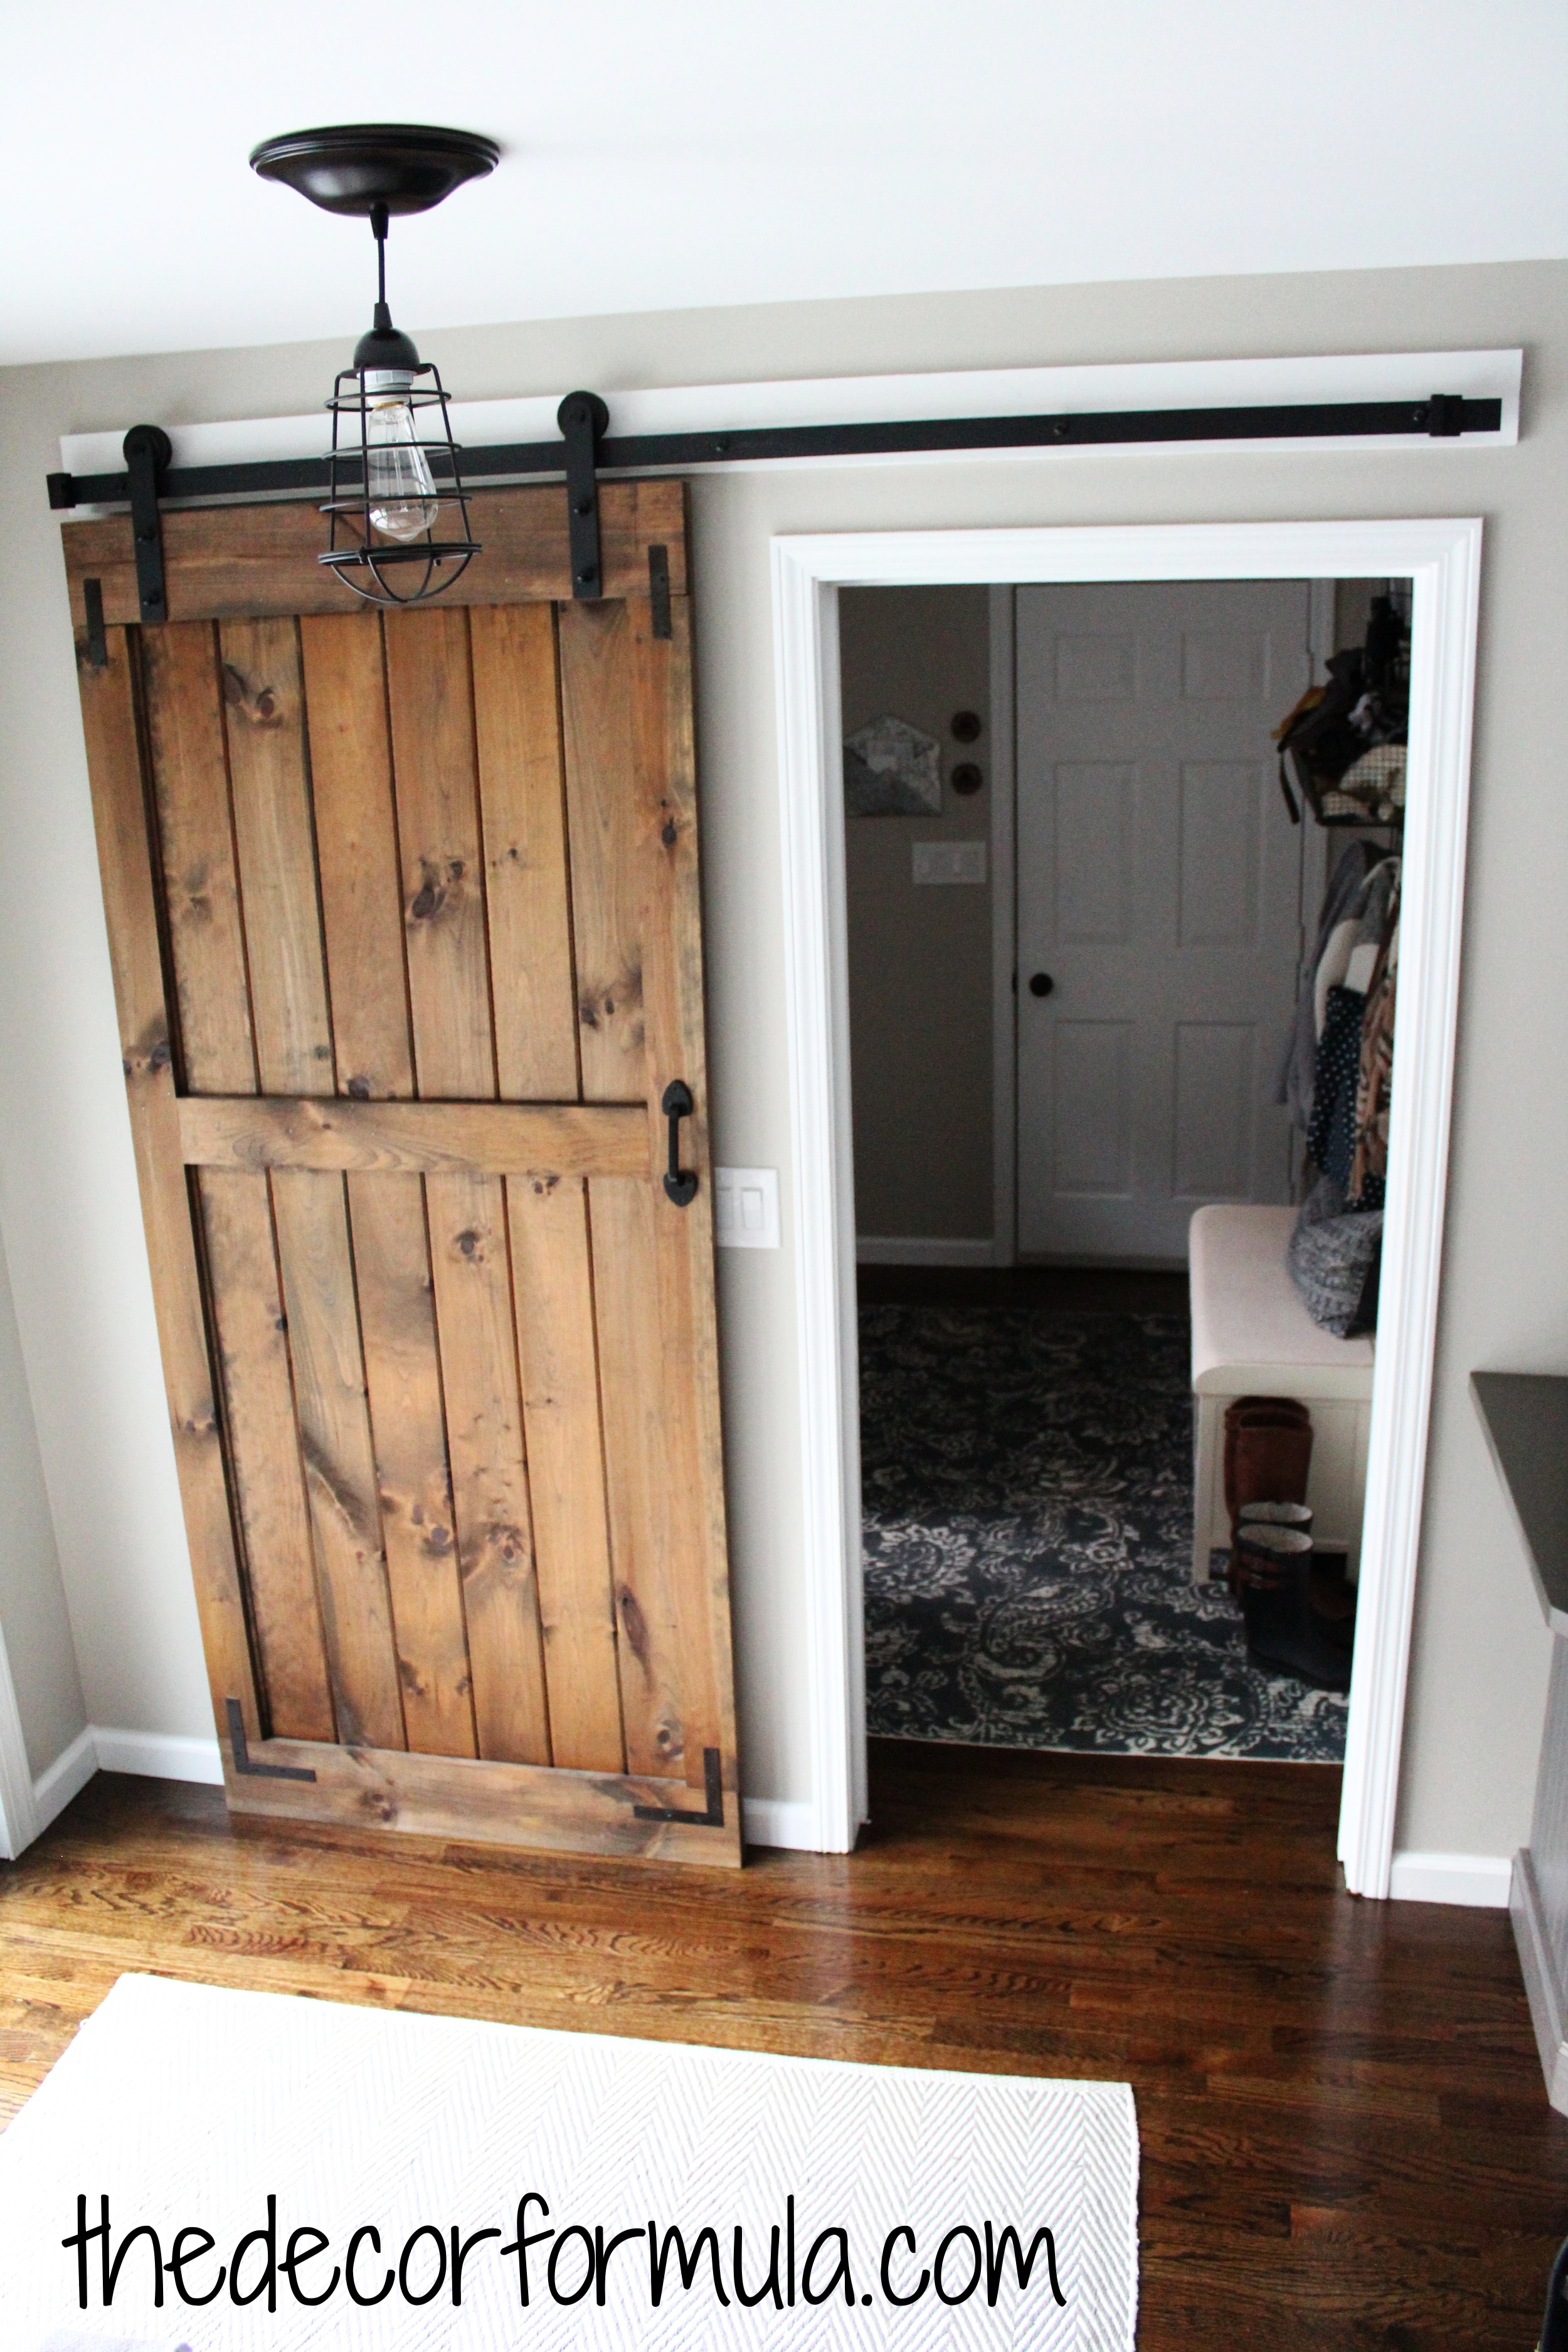
DIY Barn Doors: How to Build a Sliding Barn Door... for cheap!!
So here's how projects usually begin in our house...
I come up with an idea, start taking measurements, sketch something out (I'm a terrible artist), and gauge whether this is something I can complete on my own or if I would need help. Occasionally when I'm sitting on a floor in a room, Shad will ask me what I'm doing- and I usually respond by saying " nothing", because I don't want him to sense what's to come... just yet.

If I think I can do it on my own, I usually make a shopping list and head to Home Depot (it's amazing what you can fit in a Honda Accord Coupe, btw). If I need help I then try to convince Shad or my father (who's a much easier sell), to help me out.
Sliding barn doors became all the rage a couple of years back and I knew once we bought our new home, I had to put one somewhere... anywhere. The problem is- they're super expensive and I'm super frugal (you'll see just how frugal when I explain below how I got the barn door track for free). Home Depot started selling some prefab ones last year for a whopping $499 a pop- which is much cheaper in comparison to having it custom made. I made a plan for mine, and I ended up spending $60 on wood and hardware, and technically even less than that if you deduct the cost of the Reese peanut butter cups I had to buy my father in the checkout line at Home Depot to seal the deal. It was a super easy build and most of the tools we needed I already had.
So my formula for the sliding barn door is:
Wood from the list below + fake barn door hardware spray painted + Sliding barn door track (for free, if you follow my instructions) + a second person to help assemble
My cut/wood list was based on the measurements of my door opening which were 37 inches by 83.5 inches- so I wanted to build a door that would completely cover the opening and molding when shut, so I decided on 37 inches by 86 inches. You'll have to adjust the wood purchase list to your individual door opening. I try to take all the measurements down- and because I'm cheap and want to use as much of one piece of wood as I can, I then determine what would be the cheapest course of action with my wood purchase (wood usually comes in 6ft, 8ft, 10ft, and 12ft pieces).
Tools for assembly: DeWalt Low-Impact Drill, Nail Gun with 1 inch nails, Small trigger clamps, skill saw, table saw, 1 inch black screws, Wood Glue, rubber mallet, level
Wood + Cut List:

7 pieces of 1 inch x 6 inch x 8 ft Tongue and Groove Pattern Whitewood Board from Home Depot (Around $5 each) Cut to: 86 inches each, 1 of the 7 pieces will also have to be cut down further using a table saw (explanation later on)
1 piece of 1 inch x 6 inch x 8ft Square Edge Whitewood Common Board Cut: for top and bottom overlay pieces to 37 inches each
1 piece of 1 inch x 4 inch x 10 ft Square Edge Whitewood Common Board Cut: to 74 inches for one long side piece, and 30 1/8th inch for middle overlay piece
1 piece of 1 inch x 4 inch x 8 ft Square Edge Whitewood Common Board Cut: to 74 inches for second long side piece.
Optional: You will need another piece of 1x4x8ft Square Edge Whitewood Common Board to install the sliding barn door track on, if the door opening has molding on it. (Otherwise your barn door will scrape against the molding when opening and closing)

Tip: When purchasing wood, make sure that the wood is not warped or bent in any way. You can do this by putting the wood on the floor, turning it sideways, and eyeing it with one eye closed (if that makes sense). Warped and bent wood will throw off the entire door.

Hardware:
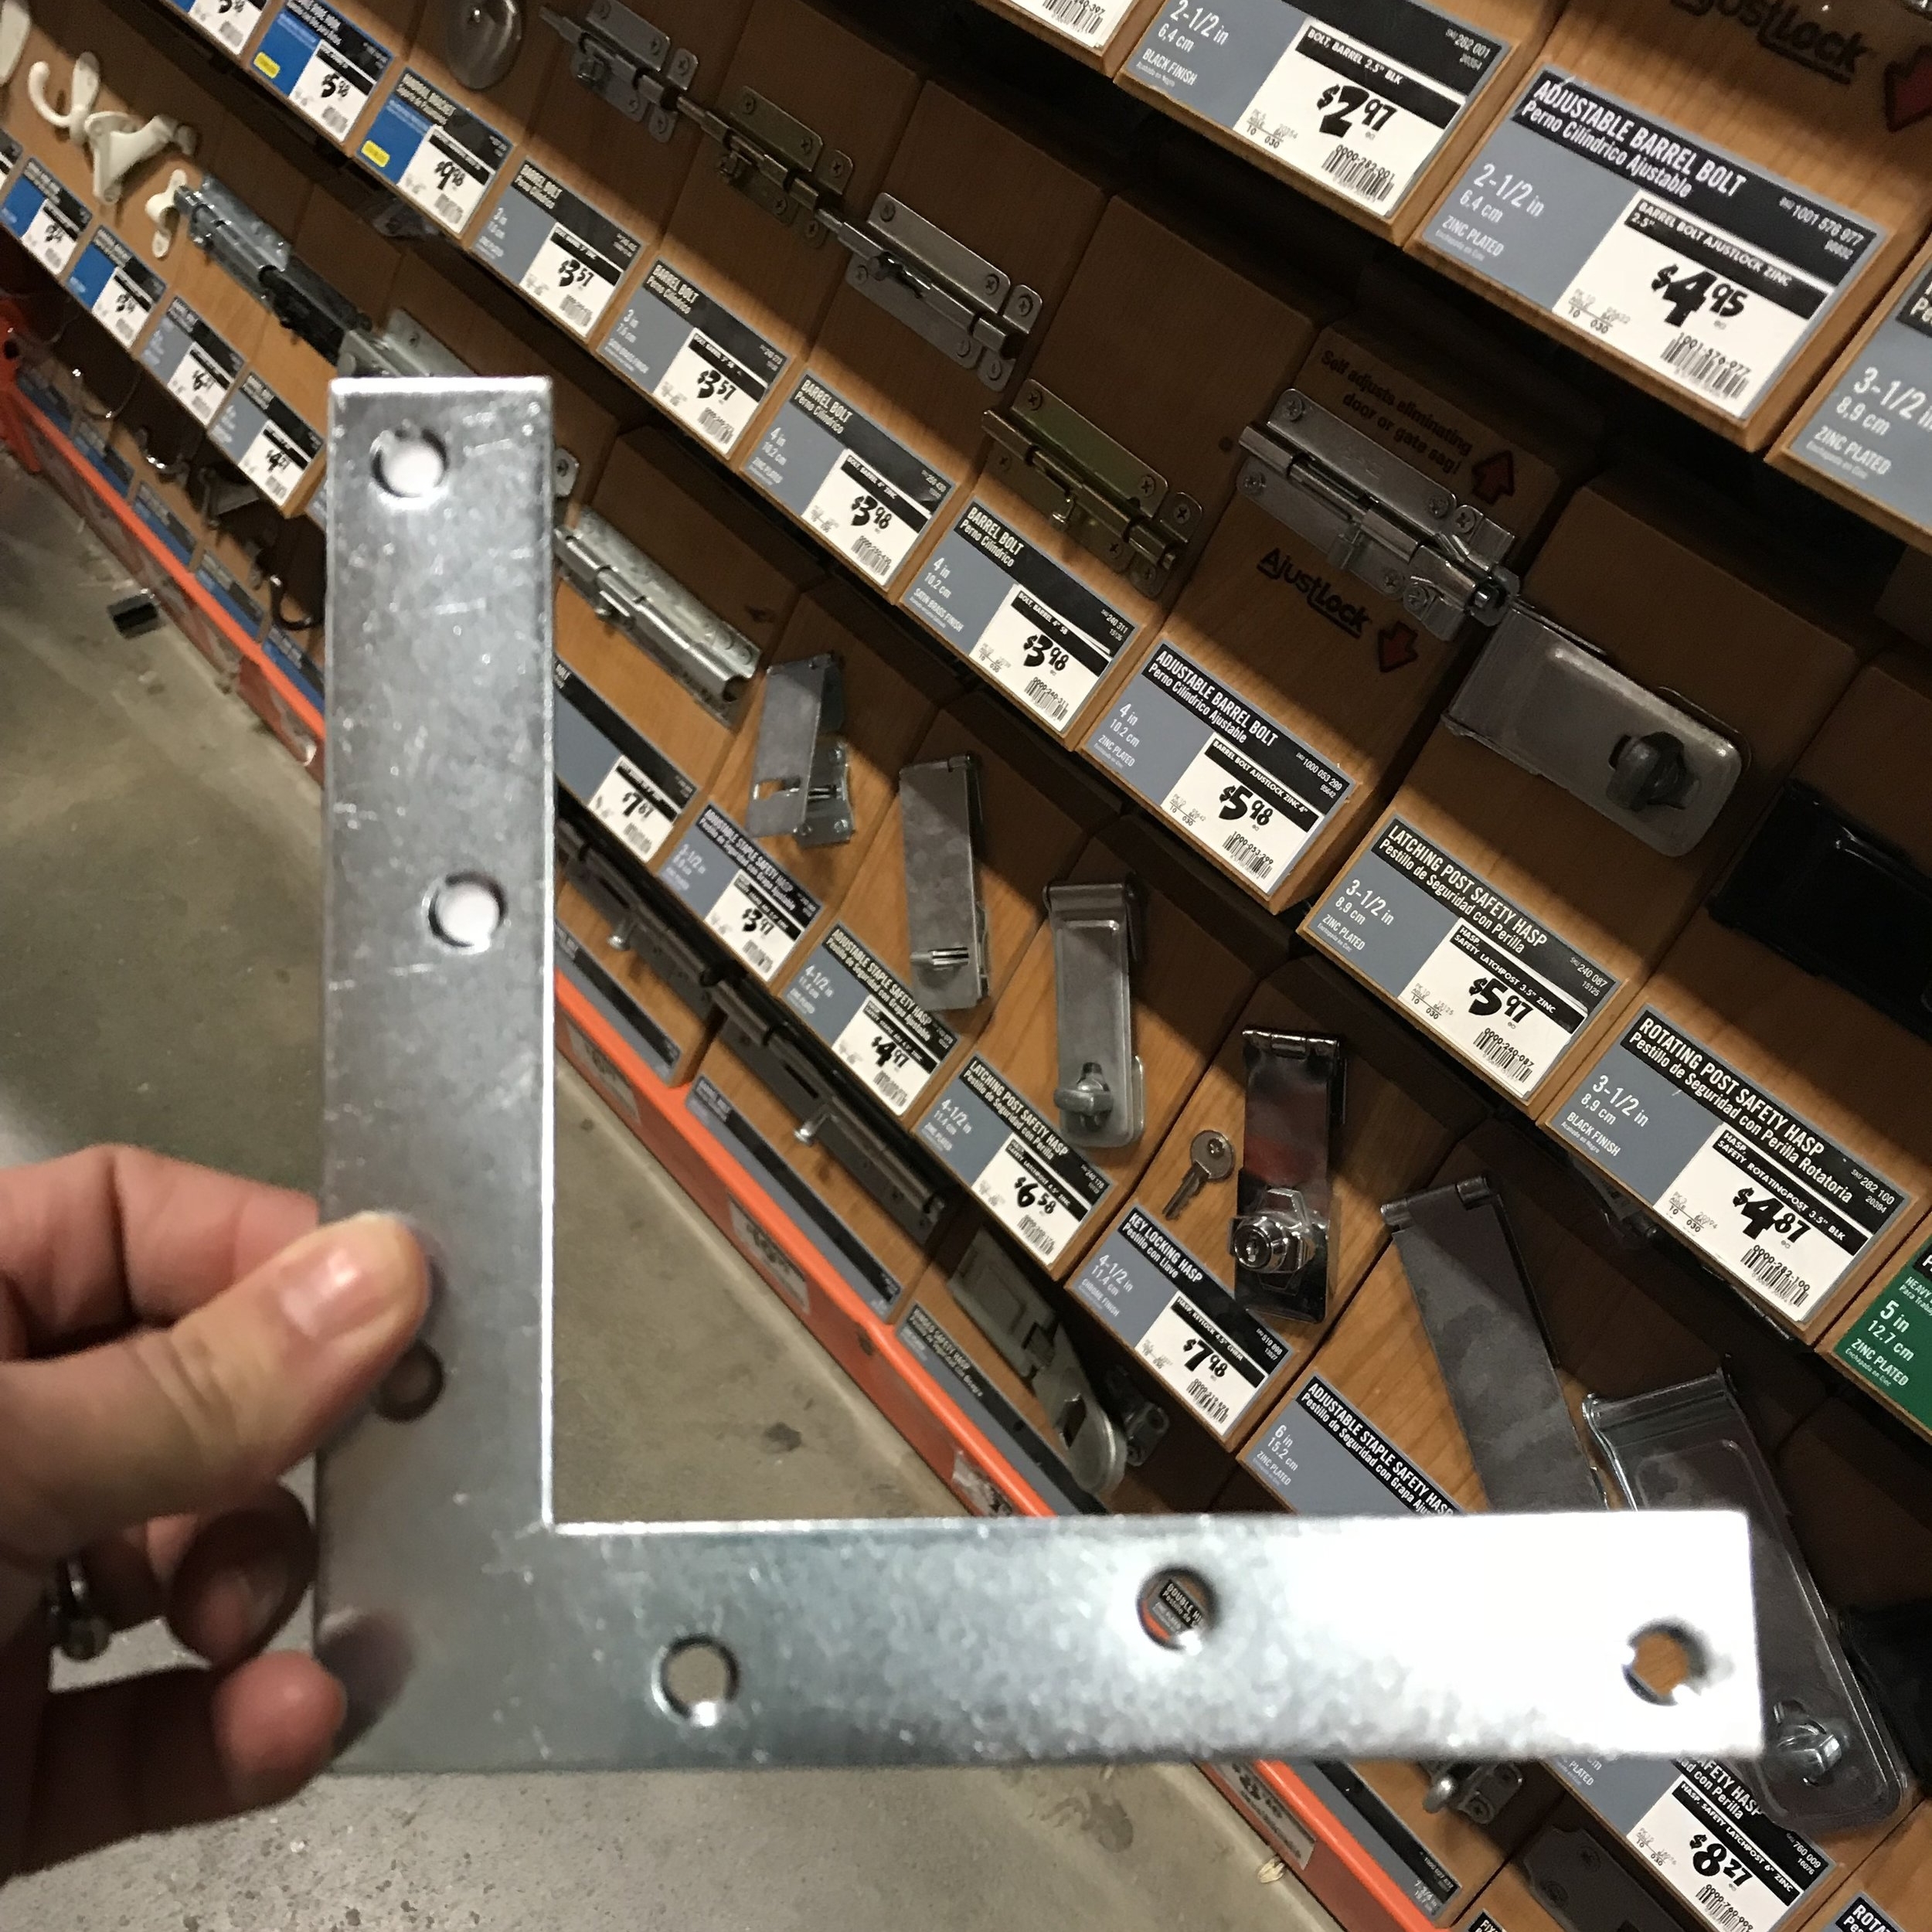
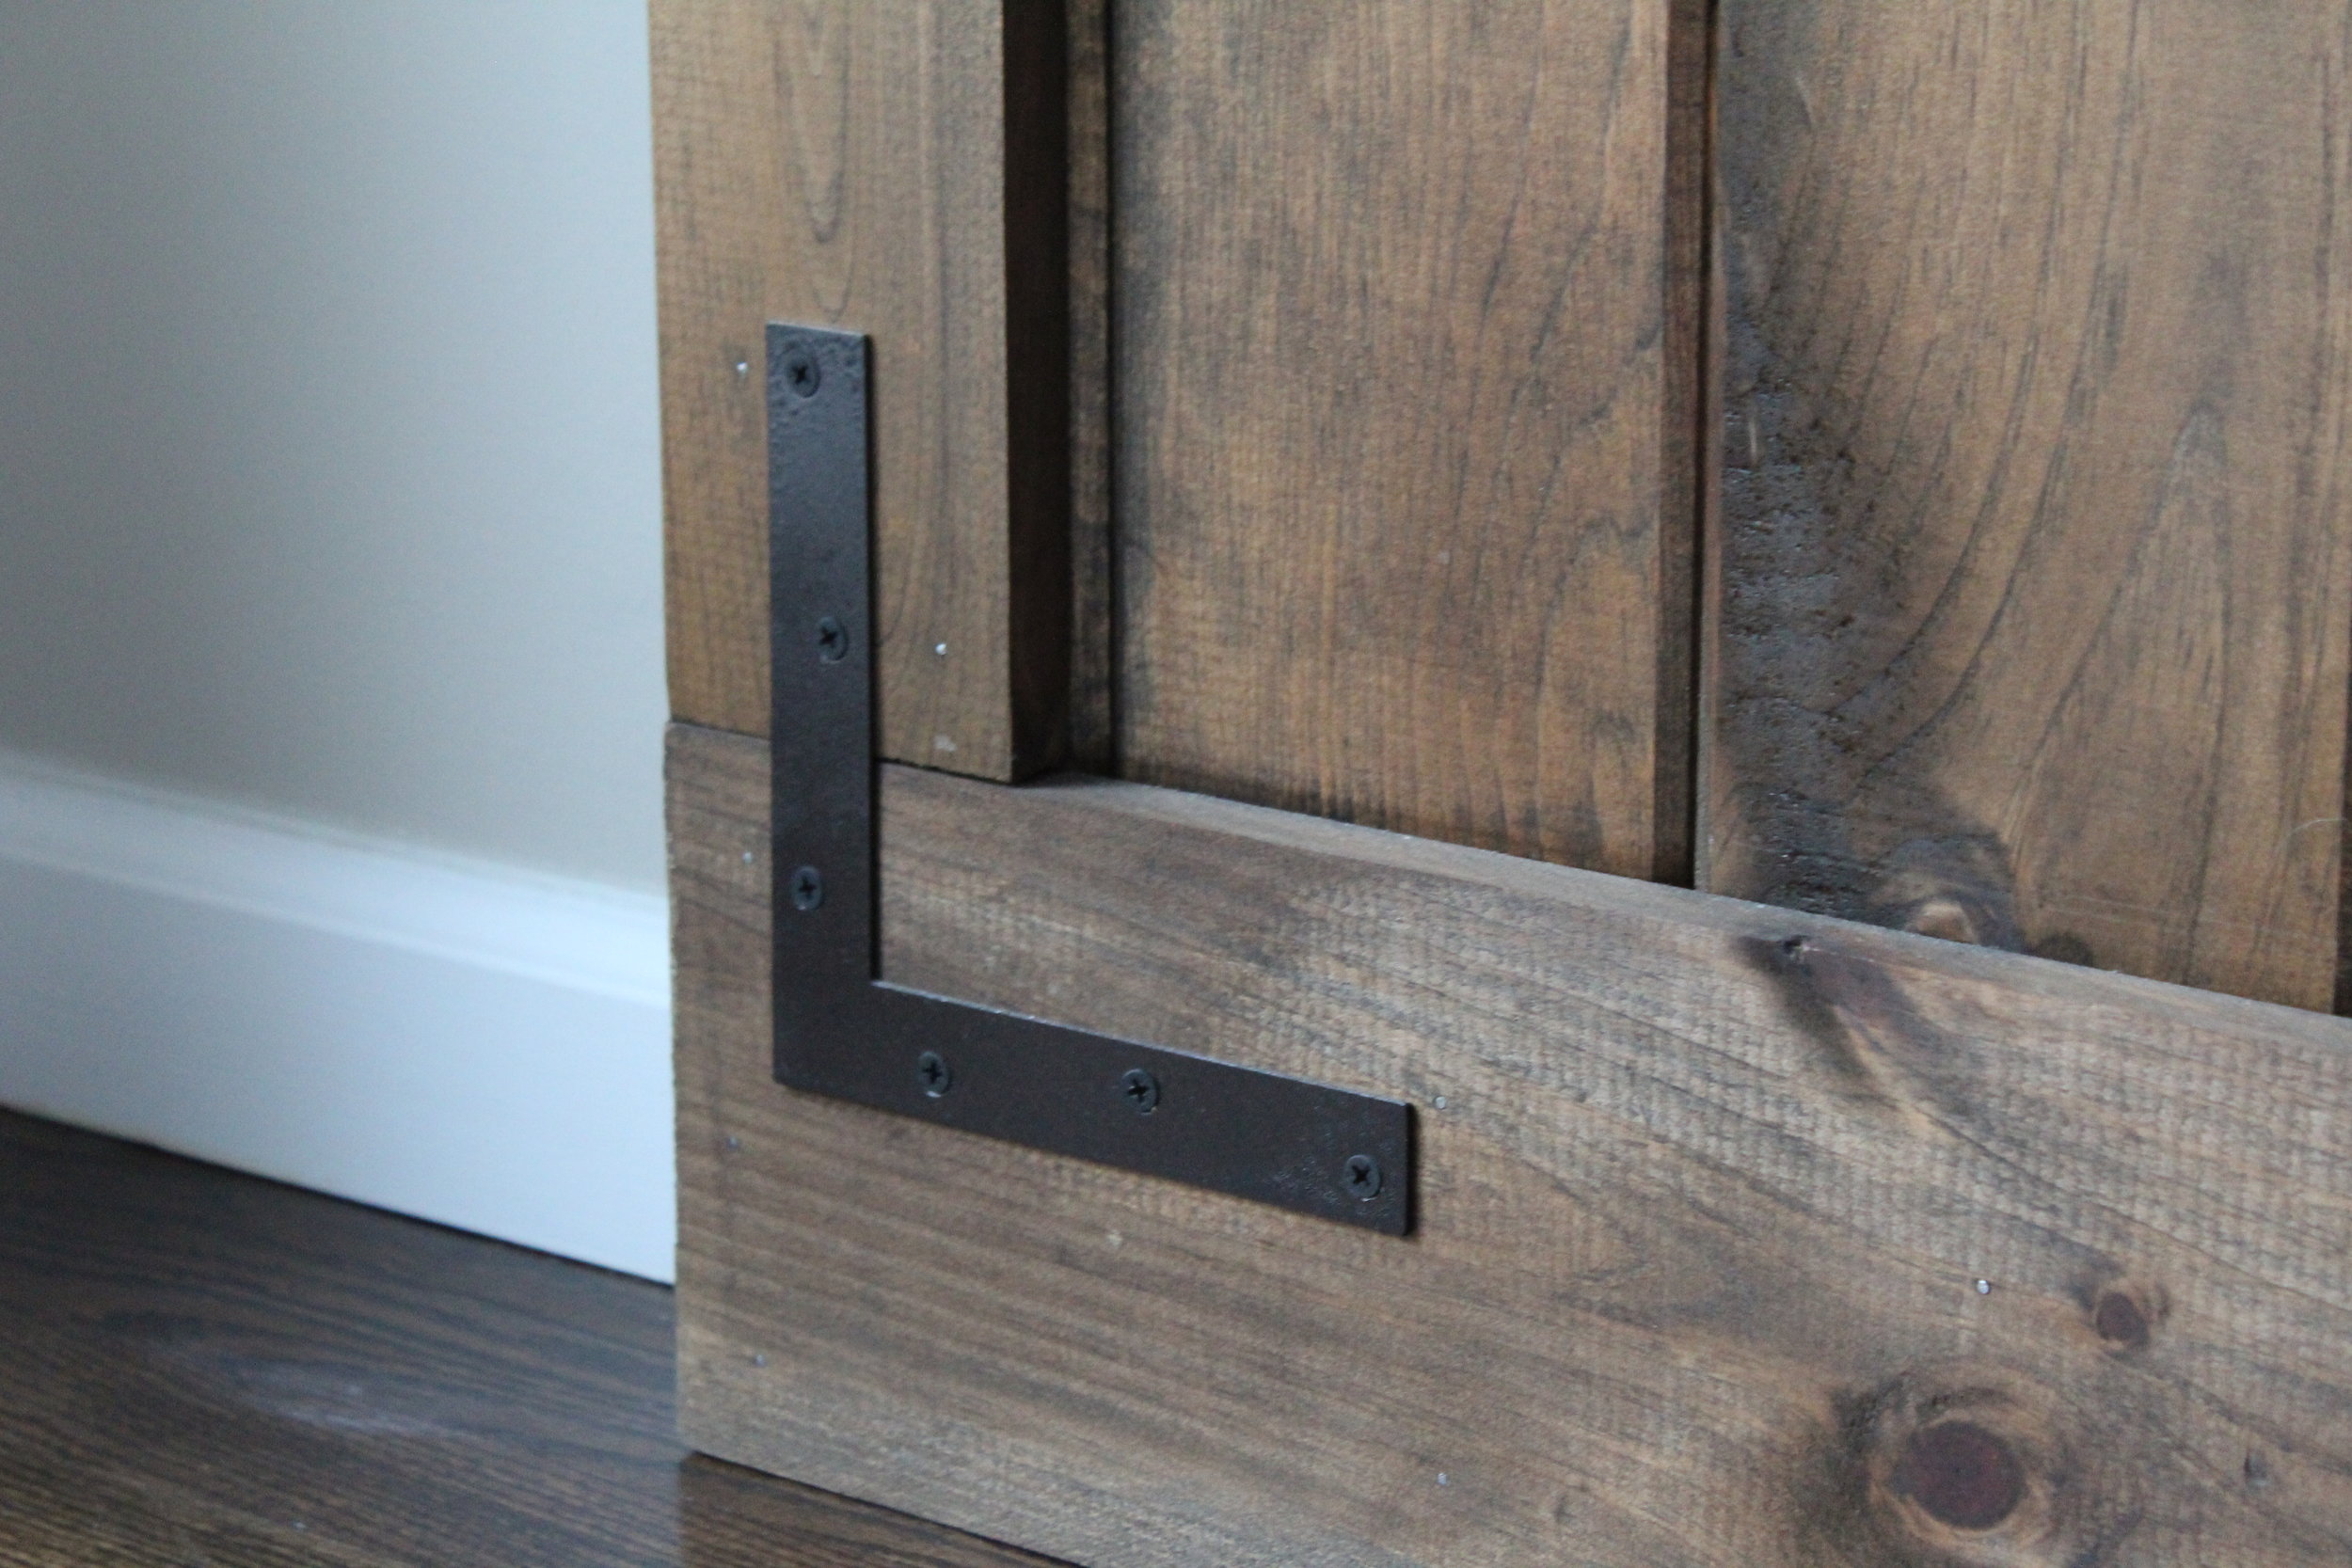
I spray painted the following braces/mending plates from the hardware section black:
(2) Everbilt 6 inch zinc plated flat corner brace ($1.97 each)
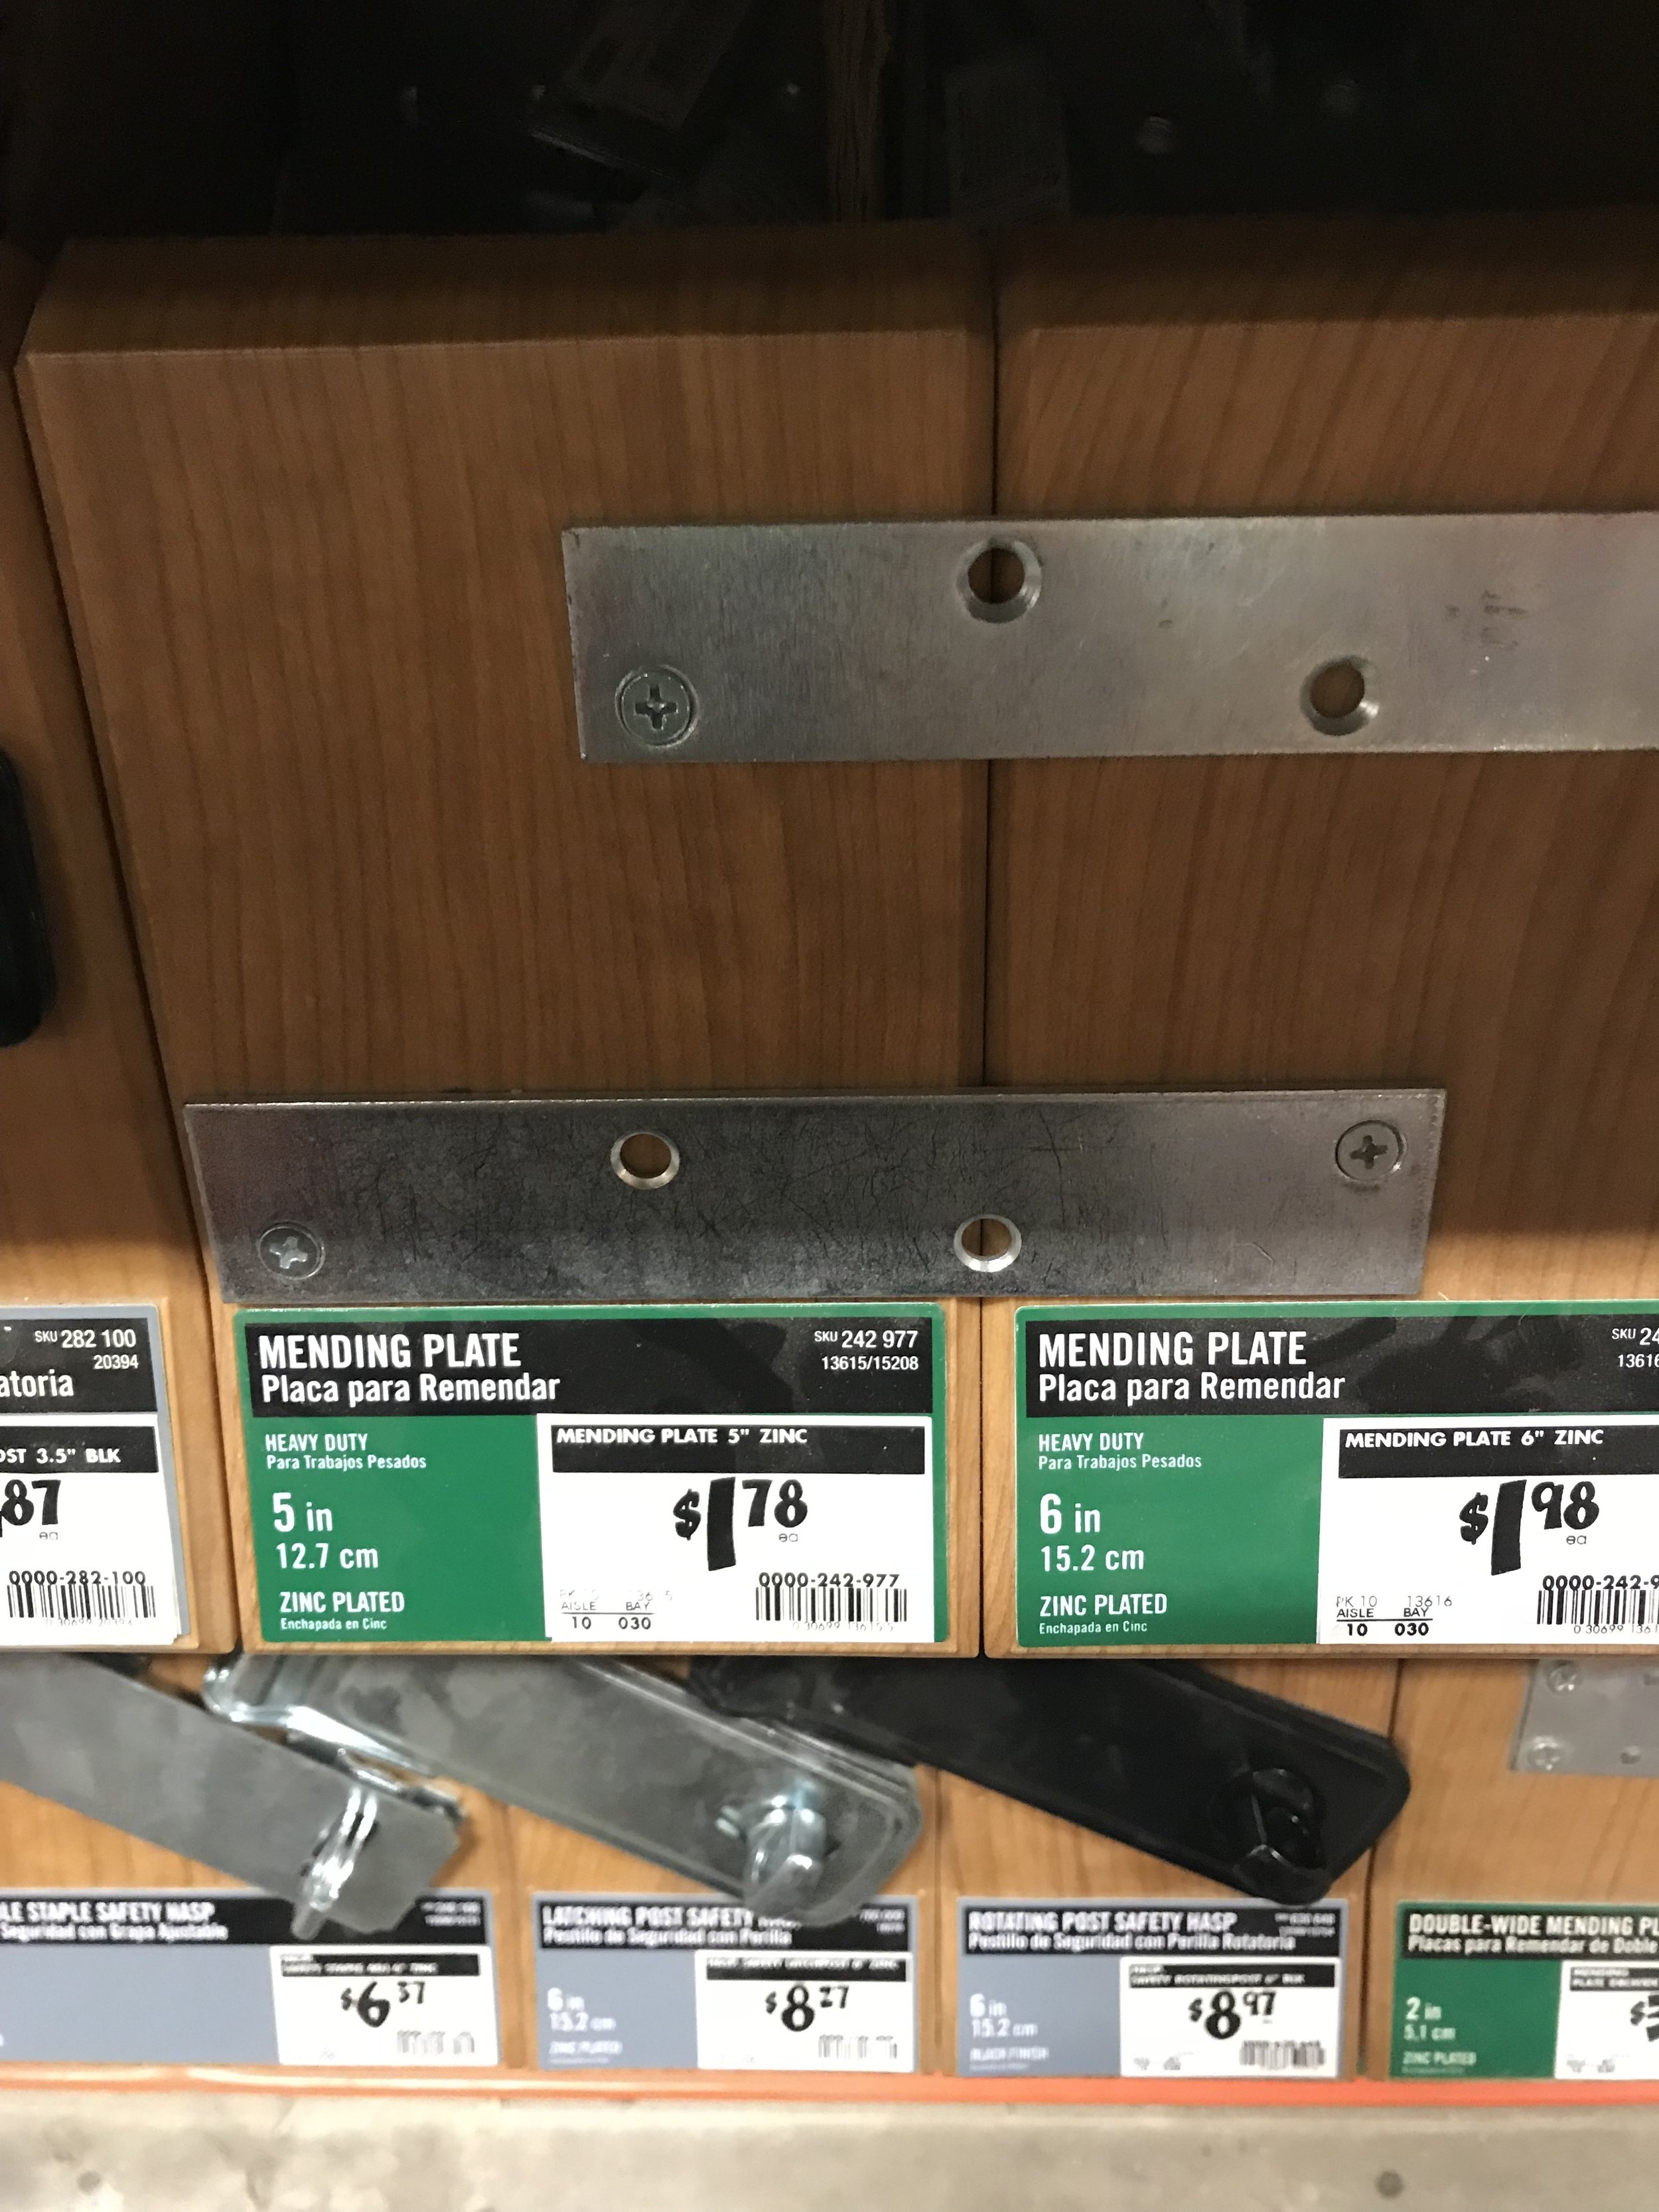
(2) Everbilt 5 inch zinc plated mending plates ($1.78 each)
I also bought a metal "gate" handle from the same section for $5.
However, recently Hobby Lobby has had amazing barn door hardware (that I wish was around when I built my door) for super cheap in the furniture knob section of the store (you can either wait for a 50% off sale which is basically every other week, or use a 40% coupon available online on their website).
Steps to build:
(shown in model images, because I didn't think I'd be writing about it, so I never took step-by- step pictures)

Step 1: You'll need a table or horses, and a second person to help to assemble, which is the most difficult. After cutting the "tongue and groove" shiplap pieces to the length that you want your door (in my case 86 inches), take 6 of the 7 pieces and working one piece at a time, insert the tongue part into the grooves. Sometimes when assembling this part, you'll find that one end will slip out of the groove- so using a rubber mallet to hammer them together from the side helps. I also used a level to make sure my ends were level once piecing them together. (One person can stand at one end of the wood to hold it together while the other person hammers the pieces in).
Step 2: Since I wanted my door to be 37 inches wide to cover the opening and my 6 pieces of 1x6 inch tongue and groove (which really measures .75 x 5.5 inches) only measures to 33 inches when assembled (5.5 x 6=33), my 7th tongue and groove board needs to be cut down the middle using a table saw to two, 2 inch pieces. I chose to only use one board because the final pieces still need to be attached to the 6 boards using the tongue and groove, and they also need to be cut down anyway to have a smooth edge (otherwise you'll have a groove on one side of your barn door, and a tongue sticking out the other).
Step 3: Using the 1 piece of 1 inch x 6 inch x 8ft Square Edge Whitewood Common Board Cut, cut two pieces that measure 37 inches in length. These will serve as the top and bottom overlay pieces marked in light blue. Apply wood glue to the back of these pieces and place them at the top and bottom of the door. (Tip: More glue is not better- it can sometimes seep through the edges and your stain won't adhere to those spots later on). Clamp them down, then using a nail gun and 1 inch nails, nail these boards to the tongue and groove shiplap. Leave the clamps on for a good 20 minutes so the glue has time to dry.

Step 4: Using the 1 piece of 1 inch x 4 inch x 10 ft Square Edge Whitewood Common Board and the 1 piece of 1 inch x 4 inch x 8ft Square Edge Whitewood Common Board cut two 74 inch pieces for the sides of the door. You should have enough left over from the 10ft piece to cut the final piece. Using wood glue again and the nail gun, follow the same steps above listed under 3, to adhere side pieces to the door.

Step 5: Cut the final middle piece of the door to 30 1/8th inches (double check the measurements between the two 74 inch pieces prior to cutting) using the left over wood from step 4. Glue and nail it as you did in steps 3+4.

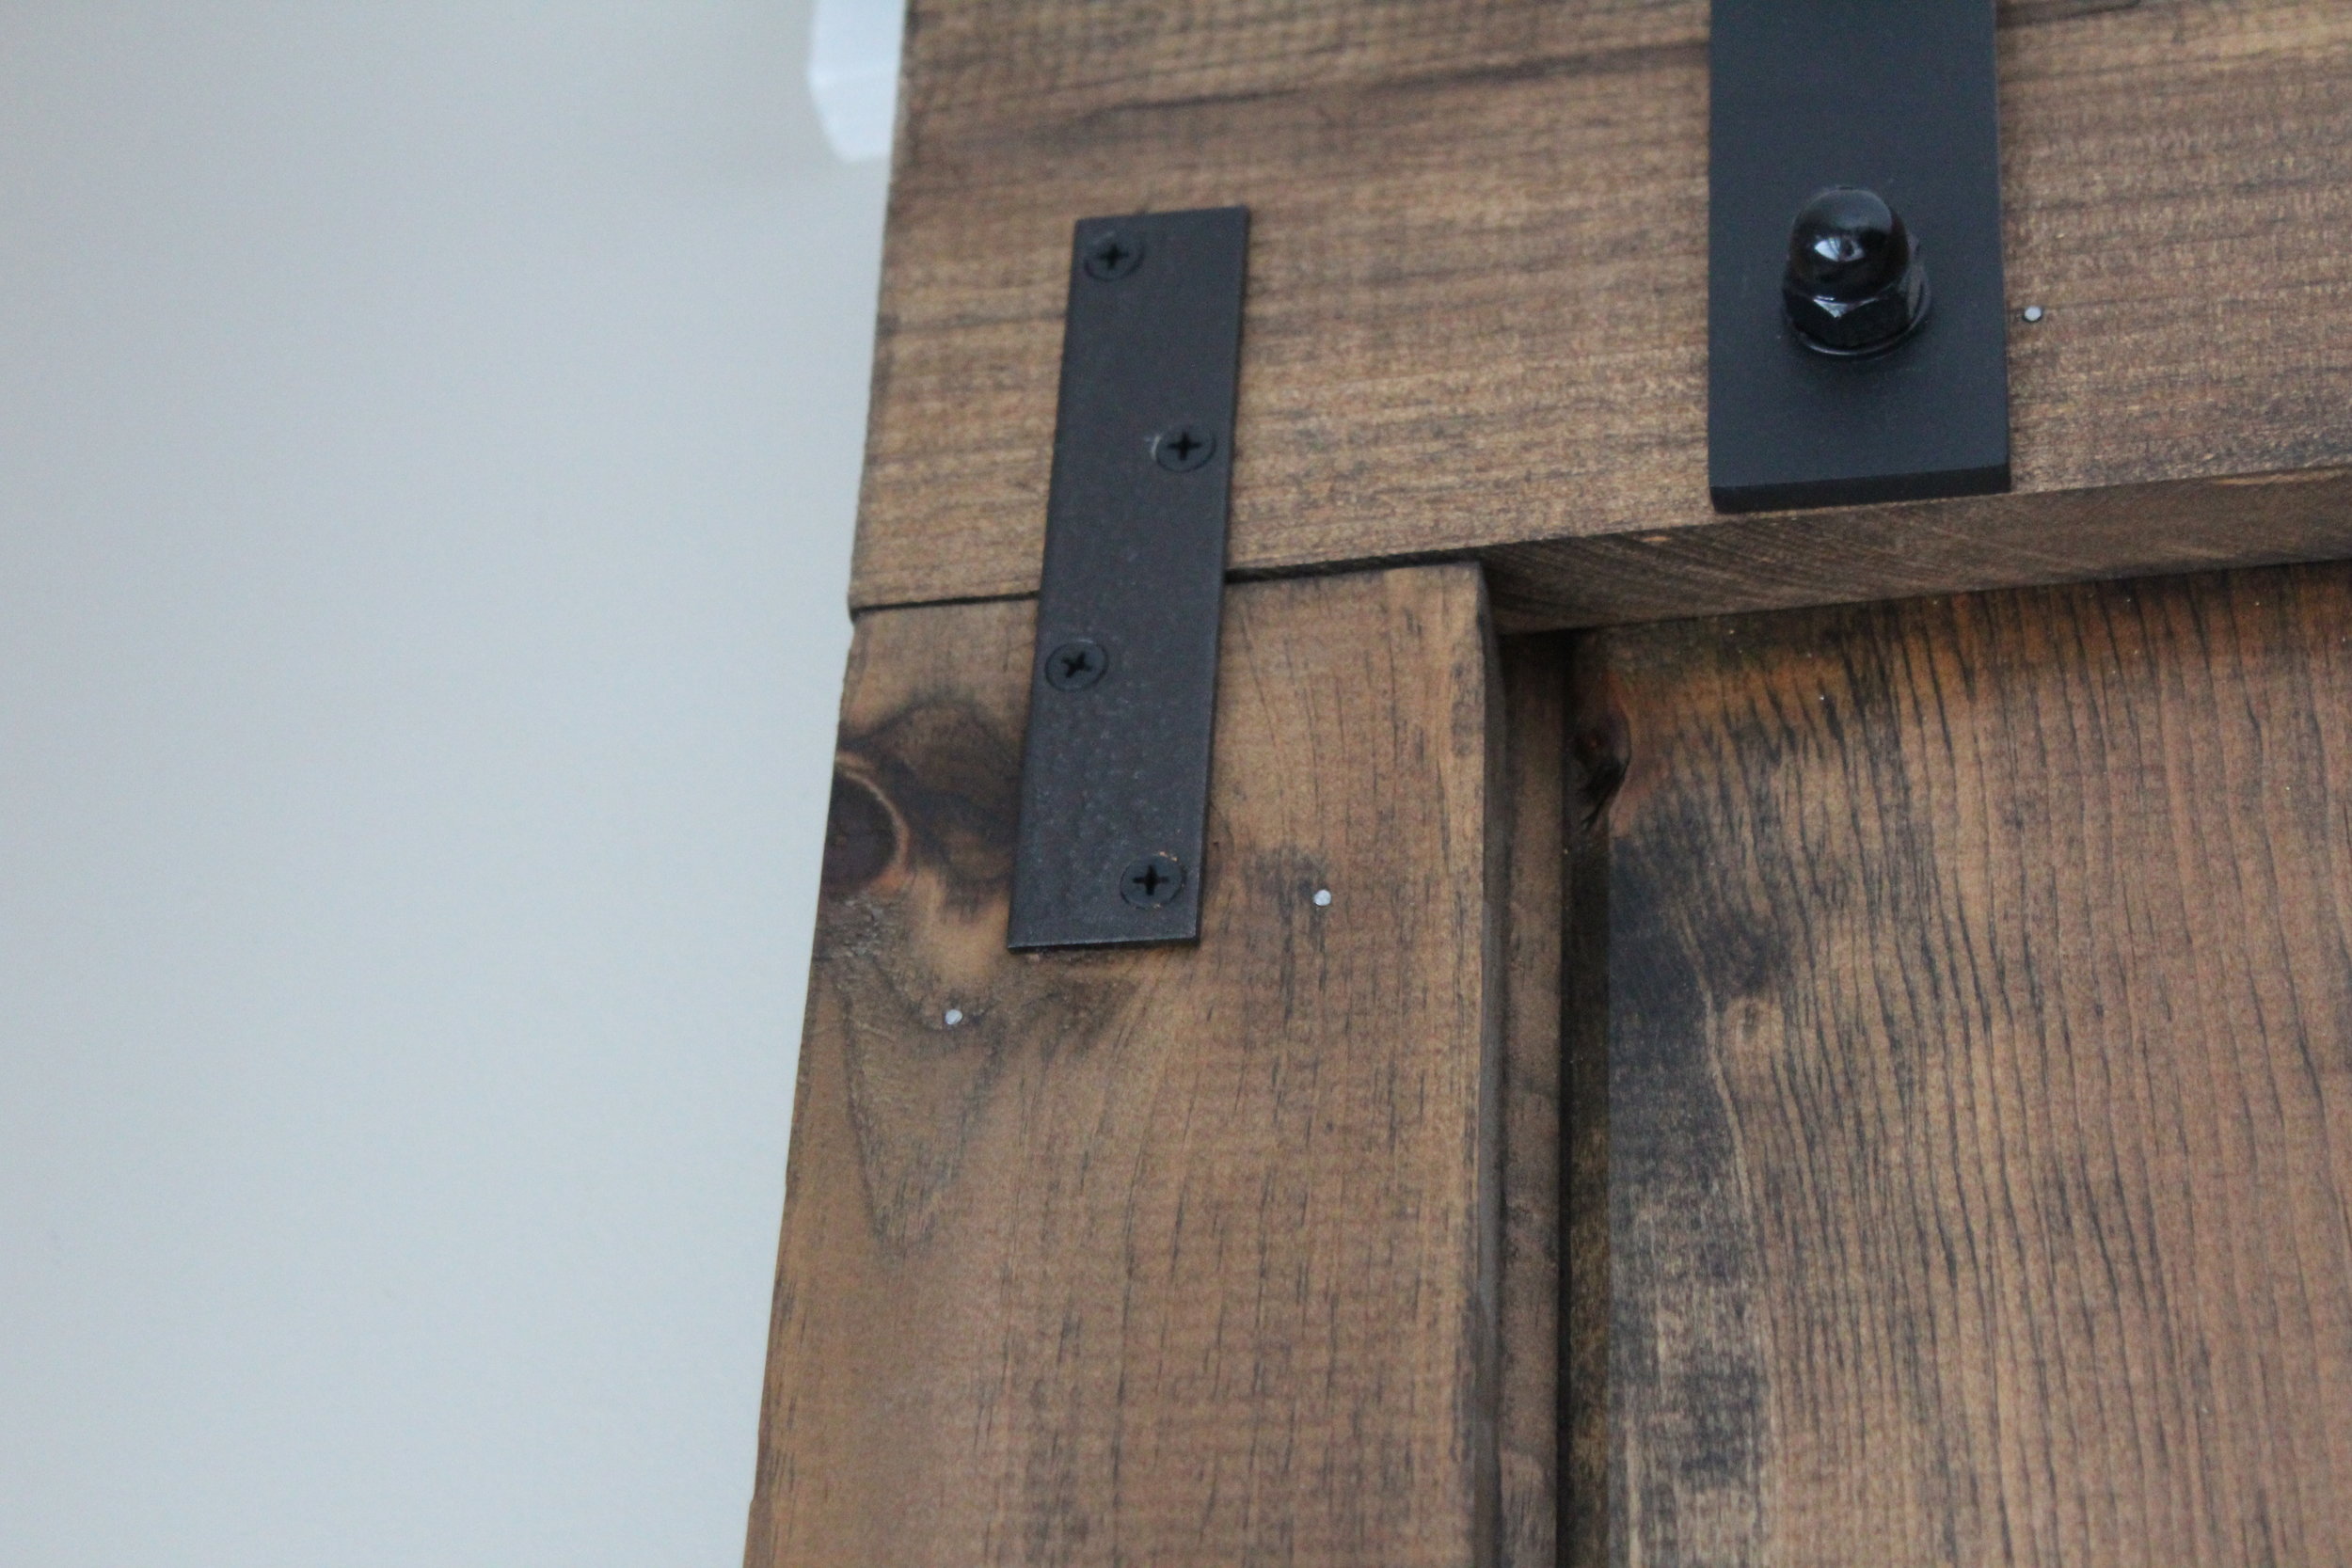
Step 6: After you've given enough time for the glue to dry, you and your "assembly partner", need to flip the door over and secure the door by screwing your 1 inch black screws from the back. ( I did 8 screws through the back at the top, 8 at the bottom, 8 in the middle where my middle piece was on the front side, and 2 additional screws on the sides- all marked in X's below)

Step 7: Stain your door! Staining is super easy. I prefer to use a foam brush. I dump the stain in a plastic solo cup, apply the stain going with the grain of the wood in sections, and then wipe the stain off after about 30 seconds using a pieces of a cut up old white shirt. I already had the stain in my garage- however Minwax sells tiny cans of stain for under $5. A little stain goes very far- so you don't need a large can at all.
I did not end up using poly on my door for two reasons- the main reason was because we constructed this in the fall when it was very cold. Polyurthane cannot be applied in cold weather and I wasn't about to stink up my house by poly-ing indoors. If the temperature drops below 50 your poly won't cure and will form a cloudy look to it. You would then have to sand down the entire project and stain again (which is a nightmare). Secondly, I was super excited to get the door up so I thought I'd eventually take the door off in the spring or summer and then poly it. (Which I never ended up doing.)

Step 8: Give the door a day or two to dry and then apply the hardware using the black screws. Your door will then be ready to attach the sliding hardware and put up the track.

Step 9: Installing the door. You need barn door glides and a track! I bought mine here off Amazon for $50... but I really got it for "free". It was great quality and the door glides so easily.
(^ Now-I just checked a recent review where someone said "CAUTION: THIS TRACK CAN FALL ON YOU" ... yea if you're an idiot and you don't attach the track to studs in your wall, sheetrock isn't going to hold a heavy track and door)
How did I get it "technically" for free?
When I checking out on Amazon offered me a "$50 credit" on this purchase if I opened an Amazon credit card. When I saw my total would be $0... I jumped on it- and the greatest part was I didn't even have to purchase it on the actual Amazon credit card- at check out I got to choose my regular method of payment (to pay the tax). So... as soon as that Amazon CC came in the mail, I immediately canceled it and closed the account. (That's frugal.) (PS- I did the same trick again last year on a pair of boots my husband wanted for Christmas that were way more than I wanted to pay...shhhh :) )
For the installation I really recommend you invest in a "stud finder" from Home Depot-
it's amazing and I don't know why we didn't own one the first two years we lived here. We only bought one AFTER we almost hung every single thing possible on our walls. It beeps when it's found a stud. (Tip when using stud finder: Husbands don't find it funny when you place the stud finder on their body and say: "This must not work it's not beeping")
My husband screwed the painted white wood piece directly into the studs and from there he installed the track. He also created four holes with a drill in the top of the door to attach the glides.
Viola: A cheap DIY sliding barn door.
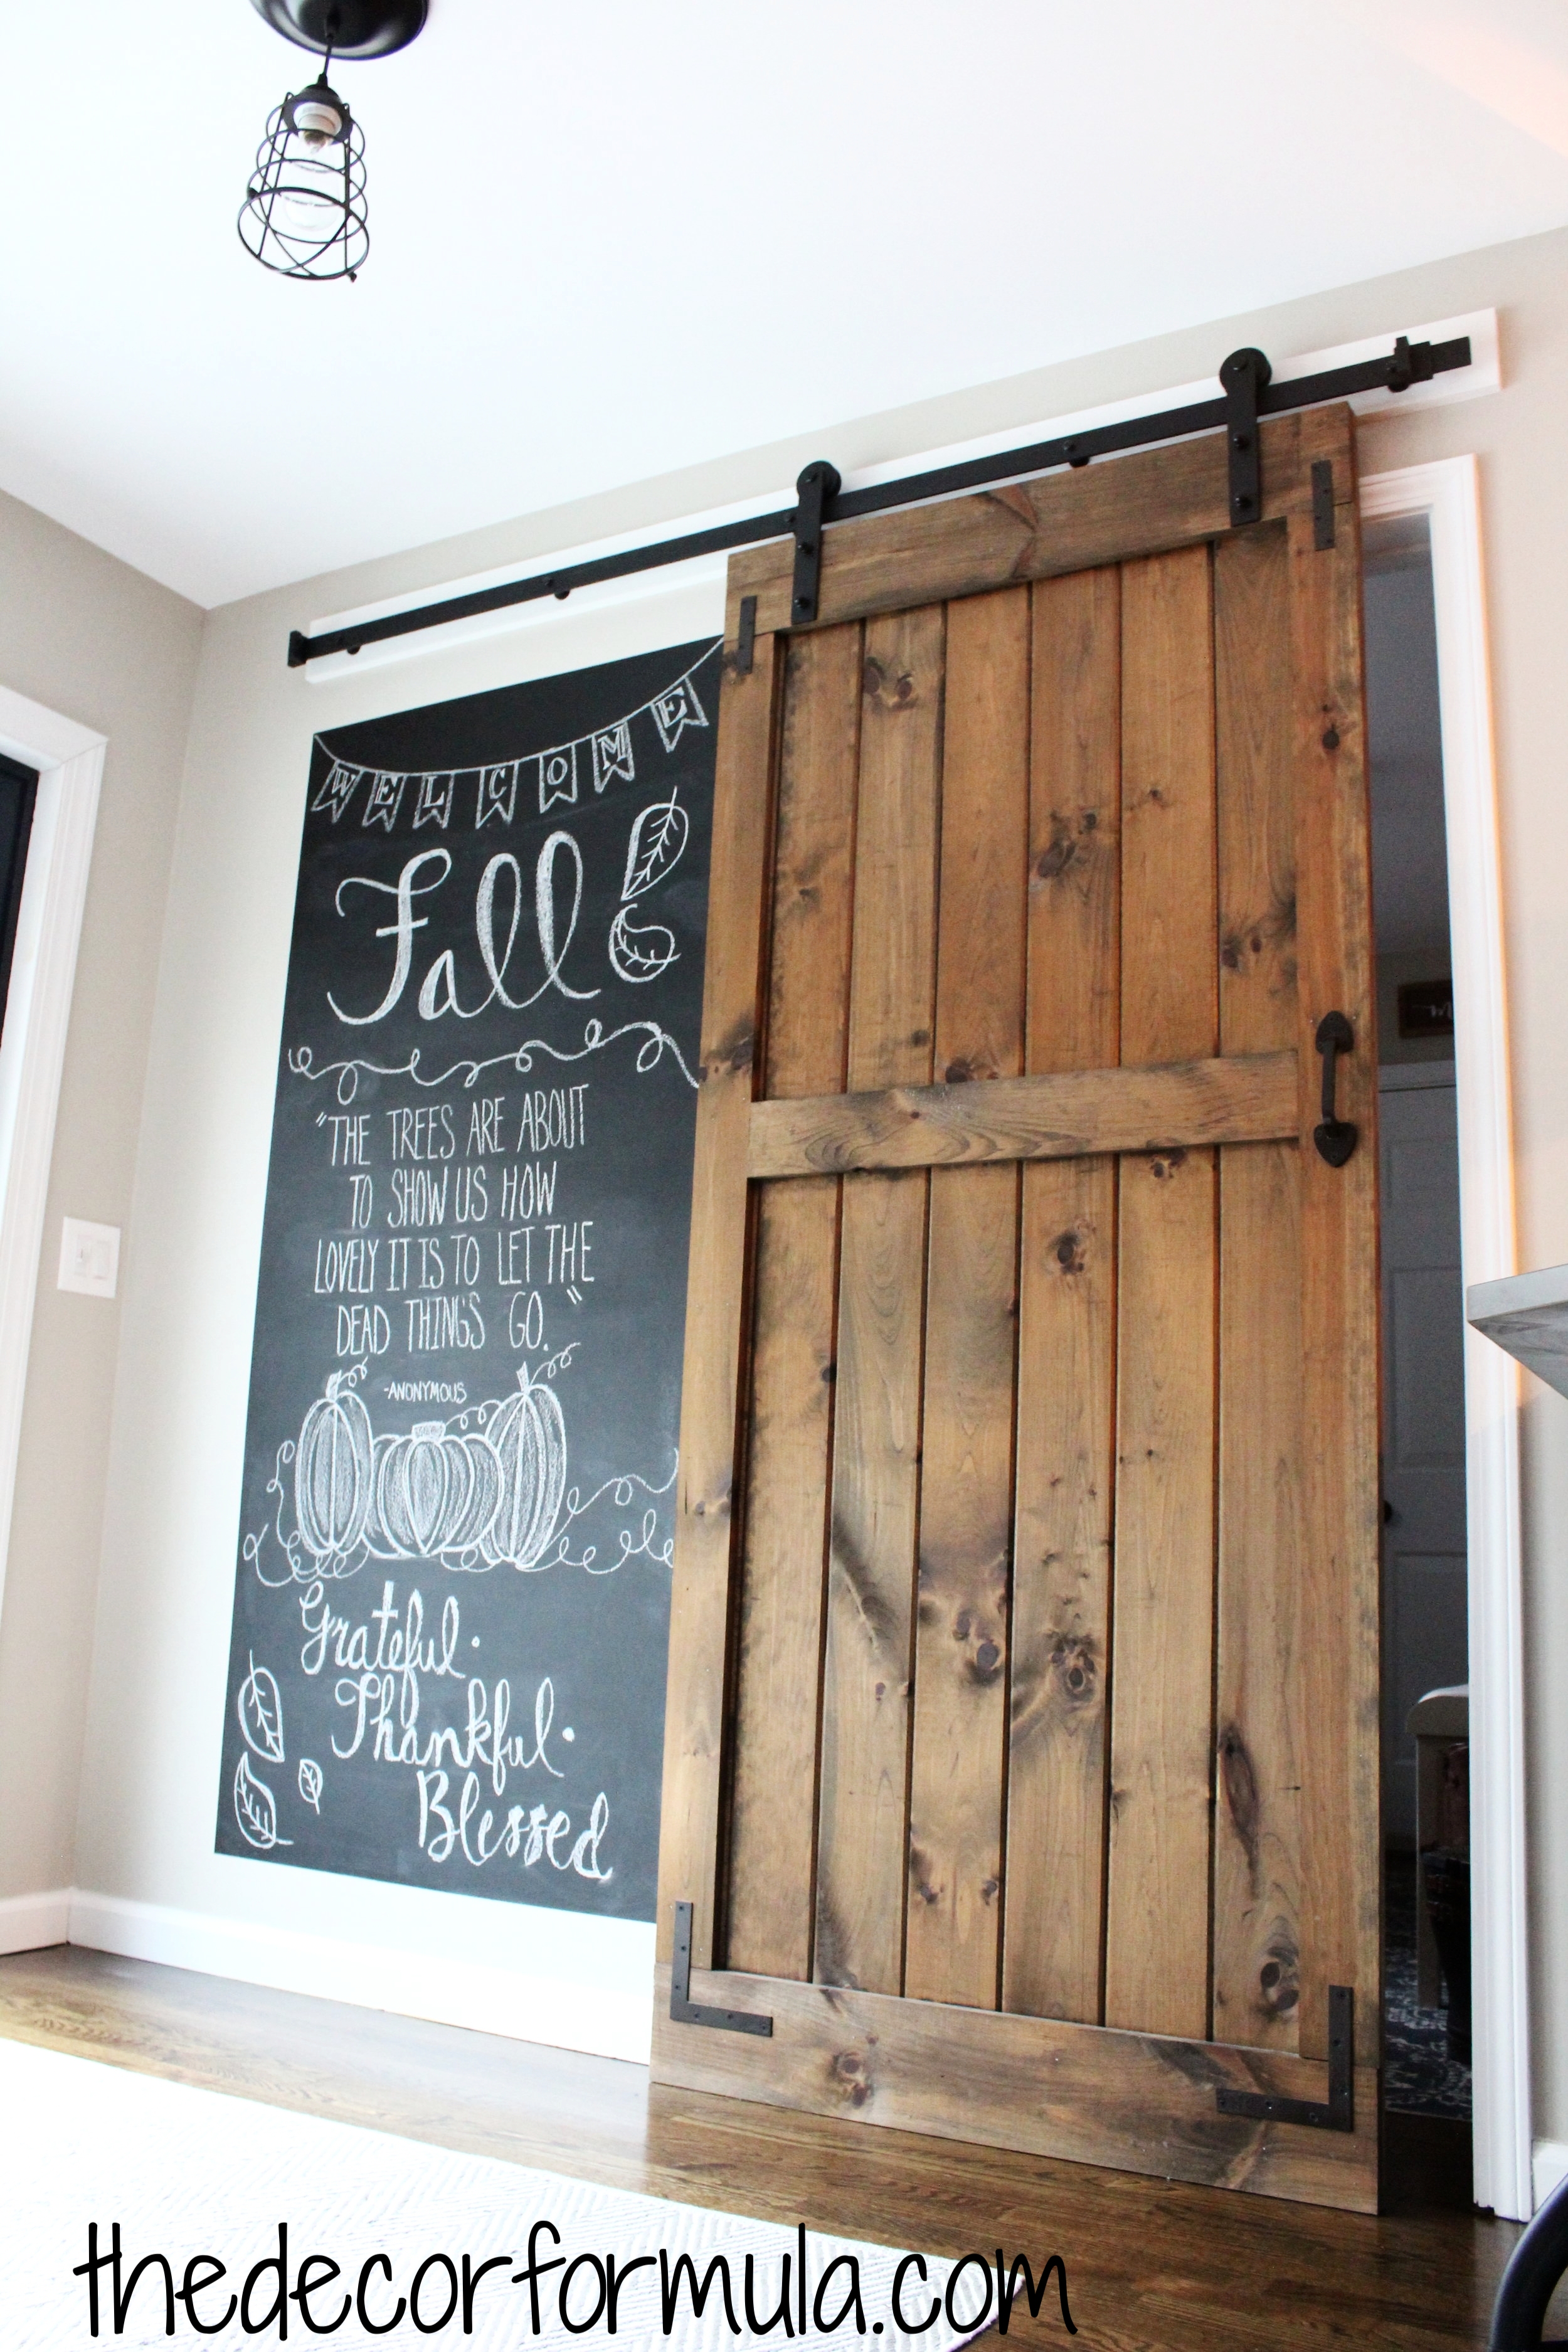

BTW This ^ is what my door looks like from the back side- the tongue and groove shiplap had a beautiful bead board design on the back.
Interested in the chalkboard wall behind the door? Check out my post below.
If you have any questions, if there's anything I didn't cover, or if you just liked my post, please feel free to leave comments below. (I'll take grammar corrections too !)
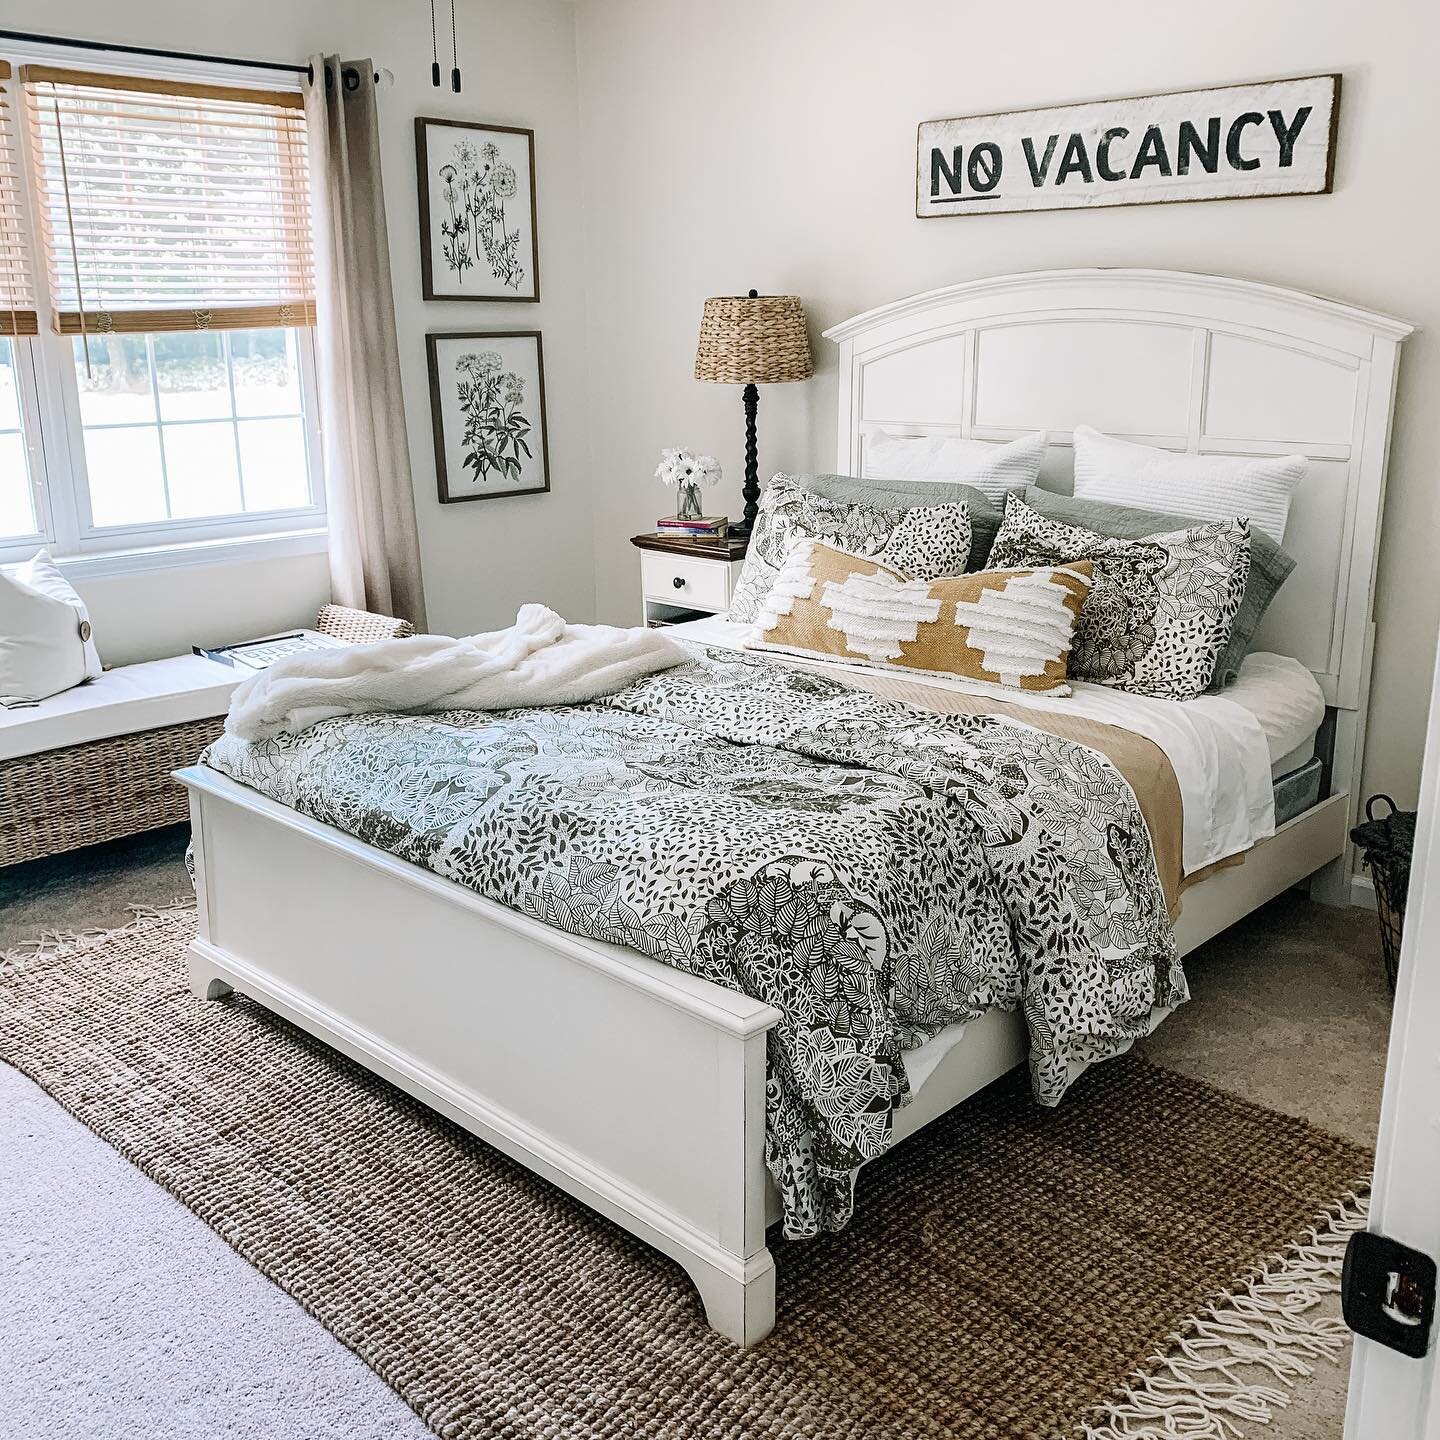
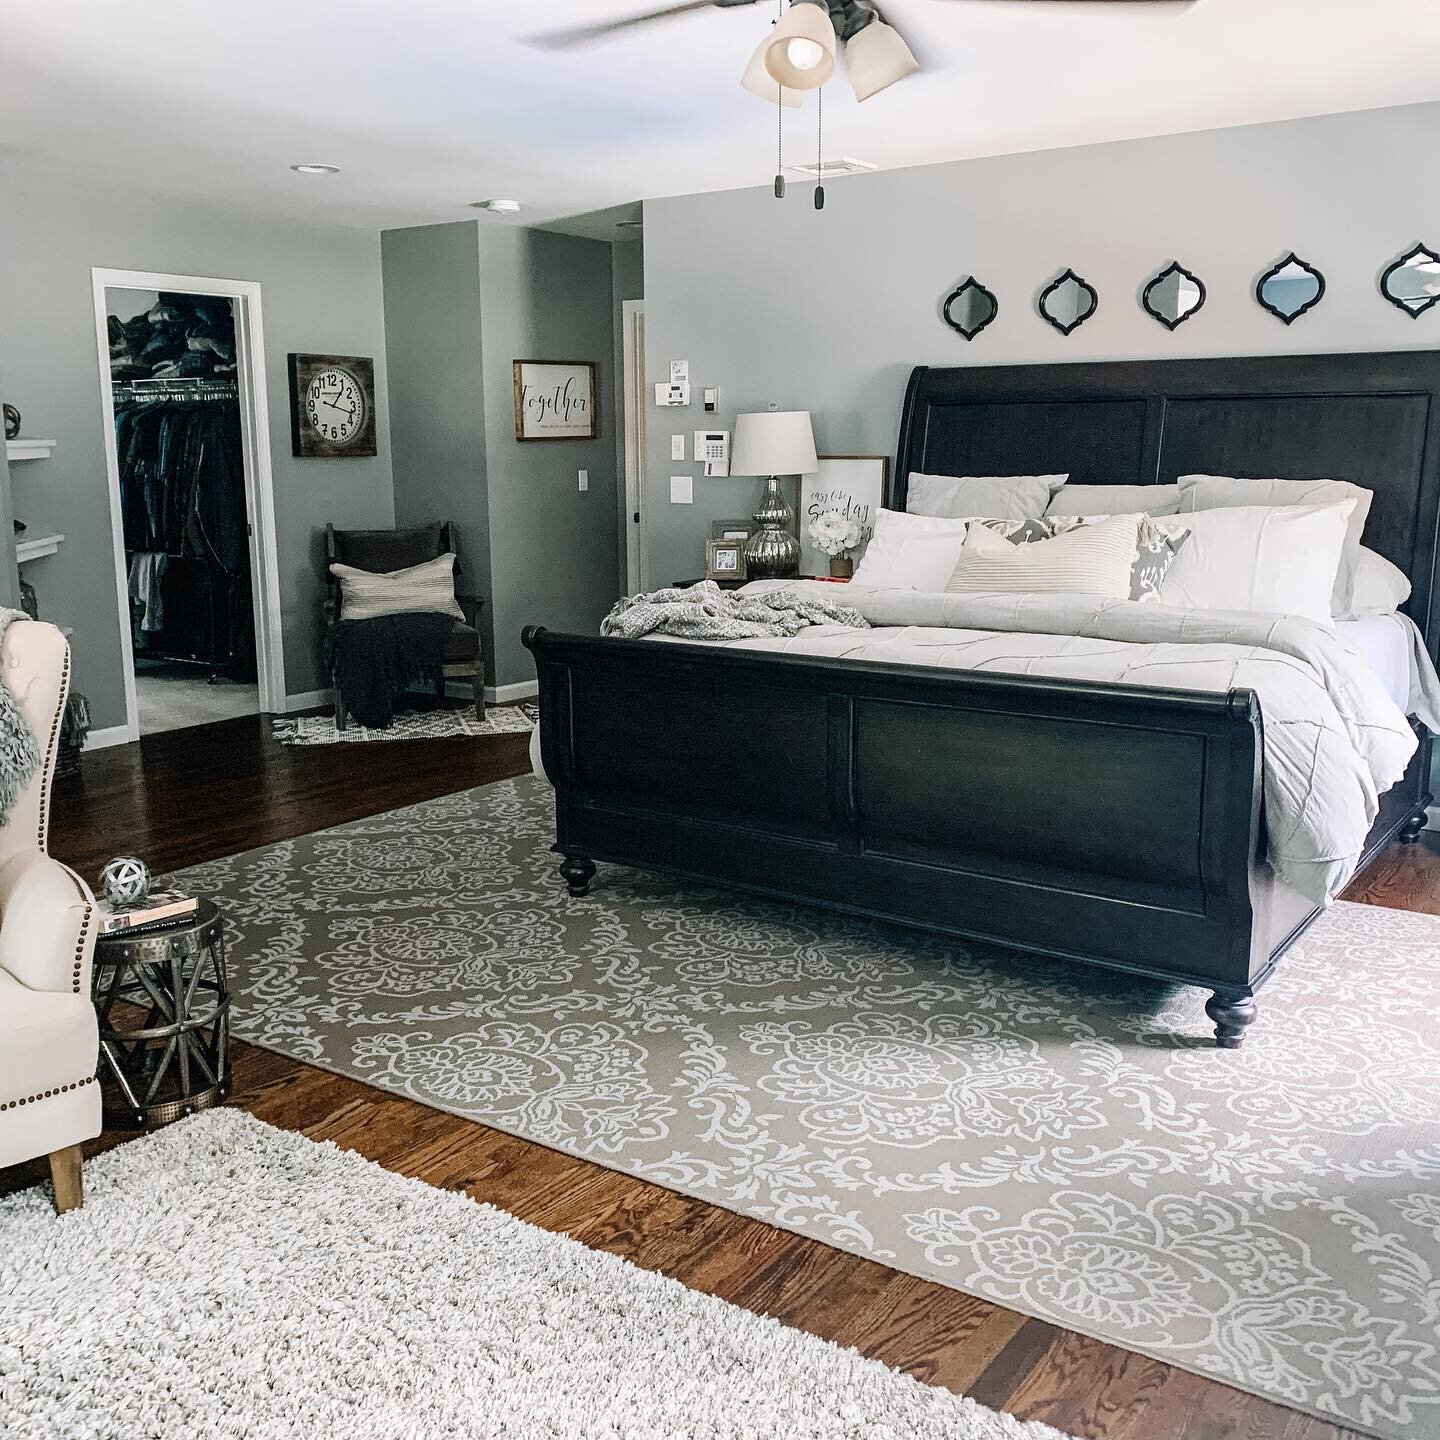
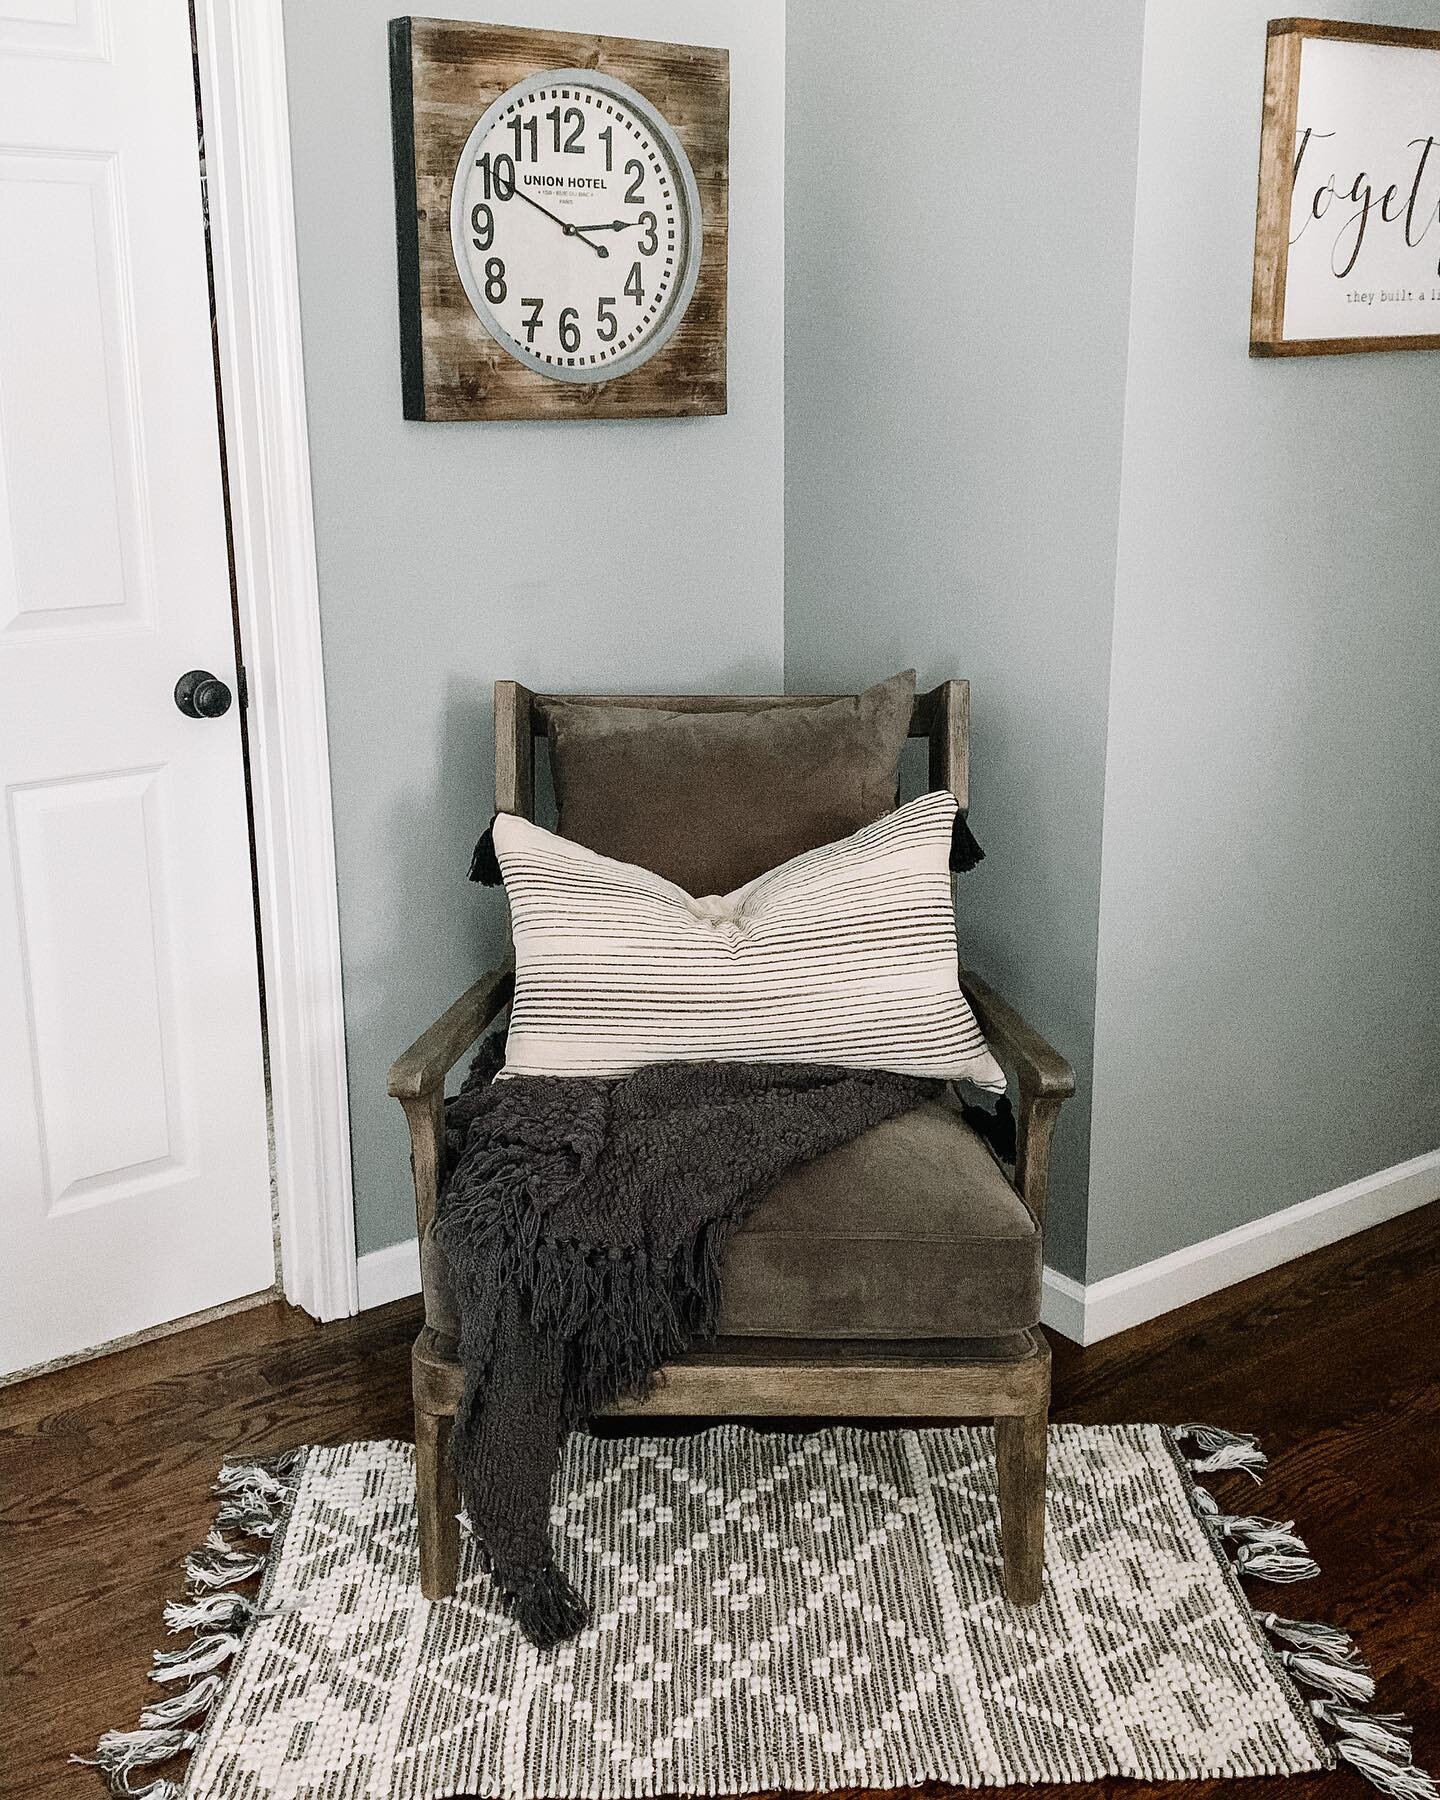
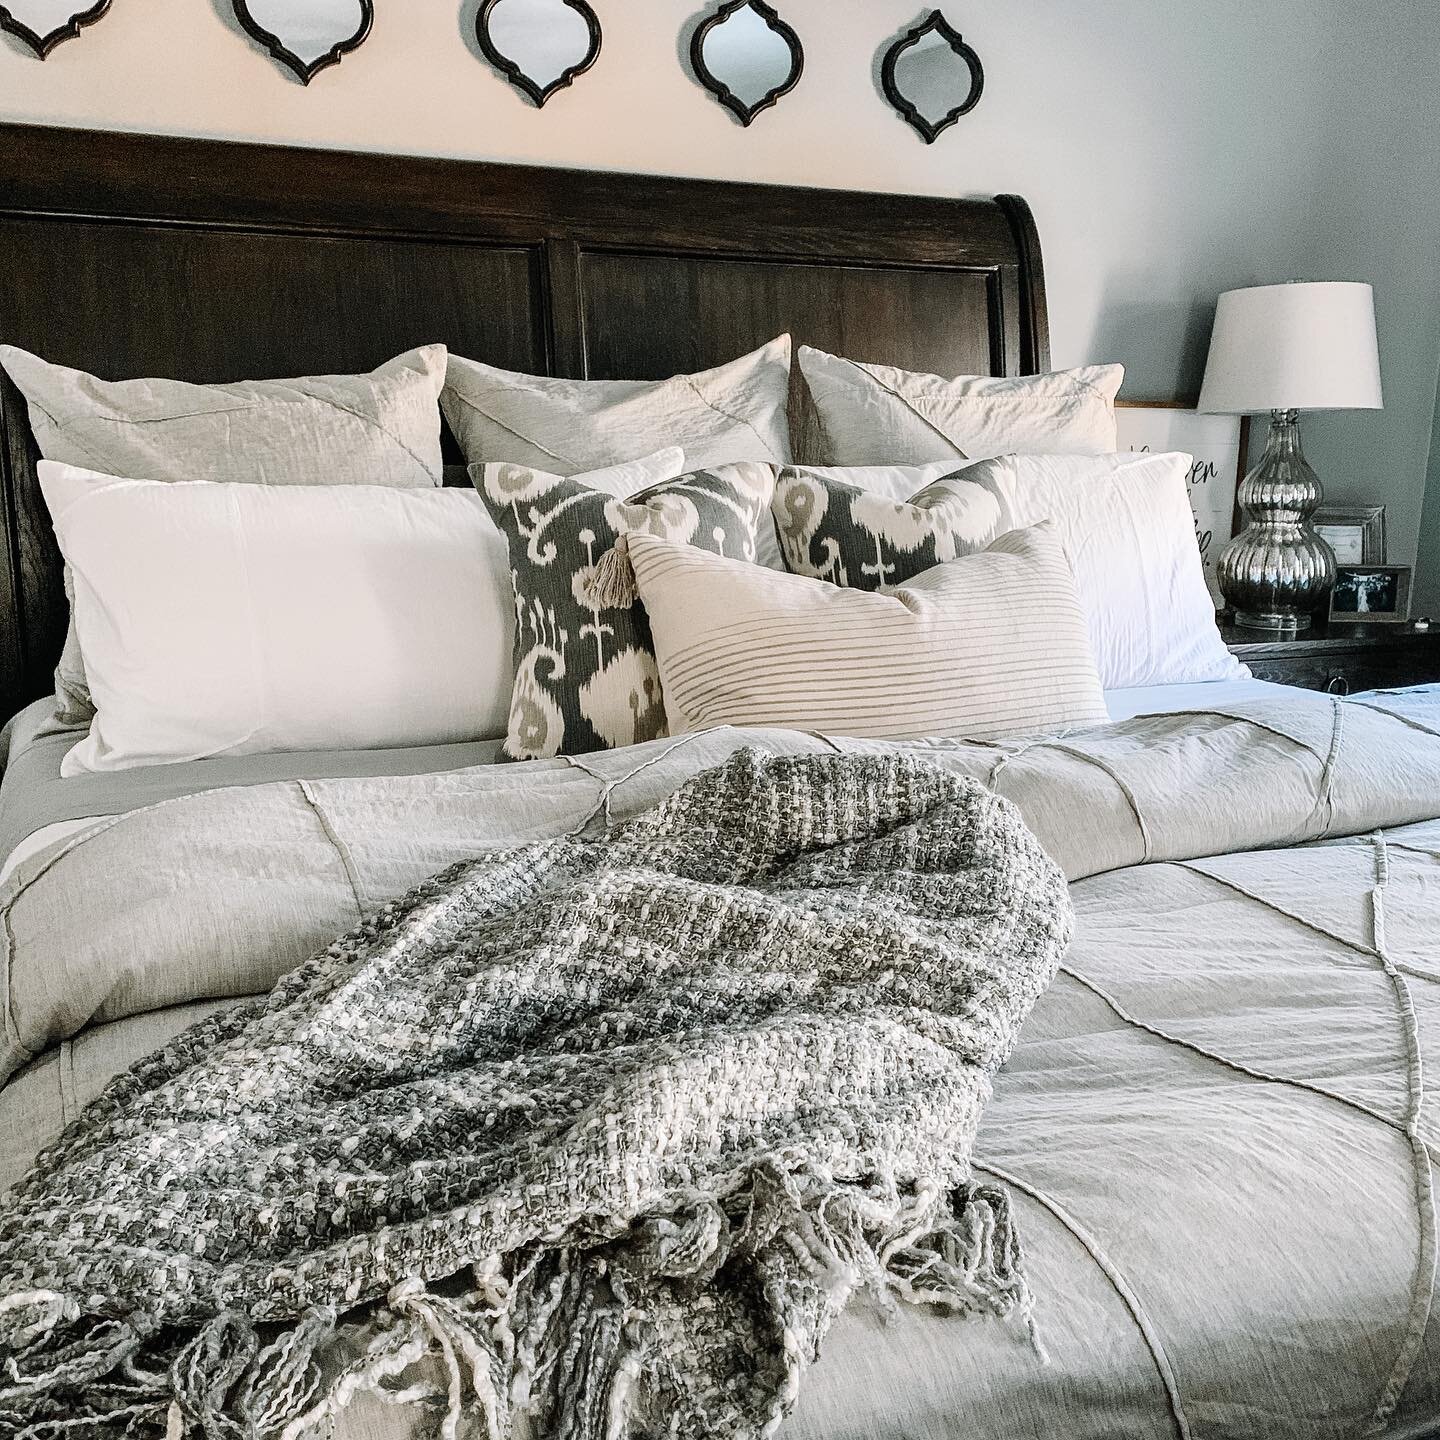
Hey Friends, I spend a lot of time putting together these posts, and I would love it if you’d show some love back and followed me on Instagram. **** 10/2020: Recently my instagram was erased and I lost all of my following, so I would SO appreciate it if you followed me by clicking on any of the pictures below from my current feed. Thank you so much!! <3