
DIY Shelves that I've built in My Home
A blog post three days prior to hosting 20+ people at our home for Thanksgiving?! To what do we owe the pleasure? I don’t know what it is about being super busy- but it’s usually my busiest times that I become the most motivated.
So I’ve received a lot of questions lately regarding different types of shelves that often appear in many of my home decor photos on Instagram:


My DIY skills came out of pure necessity because when we first moved into our home I was on a limited budget and had to resort to DIY projects so that I could achieve the look I wanted for less. With the money I saved I was able to put it towards other purchases in our home. So instead of writing three individual posts on the three different builds I’ve done, this post will compile them all. In addition, I’ll add links at the end to companies you can purchase these shelves already made- although you’ll soon see why I decided to resort to DIY. (For example- the barn beam shelves I based my stairwell shelves off of- were $250 a piece at pottery barn, I spend $50 for all three DIY shelves combined… so that was as savings of over $700+ if you factor in PB’s bs “processing and shipping”.)
The three different shelves I’ll break down are:
1) Regular Picture Ledges
2) Faux-Barn Beam Picture Ledges
and
3) Floating Shelves
Tools needed depending on the DIY Build Choice:
Tape Measure
Miter/Chop Saw
Nail Gun
Wood Glue
Stain
Clamp
Kreg Jig* for floating shelves only to hide screw holes
Installation Tools:
High Impact Drill + Screws
Level
Stud Finder
Some of these tools can be found in my previous post entitled:
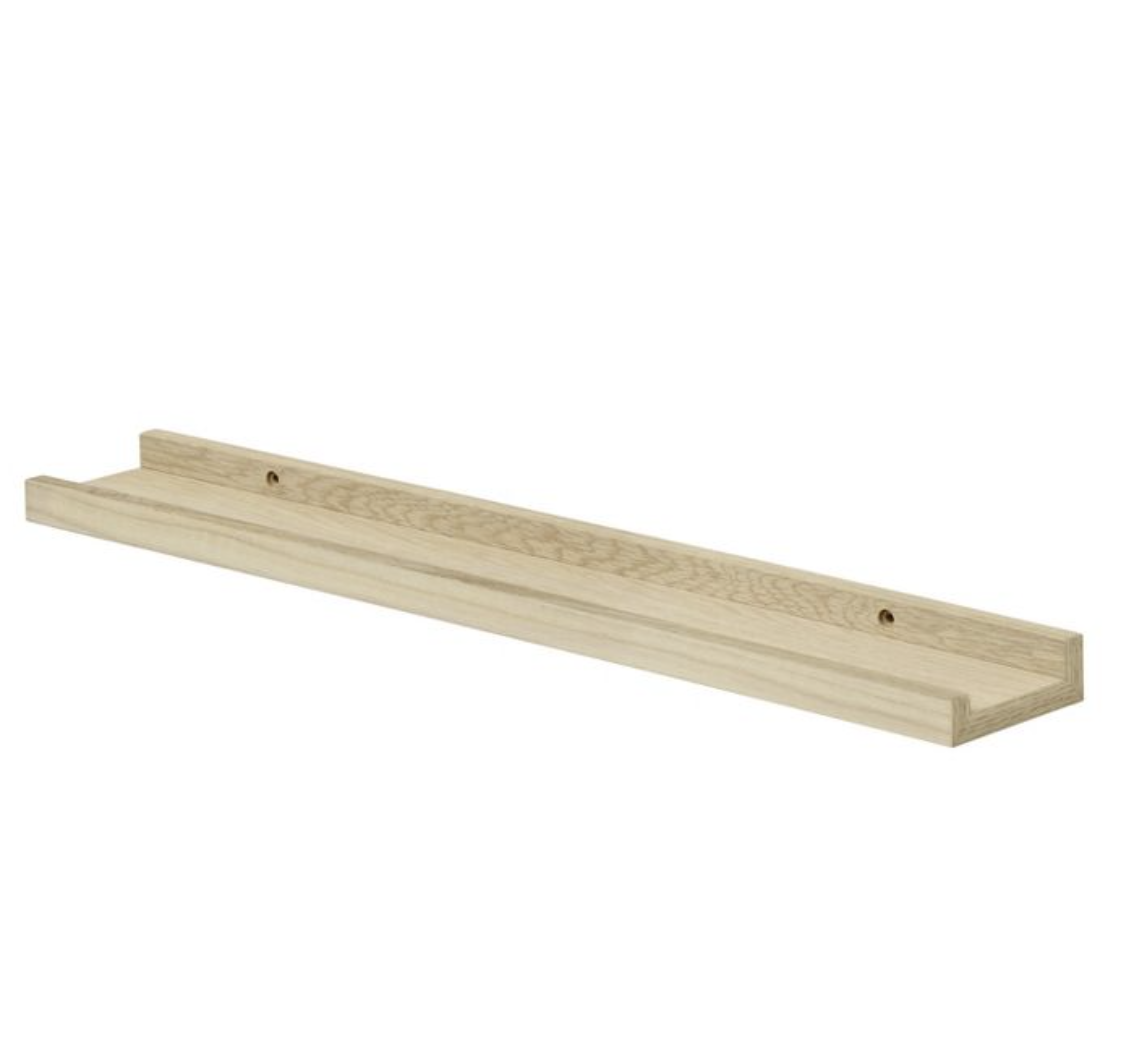
#1 Regular Picture Ledges

Picture ledges are a great way of filling up empty wall space with family photos- and they’re much easier to decorate than completing a traditional wall collage. What I loved about DIY picture ledges over store bought ones? You can customize the color, either with paint or stain, and you can customize the size. Many times store bought ones are sold in lengths of 2ft, 3ft, 4ft… etc. But what if your space calls for 3.5 ft? Making them yourself can solve this problem.
I broke down how to build these easy picture ledges in this post here:
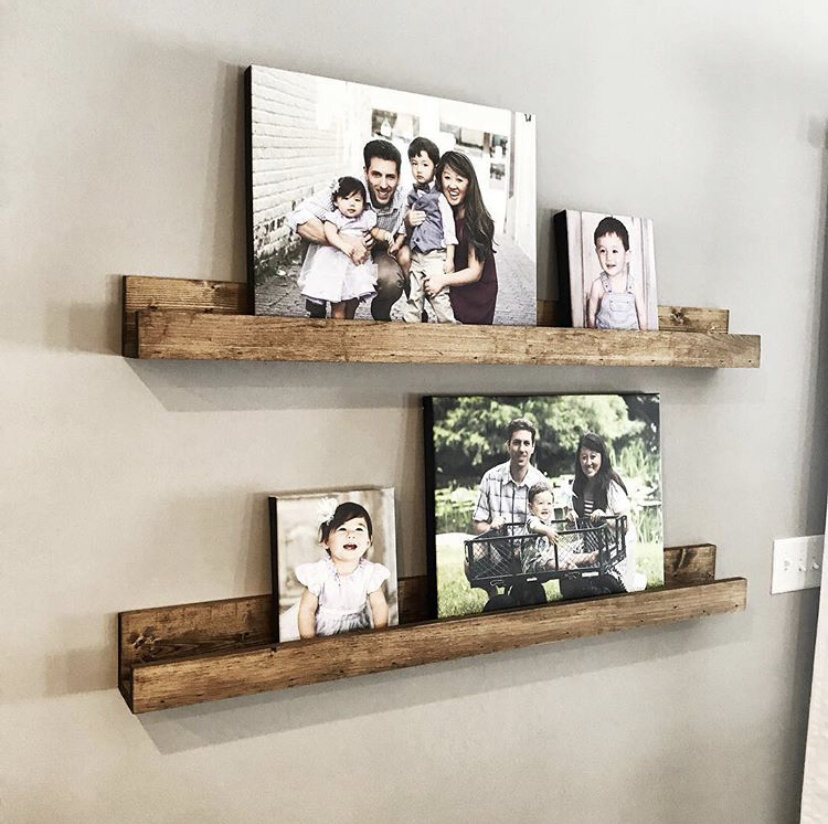
#2 Barn Beam Picture Ledges


This DIY project came out of my love for pottery barn’s barn beam picture ledges… which I actually considered buying at $250 a pop. Problem was- they were sold in 3, 4, and 5 foot lengths, and my wall called for 4.5 feet to look just right. So I took to the internet and googled “Faux Barn Beam Shelves” and that’s when I came across an awesome fellow blogger Ana White’s page. Her tutorial is what I followed to a T and the photos above were my result.

You can find her great tutorial here:
#3 Floating Shelves

The last type of shelf you’ll find in my home are the DIY Floating Shelves pictured above. I remember during our initial meeting with the place we ordered our kitchen cabinets from- I was going over my wishes for our kitchen renovation and I spoke about open shelves over the sink. I remember the look on my husband and the kitchen designer’s face when I said I planned on building the open shelves in our kitchen that would hold our plates and bowls. My husband said “You are going to build the floating shelves?” The shelves I wanted would have cost well over $500 through the cabinet company and they just weren’t the farmhouse look I was going for. The picture above is how they turned out- and while they were installed into the studs with lag bolts- they have held up a considerable amount of weight for the last three years. Essentially these floating shelves are hollow boxes that slide over an “E” bracket that you construct out of 2x4’s. I used my best friend’s husbands Kreg-jig tool to create pocket holes from the inside so the no screw holes were visible. I made sure my shelves were deep enough for my plates which were 12” in diameter. This project saved me hundreds of dollars and I got to match the stain color to my floors.
I used a tutorial similar to this one linked here:
Tips:
1) Stain before Glue! It would be my recommendation to stain all wood prior to putting on wood glue. Otherwise if you get glue on a part of the wood that shows, the stain won’t adhere to it unless you completely sand off the glue.
2) Use a foam brush for staining. I found these little foam brushes that are sold for $1 at Home Depot to be the easiest way to apply stain. Wipe off after a few minutes with an old rag.
3) My favorite Stains: Minwax Provincial, Dark Walnut, or Early American.
4) Polyurethane Last: once the shelves are assembled. And don’t poly if it is less than 50 degrees where your shelves are drying- you’ll get this white film over your stain and you’ll have to sand down the entire thing and start over again.
5) Hanging: Instead of pre-drilling hanging holes on the picture ledges, we found it easiest to drill the shelves directly into the studs. (The leaning pictures hide the sight of the screw).
Looking for guidance on picture ledge photo combinations? Check out my previous post here:
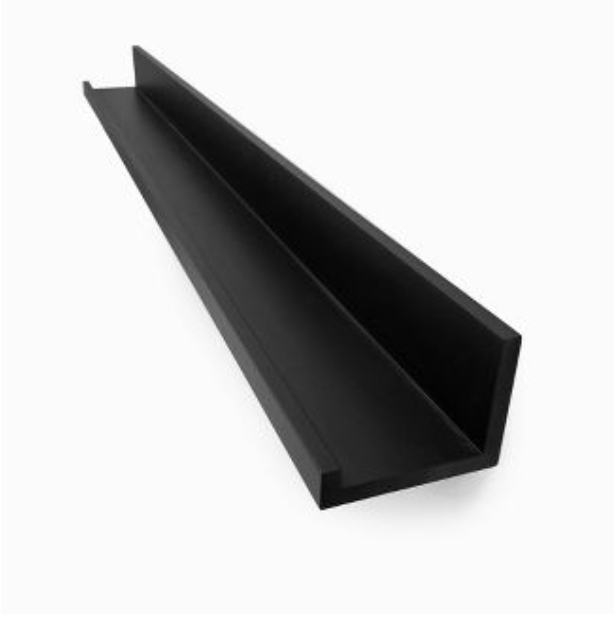
Don’t have the time or skill to DIY? Check out some of my favorite products available through a variety of companies below: (Clicking on the photo will bring you directly to the product page).


As always, thanks for stopping by, reading, and supporting me! If you liked this post feel free to comment below or share with a friend.
:) Barbra
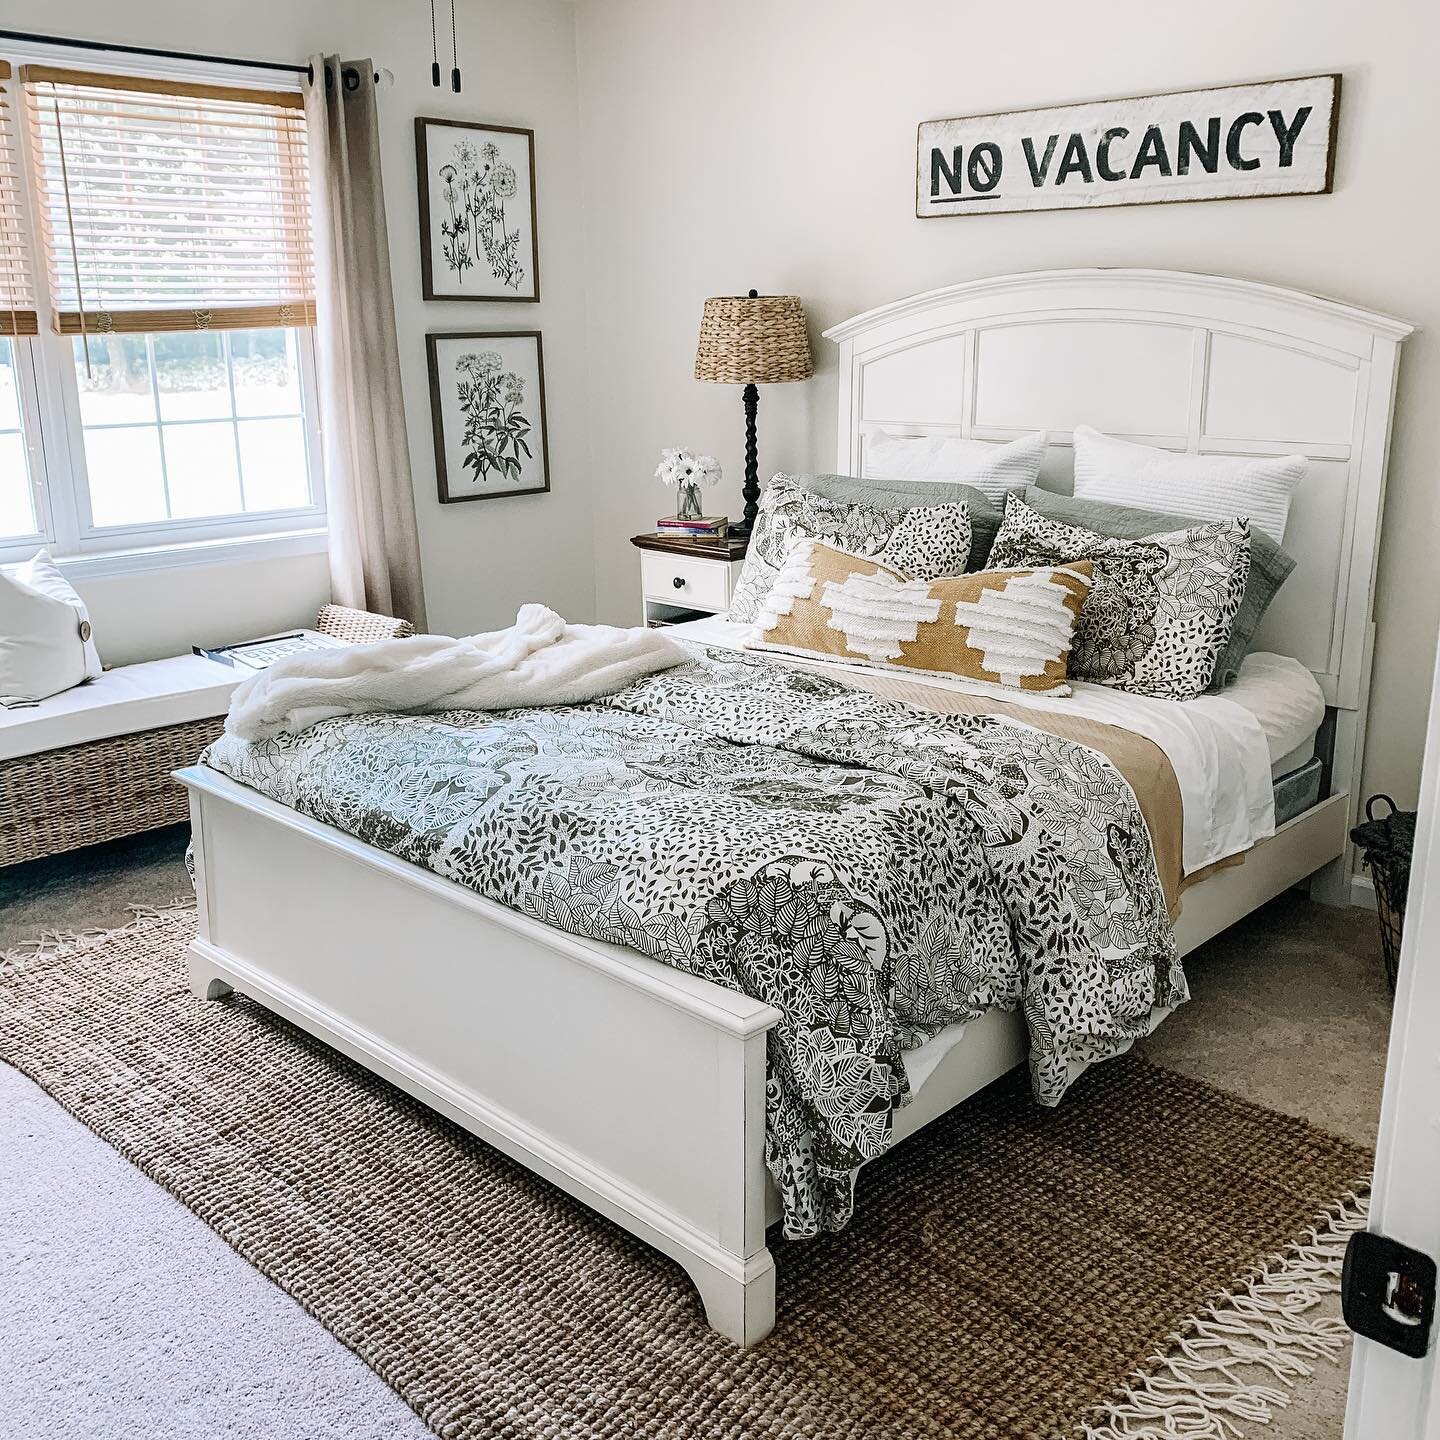
Hey Friends, I spend a lot of time putting together these posts, and I would love it if you’d show some love back and followed me on Instagram. Click on any of the pictures below from my current feed, and follow me! Thank you so much!! <3